Home | Model Making | Writing | Photography | Biography | Contact | Links | Blog
Messerschmitt ME-262 |
|
 |
|
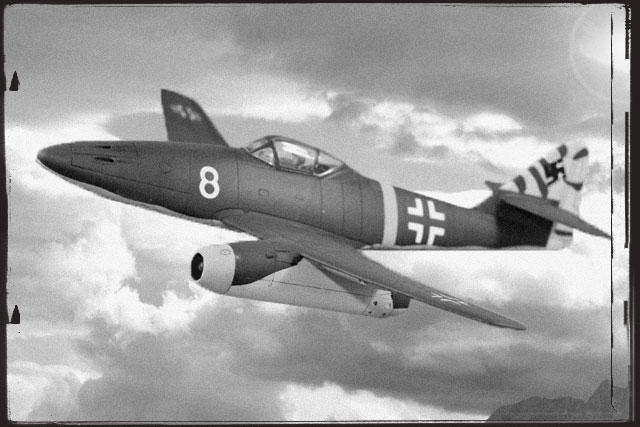
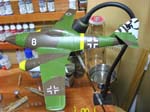
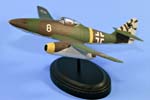
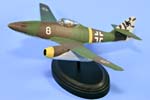
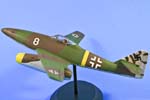
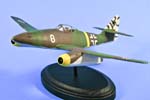
| With initial design in 1939 and test flights as early as 1941, the ME-262 was one of the early jet fighter designs in the world. Used in combat during WWII by the Germans it was highly effective when used in its intended role as a fighter -- less so when put in the bomber and ground support role -- the fact remained that there were too few of them built due to limited resources, and they were introduced too late in the war to have any meaningful impact on the Allied air campaign. After the war, surrendered 262s were test flown by the Allied powers and influenced the new wave of jet powered military aircraft. | |
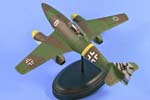 |
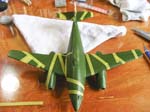
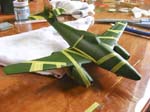
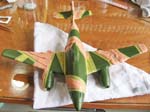
Another quick project for me. I built this as a group project for NJIPMS. This is a relatively new kit from Pegasus Hobbies, only 6 months or so on the market, and it completely snap together. A lot of the details on the model are heavy and the plastic is very thick, so it won't beat out a Tamiya or other kit as far as accuracy, but for a quick build it's fun and it looks like a 262. |
Paints Used
|
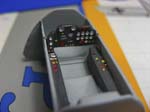
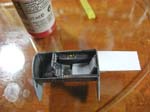
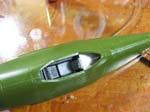
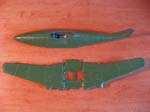
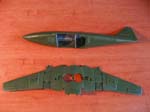
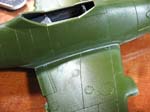
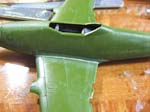
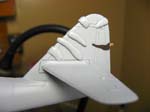
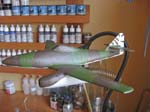
The snap assembly worked really well. I went very basic on the cockpit as I knew nothing would be visible with the canopy in the closed position. I did a quick paint job on a donated pilot (thanks, Bill!) using only base coats and glazes from the Vallejo acrylics line. After the cockpit was inserted I snapped it all together, using liquid cement to make sure everything was tight and to help with minor seams. Major construction took all of an hour. Seriously. I had more seams on my build than others did -- must have been my fault -- so I filled the offenders with Mr. Surfacer, let it dry for an hour or so, and then went over with a Q-Tip soaked in Mr. Color thinner, using it as an eraser going perpendicular to the seams. Worked wonderfully. I could have spent more time on seams, but I wanted to do this quick and fun. I then primed the model and painted with Vallejo acrylics, airbrushed using their specific airbrush thinner. The hard edges of the camo scheme were laid out with Tamiya tape, then the intervening spaces filled with Silly Putty. Silly Putty was also used to mask the splotches on the tail. |
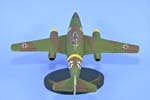 |
Markings are all done with Montex paint masks. There are no decals on this model. Of course I didn't think to take any photos of that process. Next time. A final wash of black enamel was used to highlight the panel lines. That's it. I have 8 hours at the most in this thing. I'm looking forward to tackling one of the forthcoming P-51B models. |
 |
 |
 |
 |
 |
 |
 |
 |
 |
 |
 |
 |
 |
 |
 |
 |
| |
|
 |
 |