Home | Model Making | Writing | Photography | Biography | Contact | Links | Blog
 |
|
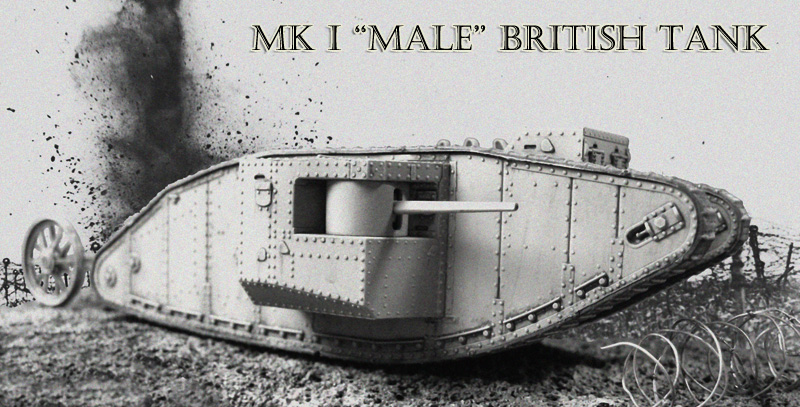
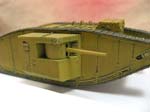
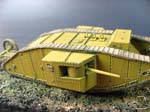
| The MKI is the first vehicle in the world to be called a “tank”. It grew out of two needs: to protect advancing troops, and to cross trenches. As one can imagine, this new weapon met with initial difficulties as the kinks were worked out, but the overall design was sound enough to evolve up through the MK V, and to inspire other designs that followed. The MK I and variants was used by most of the Allied powers during the war, and many captured tanks were also fielded by the Axis powers. Approximately 150 MK Is were built during the war. | |
Paints Used
|
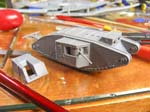
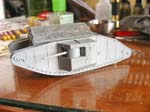
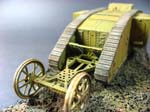
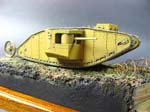
I did an Out of Box review of this kit for the New Jersey IPMS website, that you can read HERE. The Master Box 1/72nd scale MK I is a simple and fun to build little kit. With only three sprues of plastic and one runner of rubber treads in the box, the assembly goes quickly. I built the entire model in a matter of hours, which allowed me to focus on the painting. |
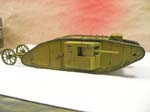
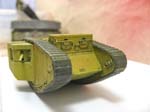
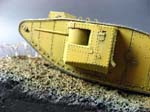
| I used all Vallejo paints on this build, from their pre-thinned Model Air line. They spray pretty well right out of the bottle, but the black primer did need just a little thinner, for which I used the Vallejo specific airbrush thinner. MIG and AK Interactive washes and powders were used for weathering. | |
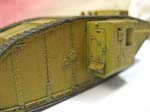
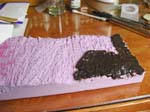
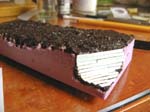
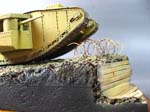
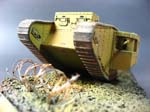
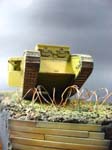
| The display base is a chunk of pink insulating foam rough carved to shape with a wire brush, mounted on a rectangle of poplar. The wood reinforcements for the trench are white styrene, and the barbed wire is part coiled picture hanging wire, and a coil of steel wire with individual barbs of wire added. The ground work and mud are old coffee grounds, mixed with water and white glue to make a paste. Various earth shades were then used, mixed and misted over each other. Testors dullcoat lacquer, decanted from a rattle can, was then used to give it all a uniform flat finish. | |
| In progress photos were shot with a Canon Powershot SD700 IS. Finished photos were taken with my Canon 400D (Rebel Xti) and 50mm fixed lens, using external daylight-corrected CFL light sources. Post-processing done in Photoshop using a gray-card reference shot. | |
 |
 |
 |
 |
 |
 |
 |
 |
 |
 |
 |
 |
 |
 |
 |
 |
 |