Home | Model Making | Writing | Photography | Biography | Contact | Links | Blog
 |
|
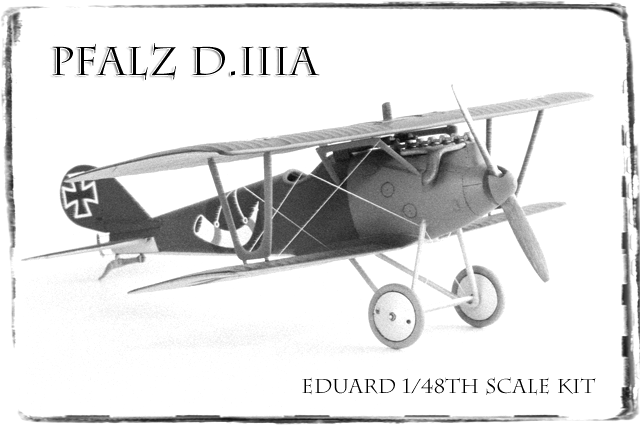
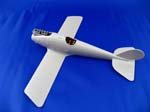
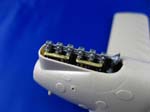
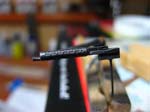
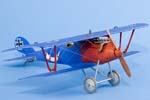
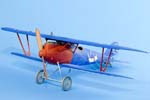
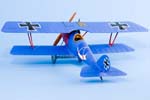
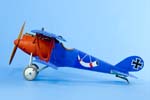
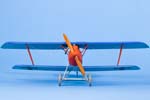
| The Pfalz DIII was one of the many single-seat biplane fighters used by Germany during WWI. The D.IIIa arose as a modified version of the earlier D.III aircraft. It differed mainly in having the guns mounted on the outside of the fuselage so that pilots could clear gun jams in flight (does NOT sound like fun) and a different vertical stabilizer. The Pfalz D.III designs were not as popular or heavily used as the Albatros or Fokker designs, but they were sturdy aircraft. Their sturdy construction made them good in a dive, and so were utilized in observation balloon attacks quite often. The aircraft served well and were still in widespread scouting and training use when the war ended. | |
 |
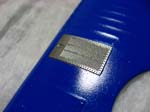
This is one of Eduard's Weekend Edition boxings of an earlier released kit. You get the plastic and decals for a single aircraft and nothing more for around $10. The marketing plan is that you get an inexpensive aircraft that can be built in a weekend. While I enjoyed this build, it, like my earlier Nieuport experience, was no where near as short as a weekend. |
Paints Used
|
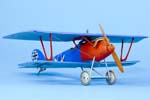
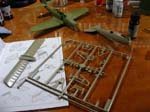
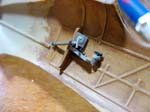
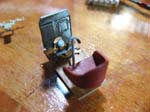
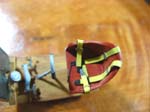
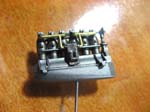
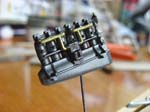
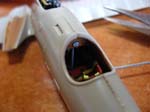
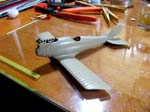
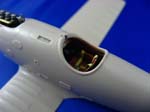
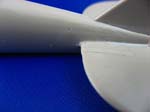
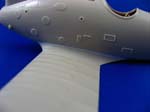
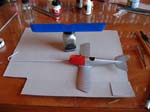
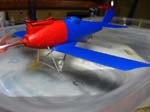
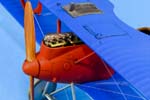
I built this kit out-of-the-box (OOB in modeler's lingo) and only added clear nylon thread for rigging and fine brass wire for control surface linkage. Seams were minimal, only where the top fuselage joined and where the wing met the lower fuselage. Mr. Surfacer made quick work of those. I assembled the fuselage, tail and lower wing and then painted and decaled everything. Paints are all "close enough for me" approximations using the kit color call-outs and conversion charts to find Vallejo acrylic paint approximations. The wing struts gave me a major headache, mostly due to my inexperience and using the wrong adhesive to attach them at first, but the aircraft nearly became airborne upon a torrent of swearing more than once. Once that was sorted, though, the rigging and final details went together really well. I left off the tubing that should run from the engine to the wing radiator because it was not included in the kit; also because it would have been a fiddly business to build and fit one and after the strut frustrations I just wanted to finish the thing. |
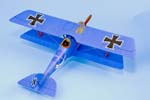 |
Overall, struts aside, this was a fun build. I like these WWI planes more and more as a break from my "serious" modeling projects, especially since I get to paint in something more than varying shades of gray. |
 |
 |
 |
 |
 |
 |
 |
 |
 |
 |
 |
 |
 |
 |
 |
 |
 |
 |
 |
 |
 |
 |
 |
 |
 |
 |
|
|
 |