Home | Model Making | Writing | Photography | Biography | Contact | Links | Blog
|
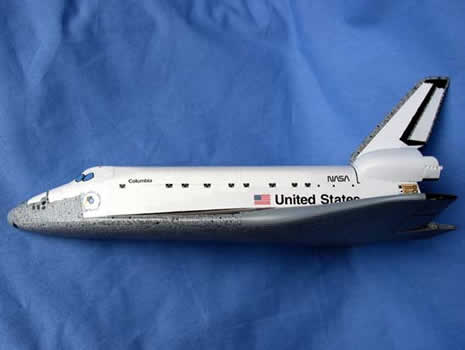
Space Shuttle Columbia: STS-2 **All of the images in this first section are links to larger versions of the photo*
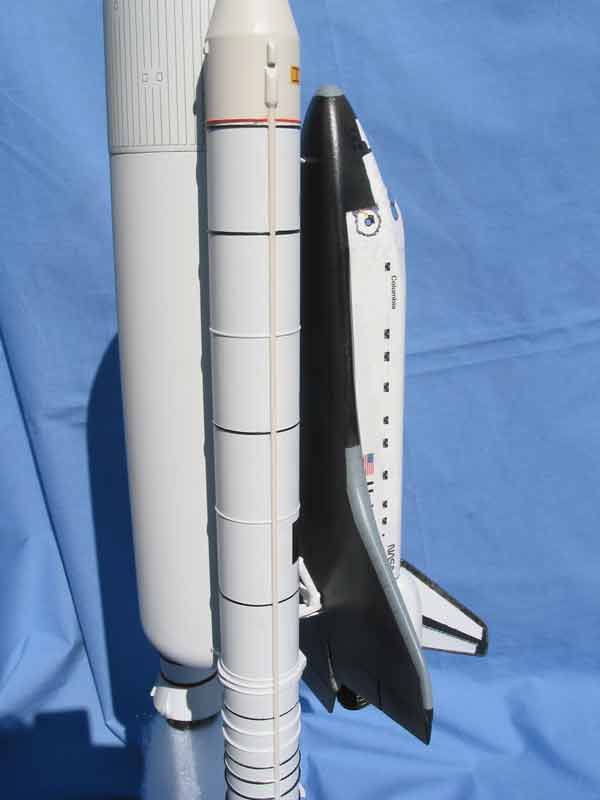
She's all finished! Some of the steps of construction are illustrated below. The Airfix 1/144th scale kit of the space shuttle. The model is of the Columbia as she appeared during STS-2. The unique aspect of the first two flights is that the external fuel tank was painted white, to match the boosters and orbiter. After these two flights, the tanks were left the current, unpainted, orange-rust color to save weight. I chose to model the second flight configuration, as this was the first re-use of a space vehicle. I had been wanting to build a shuttle model for some time. The loss of the Columbia, a shuttle building contest at Starship Modeler, and the desire to build something - for a change - that didn't float, lead me to this kit.
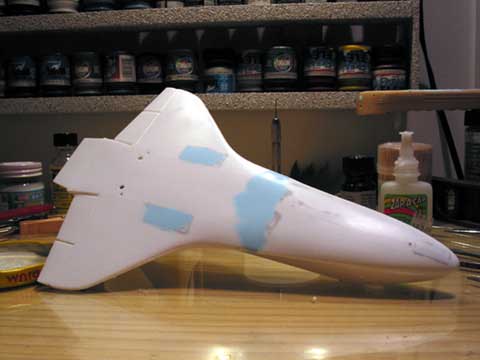
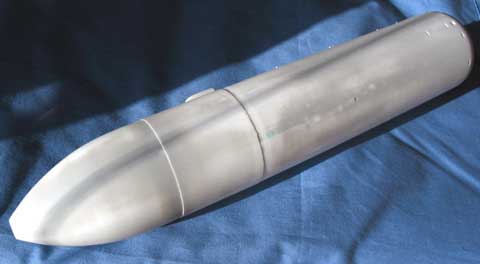
This first photo is to illustrate how much puttying and sanding is required on the kit. The company date stamp on some of the parts is 1977, so this kit has been around for a while, and show it in the fit department. The blue and gray areas on this and following pictures are putty and primer.
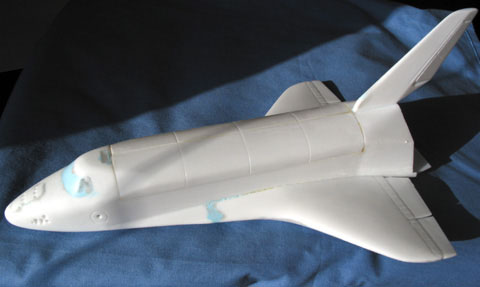
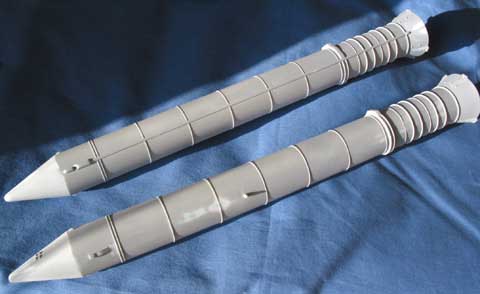
These three photos show the major components after several weeks of filling and sanding. At this stage the boosters have already been spray-primed once, and further sanded to fix discrepancies found. The orbiter is ready for it's first overall coat of primer. You might notice that the areas that should be clear windows are shades of blue putty and gray primer. The fit of the kit's windows was so bad that I could not salvage them. I'll be using kit decals to replicate them instead.
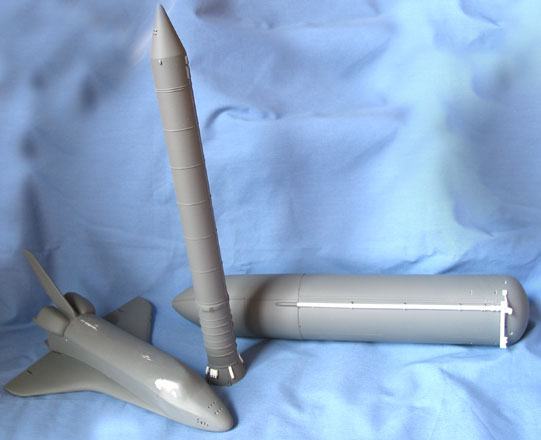
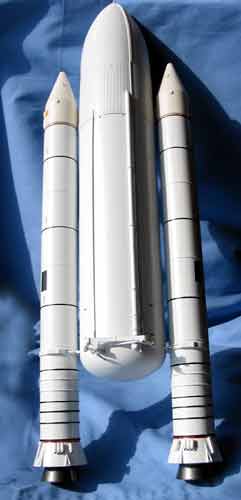
The final primed components (only one booster shown). The white parts on the tank and booster are the smaller components added after priming (fuel lines, separation motors, etc.). The white areas on the shuttle are minor touch-ups that will require another spot-priming before actual painting. This model is FINALLY at the point that it feels like I'm accomplishing something. A coat of white paint on her and I'll see the proverbial light at the end of the tunnel.
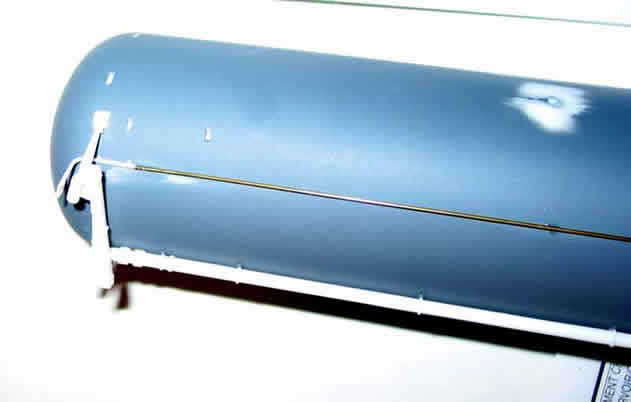
Some detailing work on the external tank. The dark gray color is from Krylon spray primer. After years of avoiding anything in a spray can, I finally caved and tried the primer. It works great. I'm even doing the overall white of this entire kit with Krylon spray white. Great coverage, you just have to warm the paint a bit, and wet sand afterwards, to get a smooth finish. On a kit with a lot of fine detail, I don't think I'd go this route, but for this project, it's a real time saver.
And the final paint job on the tank. Gloss coating and decals remain, and then this section will be complete.
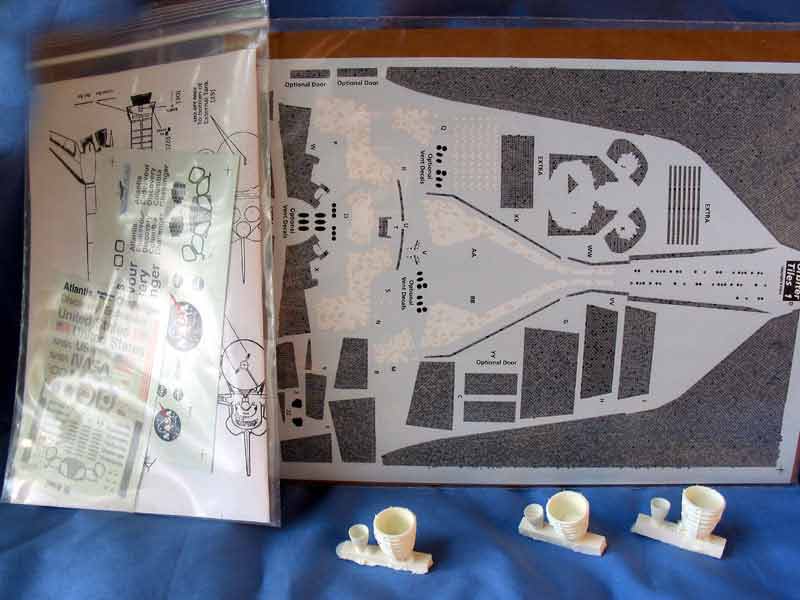
Here are some of the aftermarket products I will use on this project. Resin replacement engine nozzles and marking decals from Real Space Models, and shuttle tile decals from Cutting Edge Modelworks. Correction: I did not end up using the resin engine nozzles from Real Space Models. I ordered Cutting Edge Modelworks' version of these and there were much better quality, so I used them.
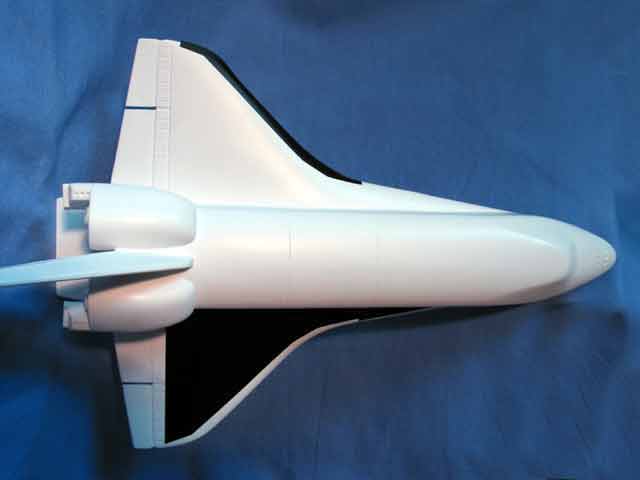
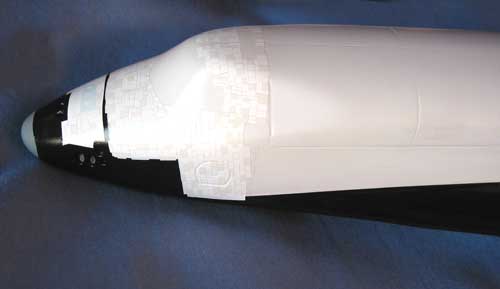
Here's the overall white shuttle. I've started using the cutting edge paint masks in this picture, they are the black areas on the orbiter. These work really well, so far, but I have yet to spray any paint over them.
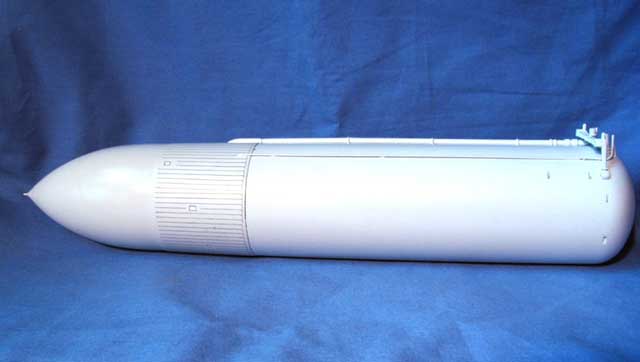
A shot of the finished external fuel tank. The lined detail technically should be scribed in, or created with corrugated plastic. Eh, the decal looks good enough to me. As soon as I finish decaling the external boosters, I can glue that assembly together and start working on the base, as I wait FOR THE INCREDIBLY #$@$@*!! FRUSTRATING AND #$@*!! CRAPPY WEATHER TO CLEAR UP SO I CAN @#$@*!@!! PAINT!!!
Okay, the weather cleared up! So what do I end up doing for the past 3 weeks, when we've been enjoying the most perfect weather we've experienced in what has to be years? I sit inside and work on a model, going out onto the deck occasionally to airbrush. Yes, I'm sick...
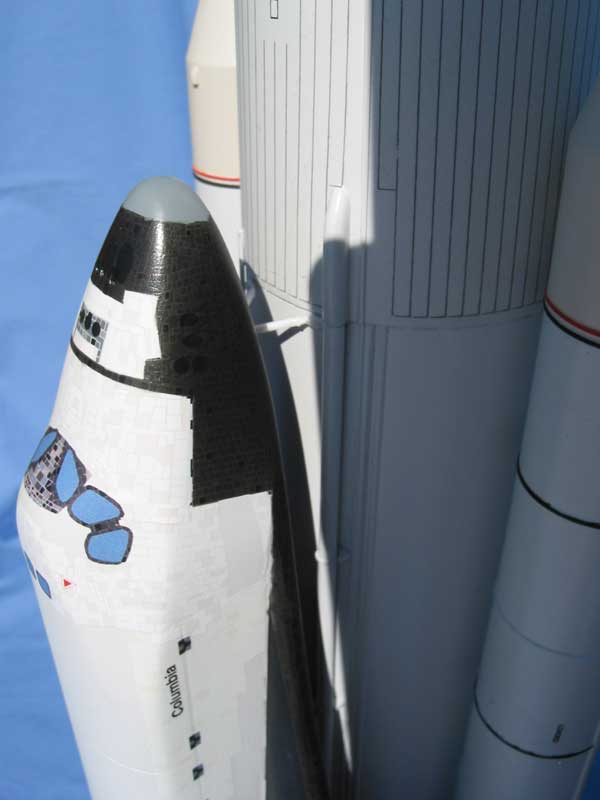
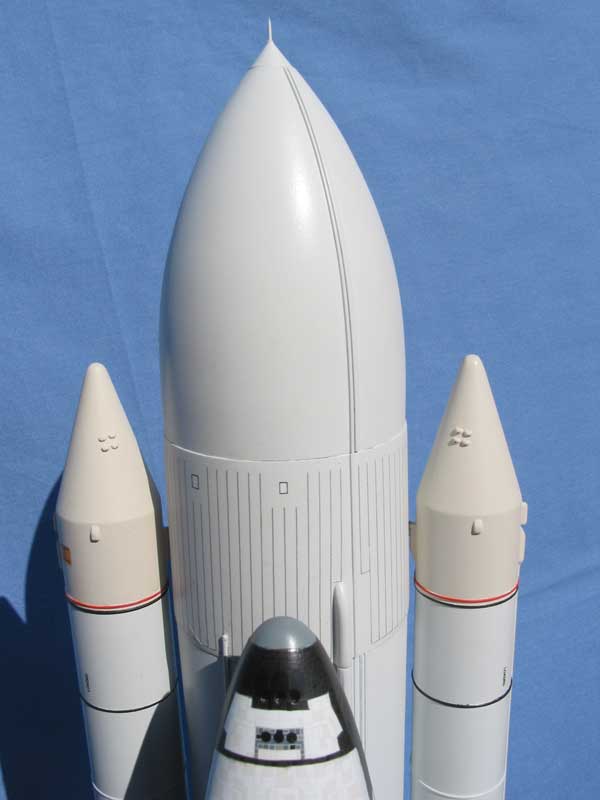
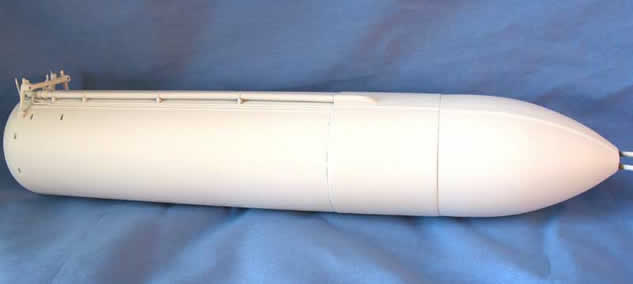
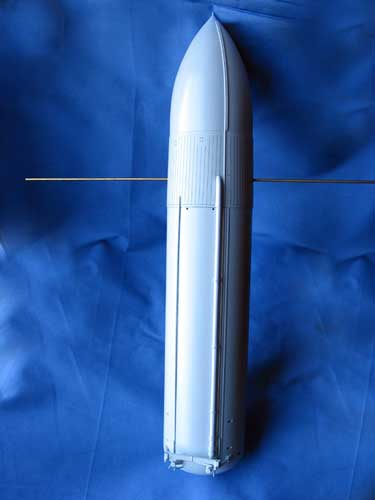
First photo shows the completed external tank with a big honkin' brass rod run through it. This rod is cut to size and used as the mounting point for the top of the SRB's (solid rocket boosters). The entire shuttle stack when complete will be supported by this joint between these three items, so I want it sturdy and well reinforced; the scale -yet small - booster attachment supplied in the kit would not support all of this weight the way I'm mounting it. The second photo is after the brass rod is cut to size and the SRB's are attached.
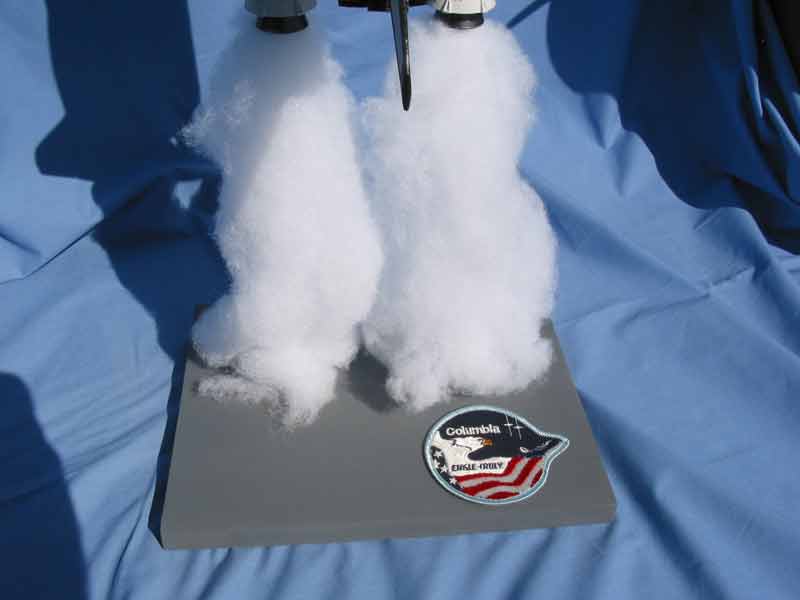
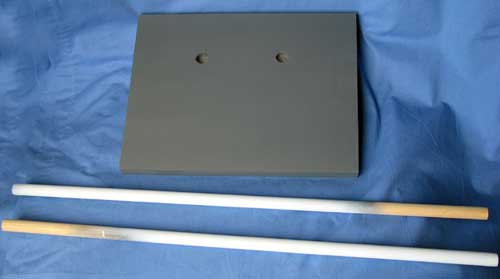
Here are the three components of the base. A 1/2 inch wooden dowel cut to two equal lengths, primed and sanded, and then painted white to blend with the 'smoke'. The board is simple maple, with two 1/2" holes drilled to accept the dowels. It was also primed and sanded to hide the wood grain. Basically, the dowels get glued into the base, and then they slide up into the hollowed out thruster cones of the SRB's. Simple enough.
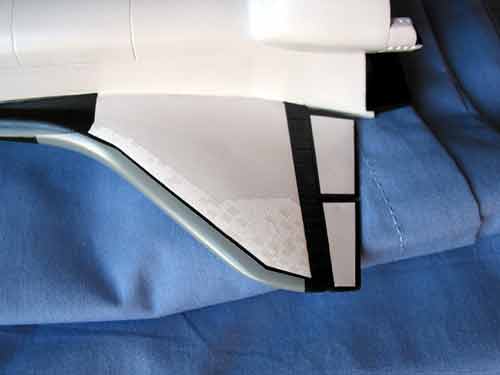
Now we're at the decaling process. I have NEVER built a model with so many decals in my life. Granted, it's because I used the Cutting Edge tile decals, and tiles cover over 50% of the orbiter body, but man. First two photos show the white ones in progress. If you look closely at the wing shot, you can see how the decal setting solution causes those things to wrinkly initially- and caused my stomach to drop. Fortunately they dried super smooth. The bottom photo shows the decals as applied "out of the box". I personally think they are way too light, and I went over mine with an airbrush loaded with Tamiya paint's Smoke color; basically a translucent black. I think it was worth the extra effort.
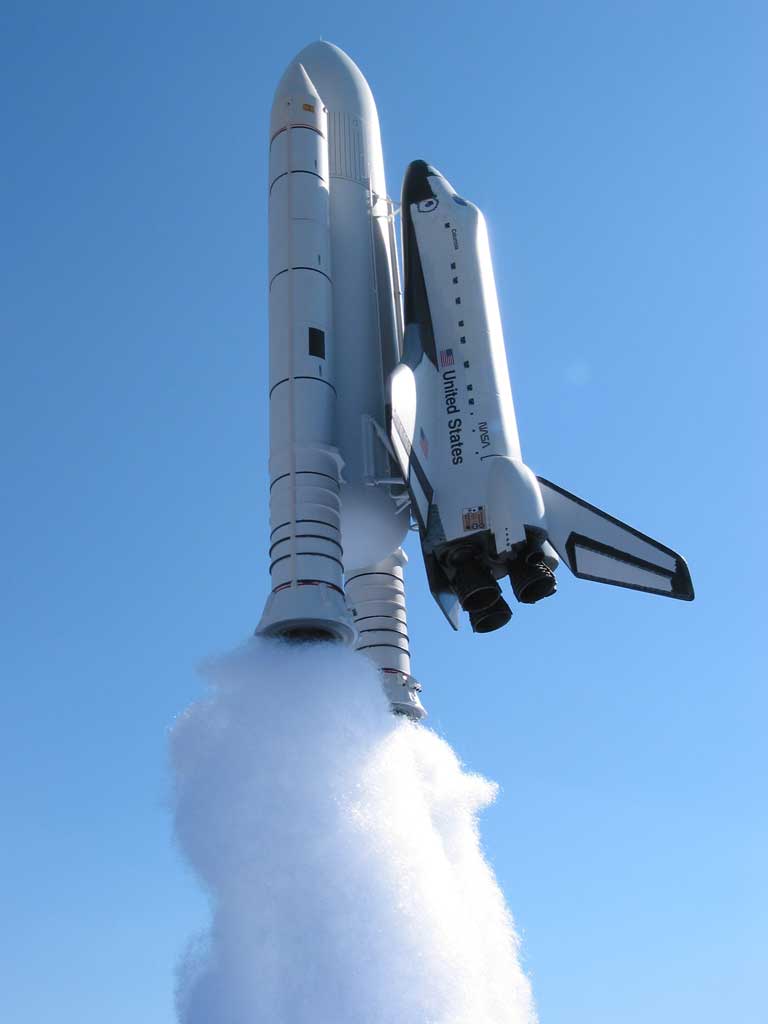
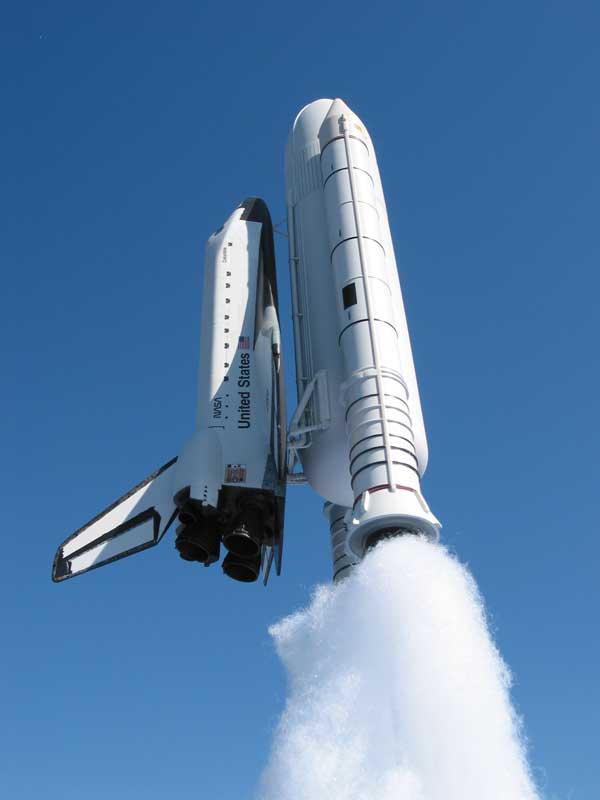
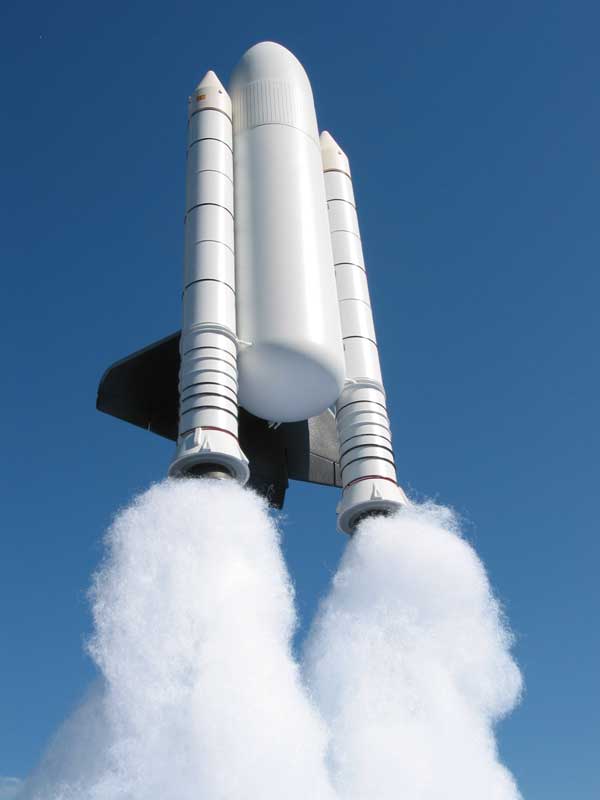
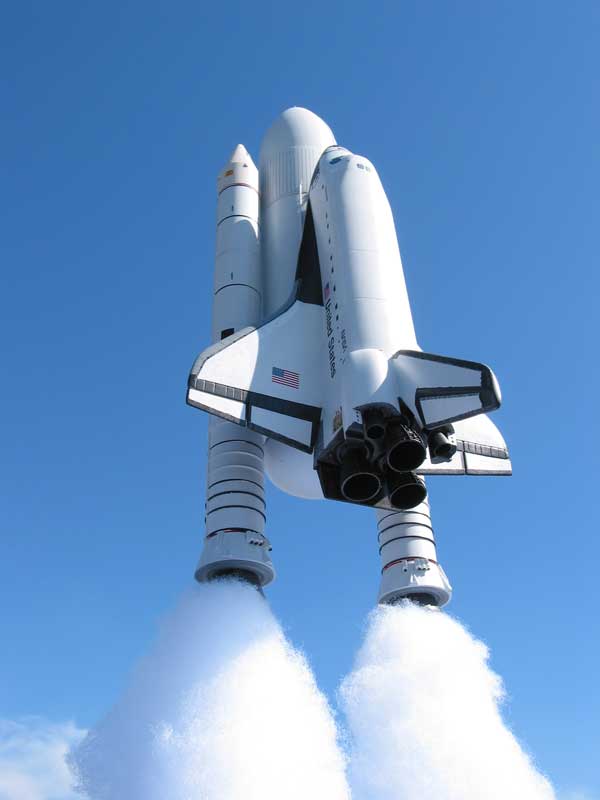
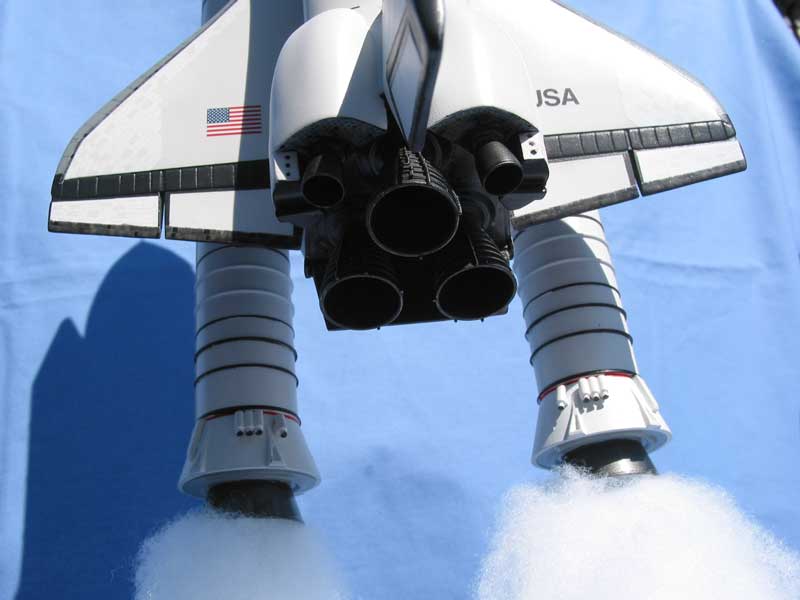
The smoke for the rocket boosters is created with polyester aquarium floss; it's the same stuff used to stuff pillows. I just tied it off inside of the nozzles, and then stretched and pulled it downward until I liked the result. The patch is a replica of the mission patch from STS-2. I enjoyed this kit, although up until even 24 hours before finishing I had no idea if it would turn out or not; those light decals had me really worried, and I had no idea if the floss "smoke" would pass muster or not. Suffice it to say, though, that I'm really happy with how this project turned out. |