Home | Model Making | Writing | Photography | Biography | Contact | Links | Blog
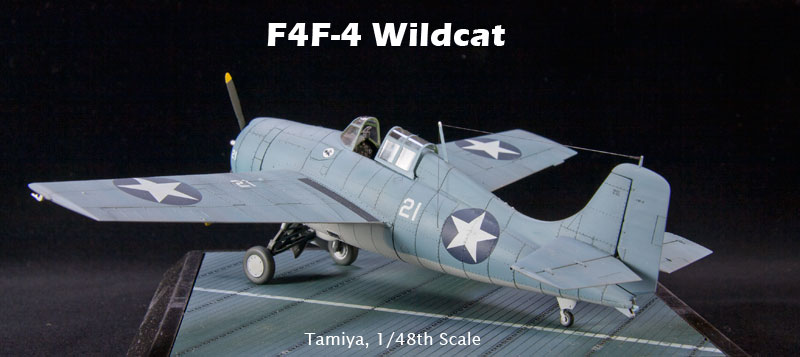
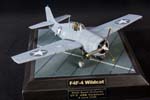
Initially taken into combat by the British in Europe during 1940, the Grumman F4F series of fighters' main theater of operations during WWII would be in the Pacific. Technically outclassed by the Japanese Zero, the Wildcat was known to be slower but tougher, and when flown by well-trained pilots using proven tactics, it was able to hold its own against the faster and more nimble enemy fighters. This version, the F4F-4, saw improvements over it's predecessor, the -3: more guns, heavier armor, folding wings, and, later in its career, longer range when fitted with external drop tanks. While the F4F-4 would be replaced in front-line service in |
|
Paints Used
|
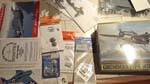
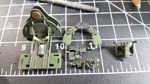
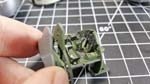
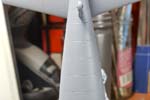
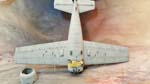
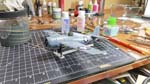
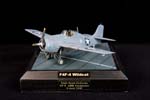
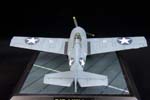
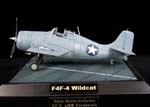
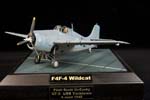
This is the Tamiya kit of the F4F-4 in 1/48th scale. It remains the best option for this plane in this scale, even though the molds are now over 20 years old. It goes together very well. The only issues I encountered was a gap between the pilot headrest and the fuselage, and a bit of a seam on the lower fuselage. The lower fuselage seam lost some of the raised rivet detail during filling and sanding, which I replaced with short sections of Archer Transfer's resin rivet decals. They blend in quite nicely. Aftermarket accessories used include the beautiful Eduard photo etched cockpit details, as well as a resin engine and .50 cal machine guns from the QuickBoost line. The sliding section of the canopy came from an aftermarket vacuum formed replacement, as I wanted that part super-thin. I started to use the Scale Aircraft Conversions white metal landing gear, but after having all sorts of trouble getting the soft metal straight and then staying that way, I ended up just using the kit landing gear. It worked fine and was plenty strong once assembled. I also last-minute realized that the kit supplied gun sight was for late 1942, so picked up a resin replacement, whose name I can't recall. |
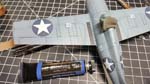
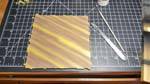
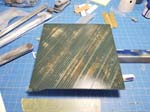
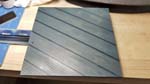
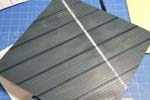
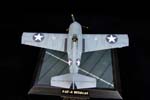
I purchased the Montex Mask set for the F4F, intending to paint all of the markings, but the rivets on the fuselage are so pronounced that I couldn't get the vinyl masks to lay down fully without significant gaps. I ended up getting a Wolfpack set of decals that has Jimmy Thatch's markings for Midway, and was able to pick and choose markings, insignia, and numbers from that excellent set to make McCusky's F-21 livery. I custom mixed a Tamiya gray for the lower fuselage, and used the old reliable Testors Blue Gray out of the bottle for the main color. VF-3's Wildcats were almost brand-new when they sailed on Yorktown for Midway, so I held the weathering to mostly sun fading. As part of the process, I applied some oil paint glazes (filters), using the Abteilung Intense Blue during the process. It gave the finish a nice punch of blue-green that period photo show for new aircraft painted in the standard blue-gray. I drew the flight deck base in Rhinocerous, then laser cut it out of acrylic. Yes, the planking scheme is correct for Yorktown. I painted the deck wood, then applied layers of blue over it, scuffing and sanding to get a worn look. The black frame is made from poplar wood I cut on a table saw, with the nameplate being reverse cut on clear acrylic with the laser, to allow painting from behind. Overall an enjoyable build with a nice looking result. I've entered her in one model contest, but didn't take any awards. I'm sure this is mostly because the horizontal stabilizer isn't completely level. That doesn't matter to me, though, as this is likely my favorite build to date, and every time I walk past the display cabinet and see her, I smile. -May 2019 |
|
| Photos were taken with my Canon 400D (Rebel Xti) and 50mm fixed lens. I used a black photo paper background, and several external daylight-corrected CFL light sources with diffusers`. Post-processing done in Photoshop using a gray-card reference shot. | |

 |
 |
 |
 |
 |
 |
 |
 |
 |
 |
 |
 |
 |
 |
 |
 |
 |
 |
 |
 |
 |
 |