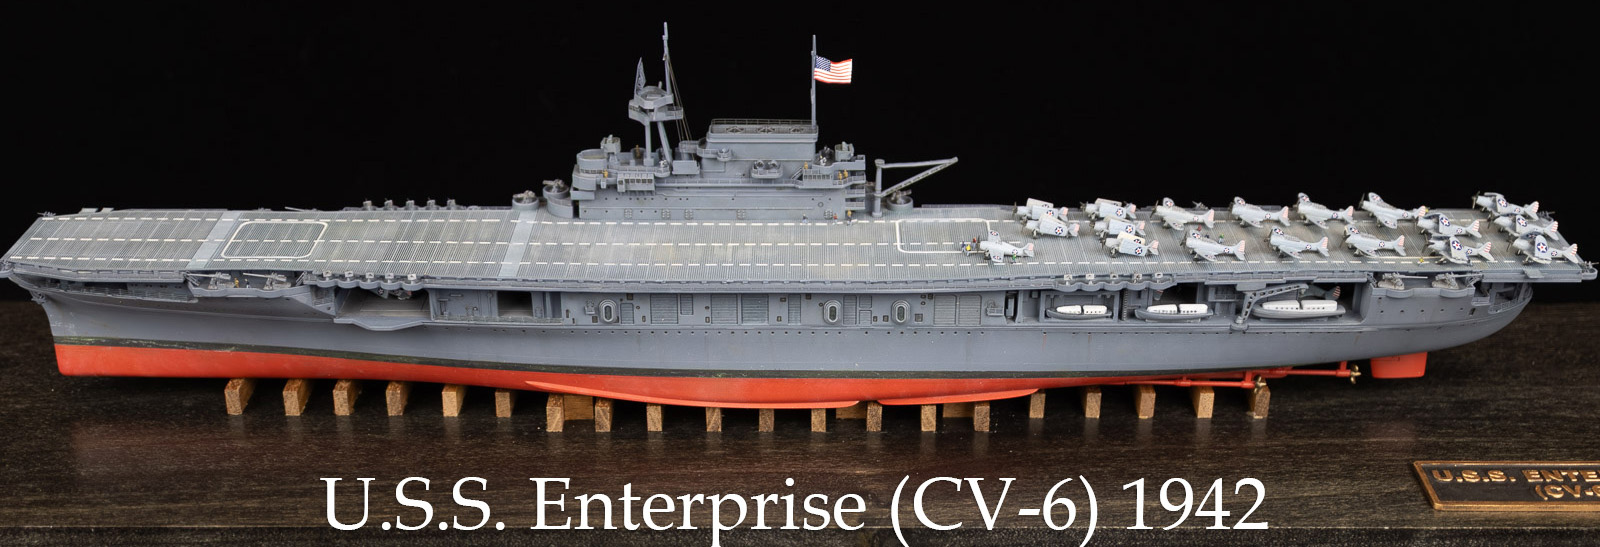
There’s been so much written about USS Enterprise (CV-6), that I’m not going to get into her entire history here. Suffice to say that she’s one of the most famous ships of WWII, and in U.S. Navy history. One of the three Yorktown class carriers, she’s the only one of the three to survive the war (Yorktown lost at Midway, Hornet lost at Santa Cruz). Enterprise participated in nearly every major naval engagement of WWII in the Pacific, only missing Coral Sea. There was talk of preserving her as a museum ship in New York City after the war, but political intrigue inserted itself, and museum ships were a new concept at the time. As a result, she was scrapped in 1956. Her sternplate with the name Enterprise survives, and is slated to be part of the U.S. Navy museum when it opens in Washington D.C. Portholes and other structural components from CV-6 were used in the nuclear carrier U.S.S. Enterprise (CVN-65), and have been taken from that ship as she is scrapped, to be integrated in the new U.S.S. Enterprise (CVN-80).
This is from the Academy Models “Modeler’s Edition” version of the Enterprise model, that I built and finished a few years ago. This edition included photo-etched brass and painting masks in addition to the usual kit components. Out of the box the kit is quite nice, the only issues that are initially apparent is that the aircraft are just… not good. I used the kit supplied aircraft only on the hangar deck, and used the amazing Flyhawk USN Aircraft set for those on the flight deck. Also, the anti-aircraft armament is extremely simplified, so I replaced those with AA fittings from Fine Molds: they’re much more detailed, and look great on the ship. The only caveat I had with them is they’re not exactly styrene, more like ABS plastic, which is a bit more glossy and flexible, but they took paint and glue just fine, so I’m happy with them.
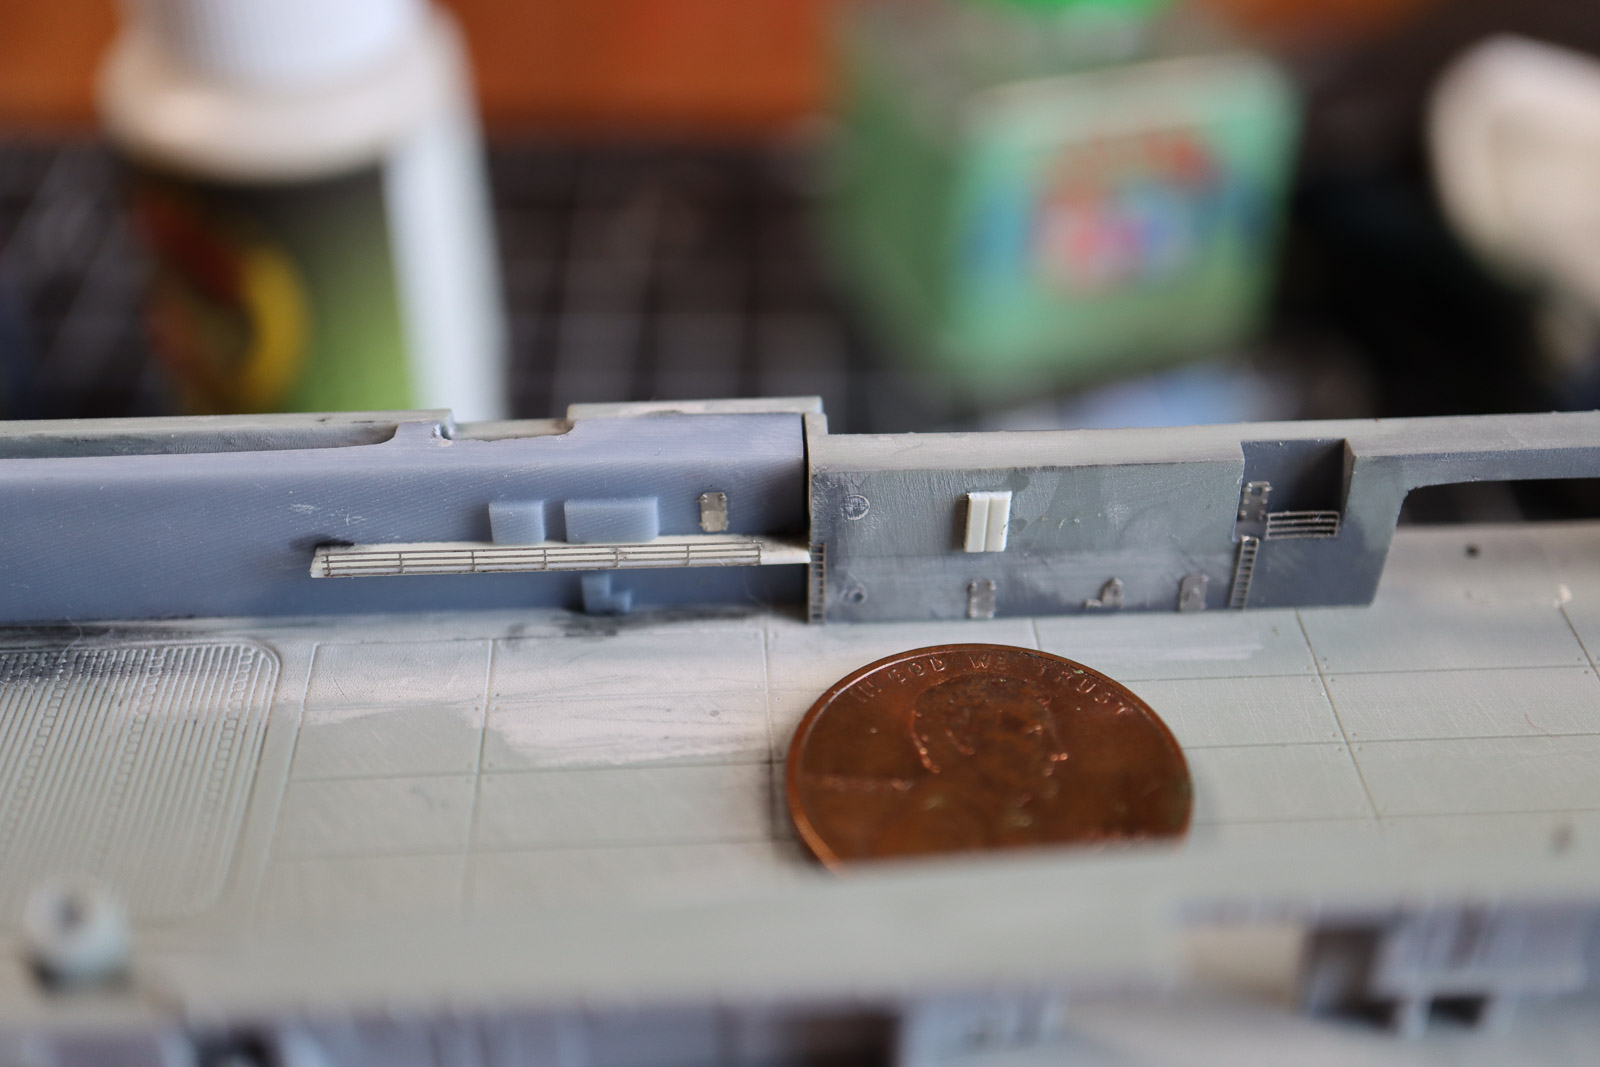
Construction was simple and straight-forward. I opened up the hangar deck roller doors so the interior can be seen. There’s little to no detail in there, though, so I filled a lot of injector pin marks, then added interior detail with photo-etched doors, ladders, and hose reels. The main structures under the island where the stacks trunk into the funnels was completely missing, so I drew those in CAD and 3D printed them. The only real issue with the hangar deck is the forward elevator well. That entire area is mostly solid in the model, for what reason I can’t imagine. I put a plane in the area to camouflage it a bit. If I were to build this kit again, I’d simply leave those forward hangar roller doors closed. To show off the detail I put minimal LED lighting in the hangar deck, something simple that runs off of a single watch battery, activated by a brass switch I made from brass rod and a small electric switch, mounted in the wood base.
Paint
Hangar deck- Tamiya XF-75
Hangar bulkheads – Tamiya white with a very light touch of XF-75
Aircraft Canopies: Model Air Black Grey
Decks – Model Master Acryl 20B
Flight Deck – AK 3rd Gen, 2 parts 11190 Dark Sea Blue 1 part 11173 Ocean Blue. That was too green, so overshot it with 2 parts Dark Sea Blue to 1 part Dark Blue Gray. Much better. Could still be less blue. THEN, I went over that with Tamiya Buff, mostly covered, then covered that mostly with Model Master Acrylic 250N.
Boat’s cockpit covers: MM 5-H
Hull: Model Master 5N, straight out of bottle
Anti-fouling red: Model Air Fire Red 71084, Model Air Red 71003, 1:1
Aircraft underside: AK3rdGen Light Gull Grey AK11866
Aircraft blue: AK 3rd Gen, 2 parts ak11865 “m-485 blue-gray”, 1 part ak11114 “deck tan”
Once the aircraft, lights, and a few figures were installed in the painted hangar, I sealed it up and moved to the exterior. The hull sides lacked an armor belt, so I masked it off and sprayed a thick coat of primer to build up the shape. I played with some weathering on the hull, using a splotch template to pre and post shade. I kept thinking it was too much, though, and going over it with the base colors, knocking back the contrast. Upon completion, I wish I’d pushed the wear and tear further. The island went together very easily, as did the flight deck galleries. I’ve only recently come around to “snap fit” kits, after giving up on them as a child. The fit of this kit isn’t quite to the level of the Bandai Star Wars kits, but it’s really close. Very minimal filler used on the hull seams, and where the island sits on the flight deck. The supplied photo-etched brass is great, the custom sized pieces fit exactly where they should. The pre-cut deck masks are also amazing. I’ve become a huge fan of these in recent years, and I’ve gone so far as to pick a project based on whether it has pre-cut masks included or available as aftermarket. They result in a much cleaner finish, and a huge time savings.
For paint I used my dwindling supply of Testors’ Model Master Acryl paints, 5N Sea Blue for the hull, and 20B for the decks. They’re still my favorite paints: easy to spray and brush paint, colors maybe not exactly 100 percent accurate to S&S paint chips, but close enough and they have the look that feels right to me for a weathered warship and aircraft. For other main colors, such as the blue-gray of the aircraft and the flight deck blue, I mixed custom colors from AK 3rd Gen paints.
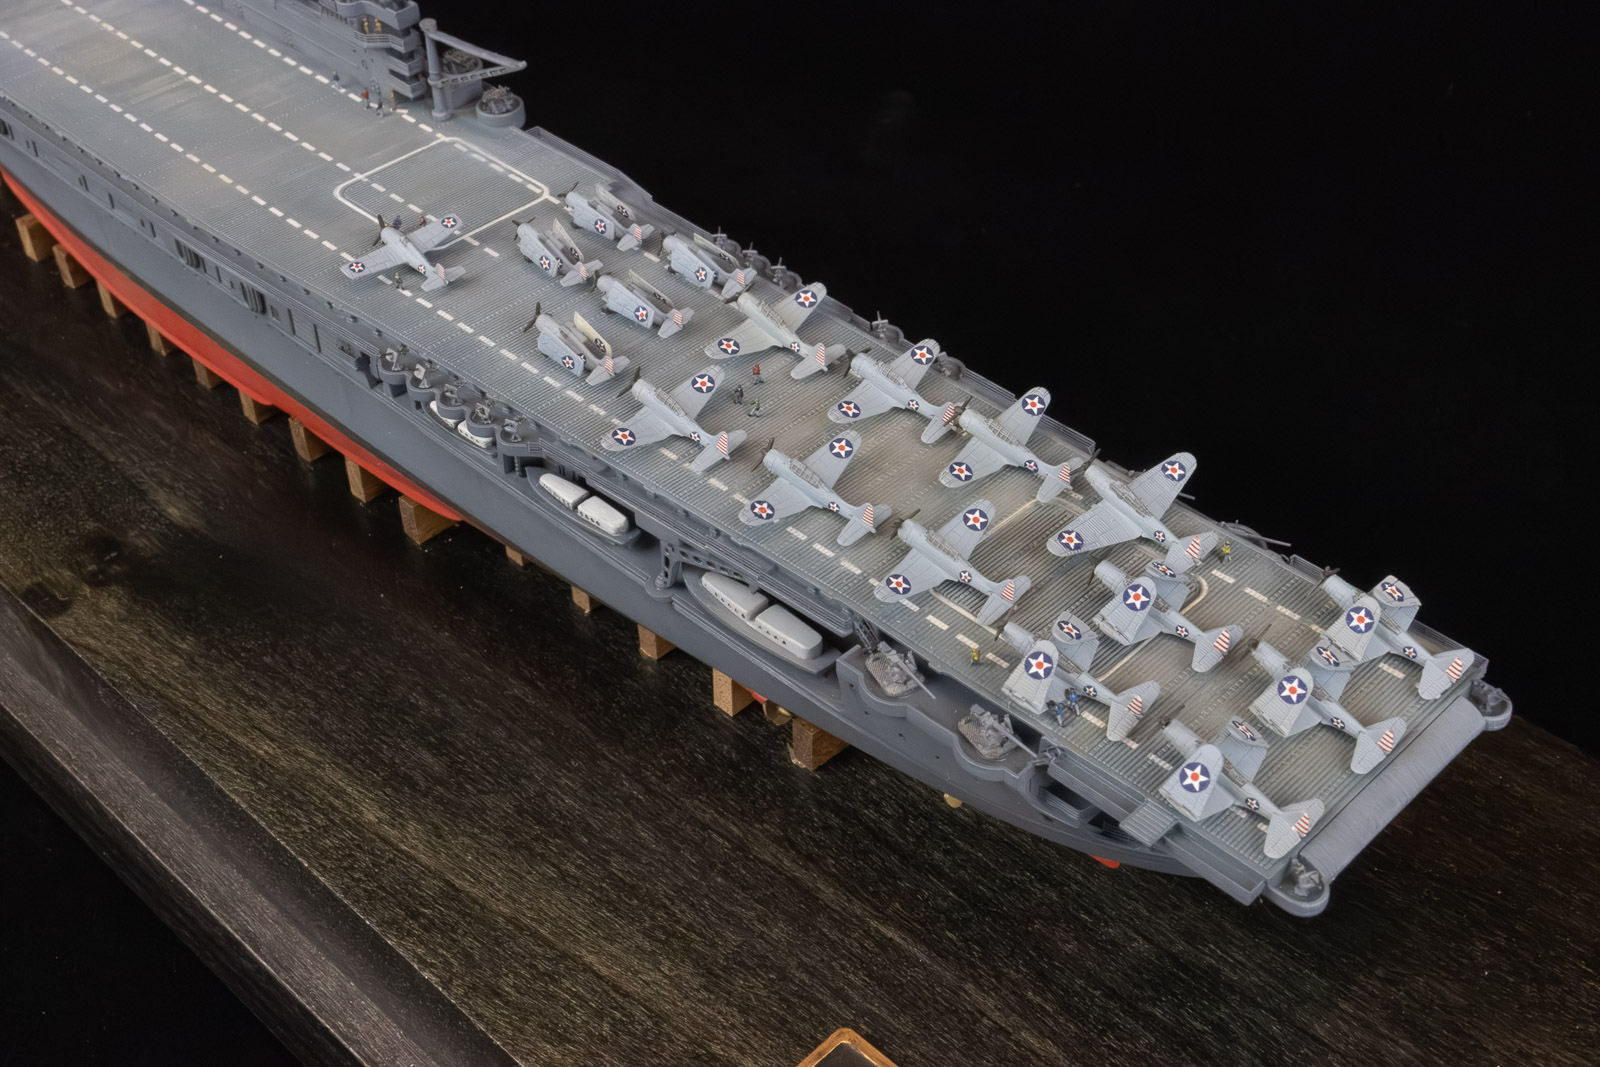
As previously mentioned, I used a couple of sets of the Flyhawk USN aircraft sets for the flight deck. Simply amazing little kits in themselves, up to Flyhawk’s usual standards. The figures are a few extra resin and 3D prints I had laying about, but mostly the ION Models set. One other bit of 3D modeling and printing was done for the bow 20mm tub; I lost the #@$@#(! thing and found it easiest just to make my own replacement. I also drew and printed the ship’s anchors, as the kit versions were way too simplified.
Final steps for the project were the base, cut from poplar and washed/stained black, keel blocks cut from… some sort of wood that I’ve forgotten. I drew and printed the nameplate and ship’s crest. An acrylic cover was sourced from Grandpa’s Cabinets, who does outstanding work.
Noticed issues: Along with the weird issue with the forward hangar deck mentioned previously, the only other major problems were the overly simplified aircraft — which look fine filling up the tight hangar deck — and the AA weapons. I’m not sure if the gallery decks are too shallow, or the aftermarket weapons are too big, but they stand way too proud of the flight deck. It’s likely a combination of both. Also, for Enterprise’s fit at Midway, the kit’s stated time-frame, there are slight errors in AA locations around the flight deck, as well as discrepancies in the searchlight locations on the stack. I’m sure there are other issues with boats, liferafts, etc., but I didn’t really care.
Overall a great project. Easy to assemble and fun to paint. Further research shows that the Trumpeter kit of Enterprise would be more accurate and have greater fidelity in some of the components, but this model is so easy and fun to build that I didn’t mind at all. In the end, sitting in the display cabinet, she looks like the Big E.
Finished 2023. The model now resides in a private collection.


