This past weekend was the annual Wonderfest science fiction model show in Louisville, Kentucky. This show is always a highlight of the year, not only because of the quality of the show, but because I’ve made some great friends there, and this is a chance for us all to hang out, geek out, and eat too much good food. (Seriously, when did Louisville become such a culinary scene?).
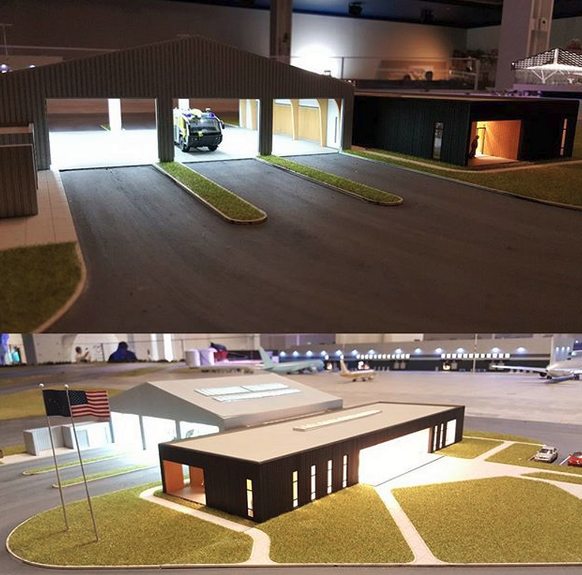
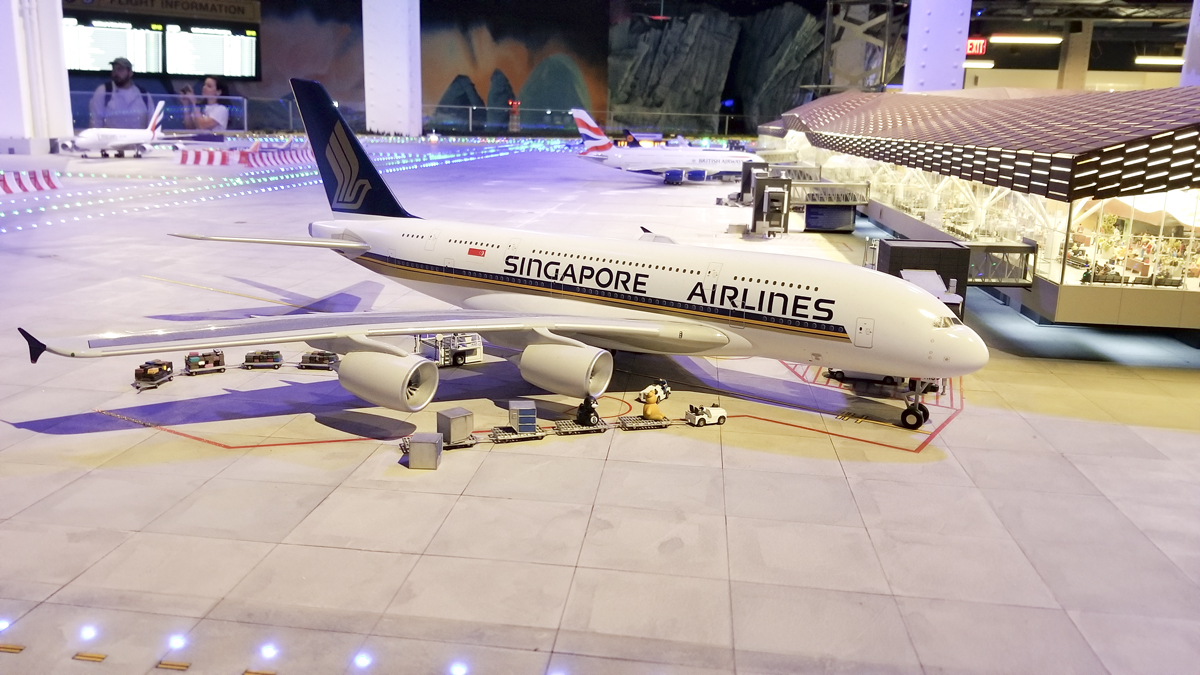
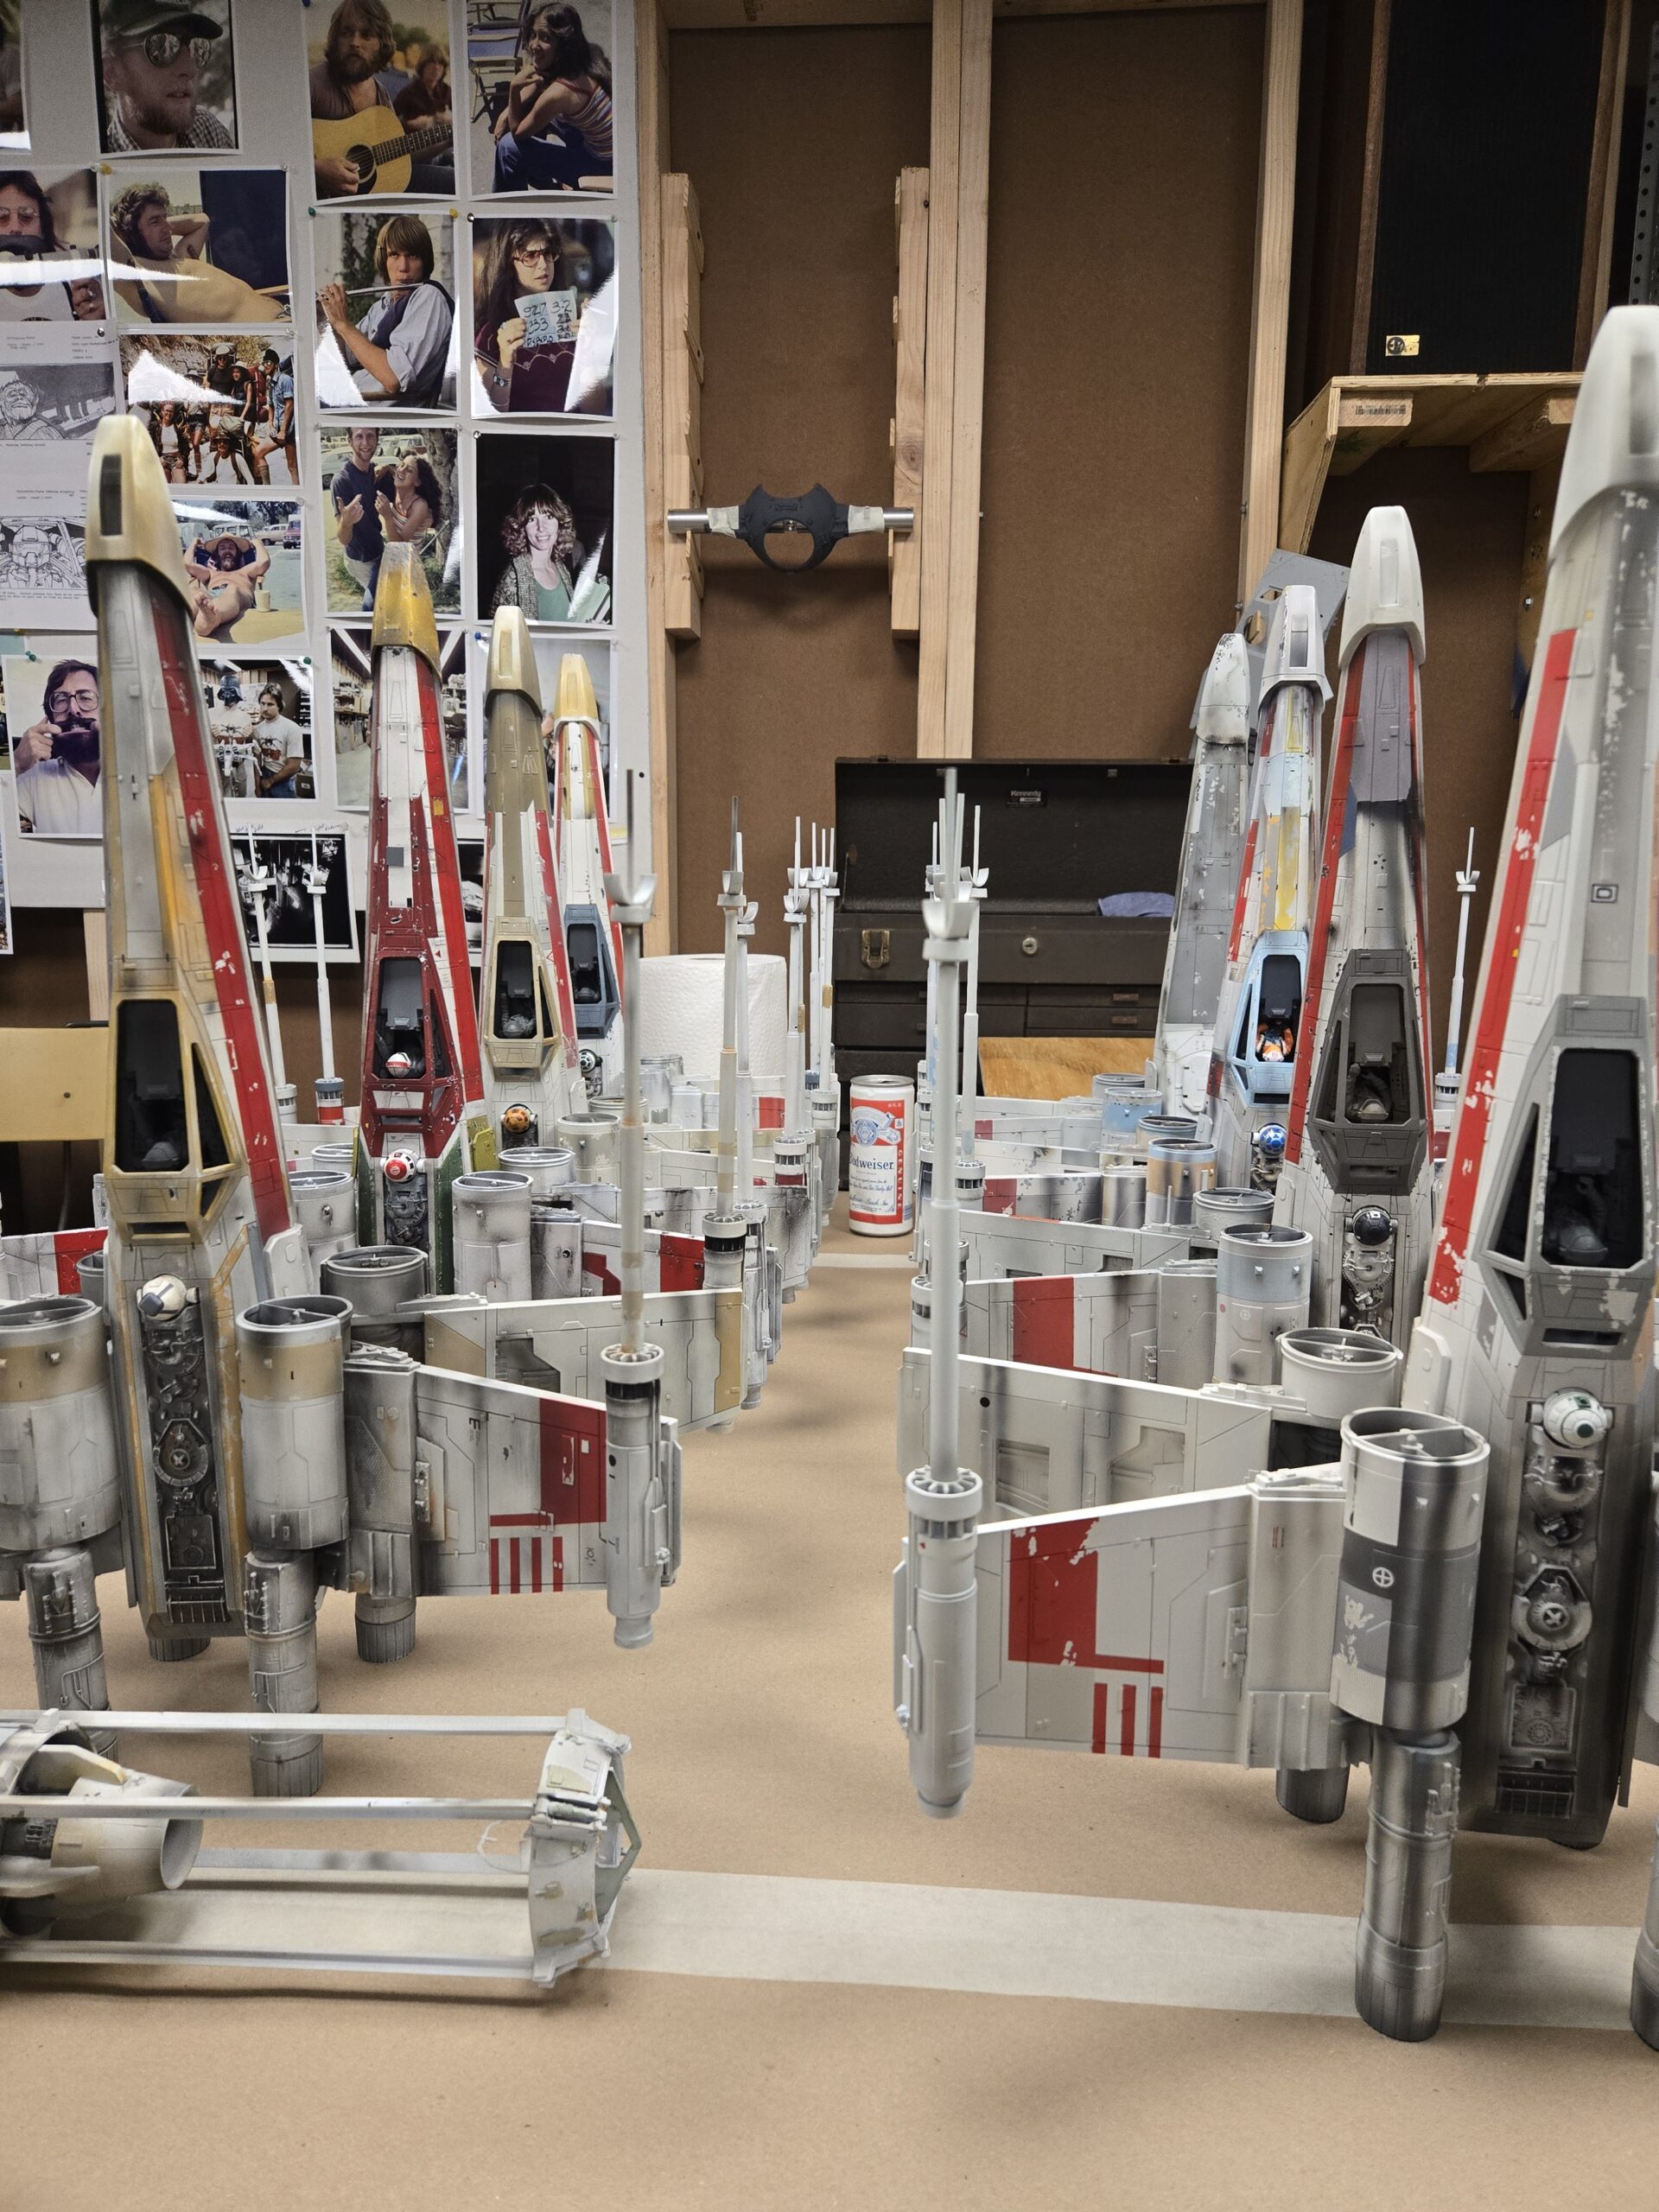
One of the main attractions this year was a recreation of the ILM
Continue reading