 I finished this one late last summer, but I haven’t been much in a photography mood as of late (I still have two other completions to photograph as well).
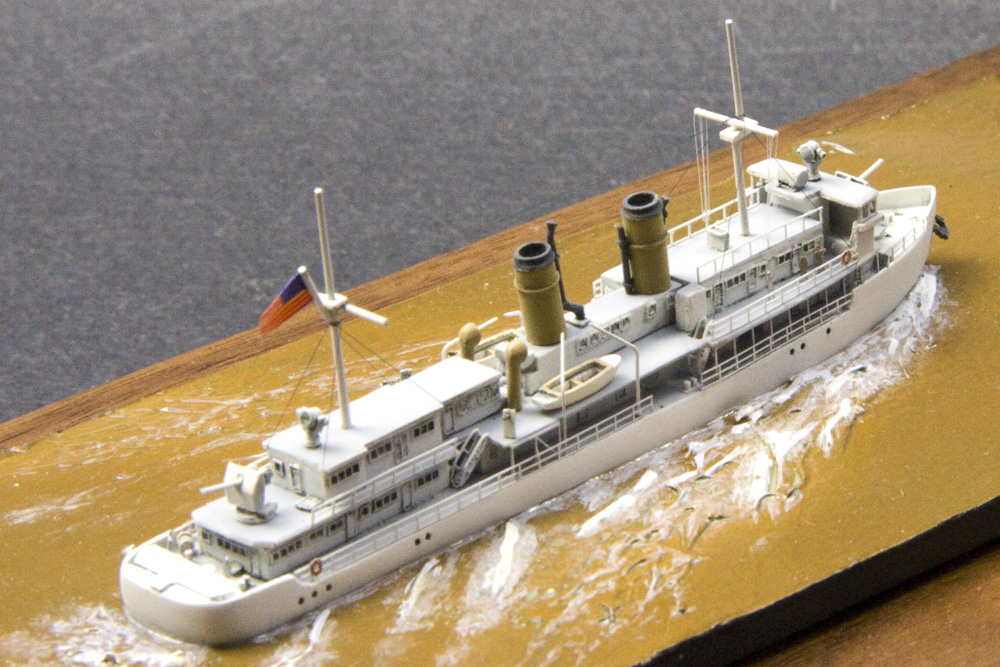
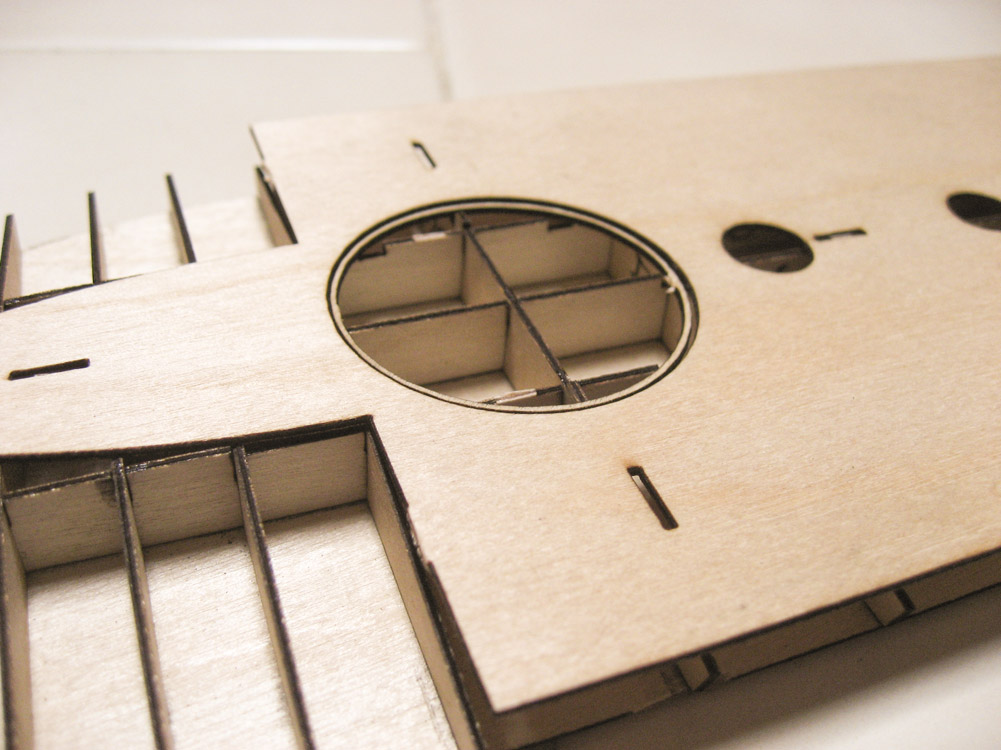
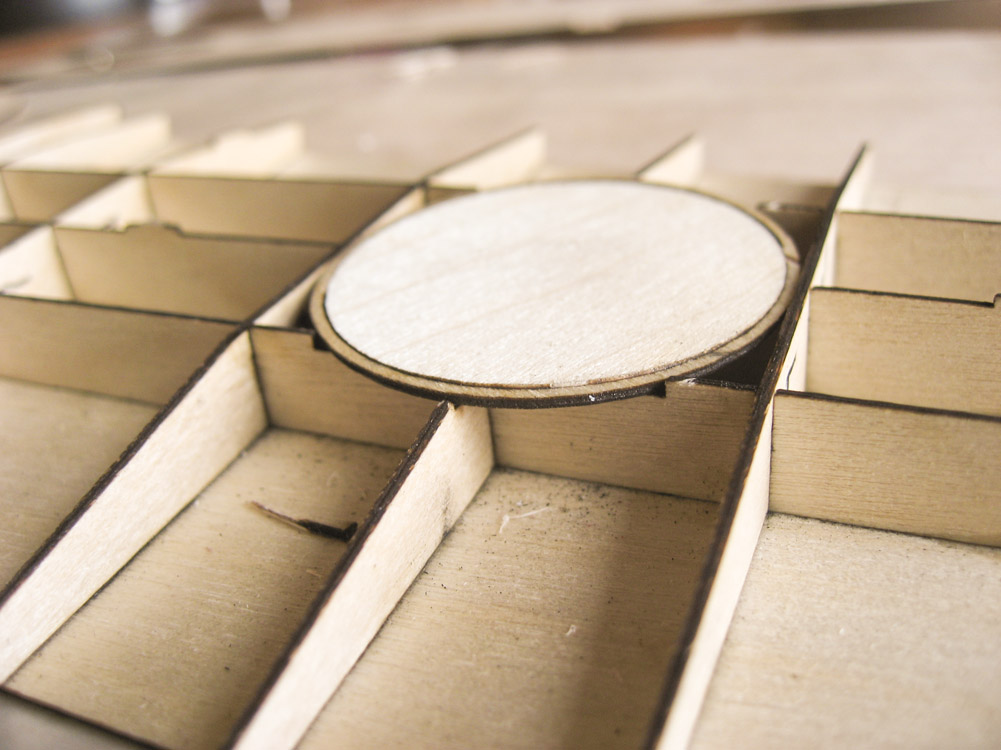
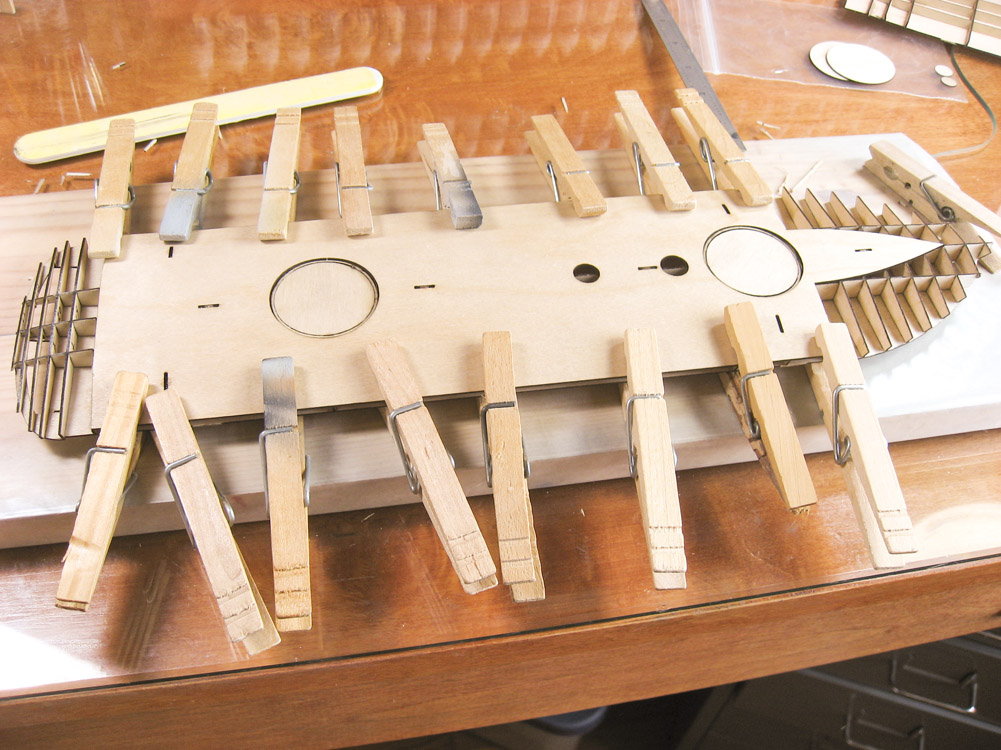
Something unusual. Overall a fun little kit, but I have to admit that at times I wasn’t having fun at all with some of the smaller bits and more than once Luzon nearly went sailing across a sea of profanities into the from room’s brick wall.
I’ve got a few more of these Niko resin kits from various eras (Great White Fleet, WWII British, and U.S. Cold War missile cruisers), and I’ll surely build something else from them in the future.
More photos and the full story on the build can be seen HERE.


 from the 3D model render, and what the finished ship will look like. I'll most likely use the same color scheme.")
