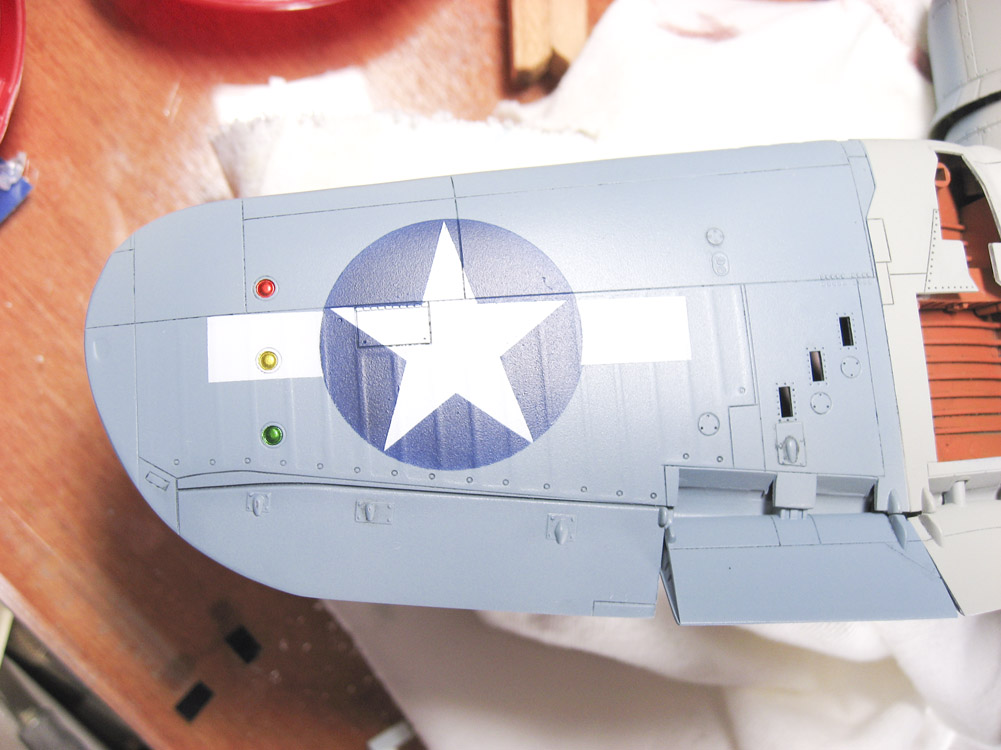
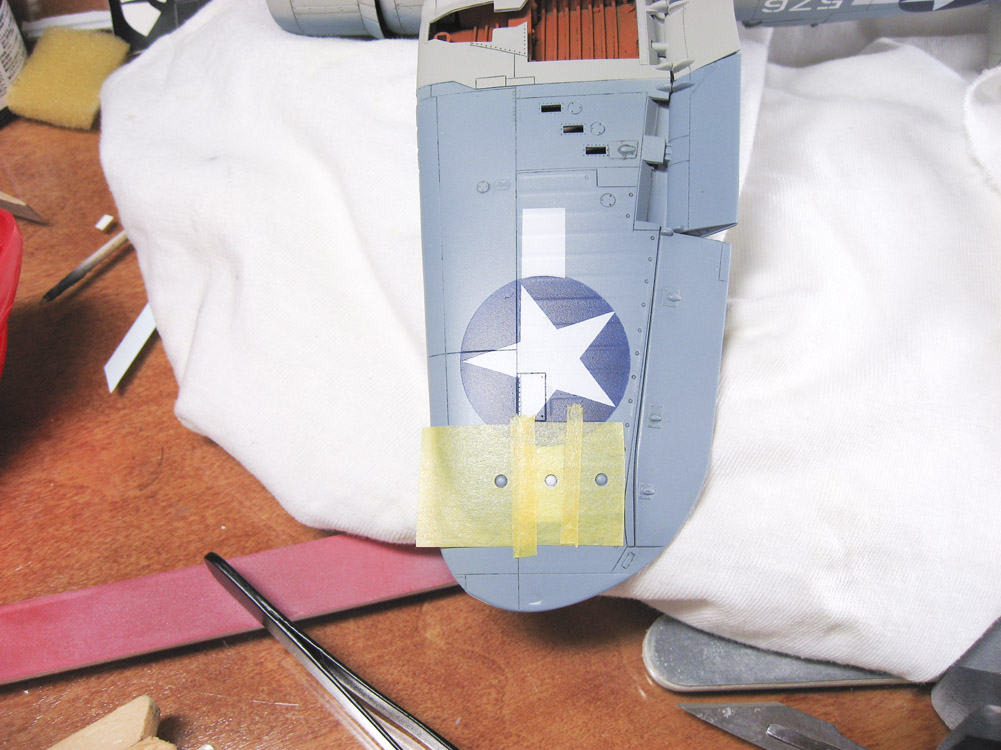
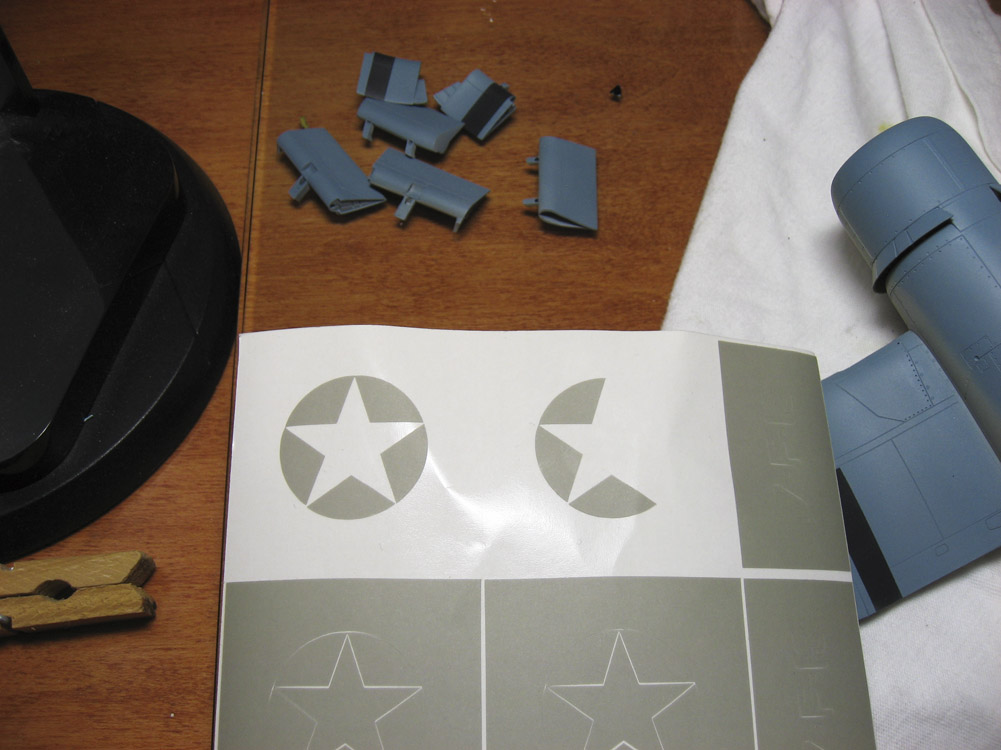
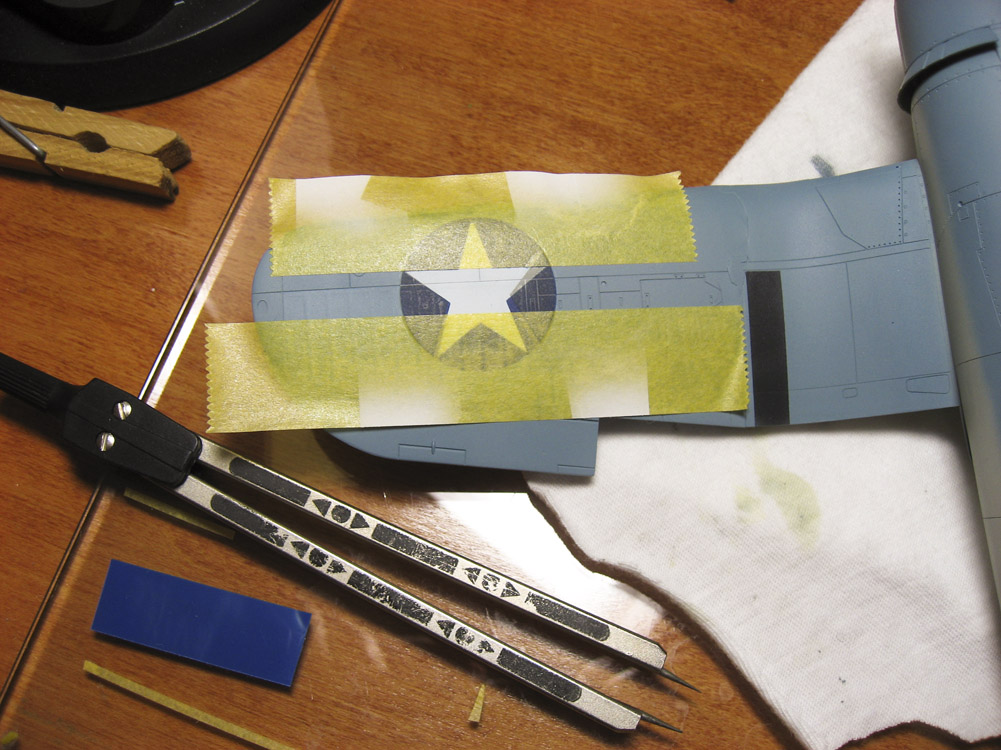
, waiting for the detail wash.") I’m at my favorite part of a build with the Corsair: the last minute touches and weathering that make everything come alive. I’ve been at it most of the day today, swapping between airbrushes — one set up to spray acrylic, the other to spray lacquer — and jumping back and forth between final items as they present themselves. For instance, I have photos below of masking and painting the lower colored ID lights. I finished those, only to remember that I also needed to do the wingtip formation lights in the same manner, so I went back to masking and shooting the base silver coat and then the clear red and green paint on top of that.
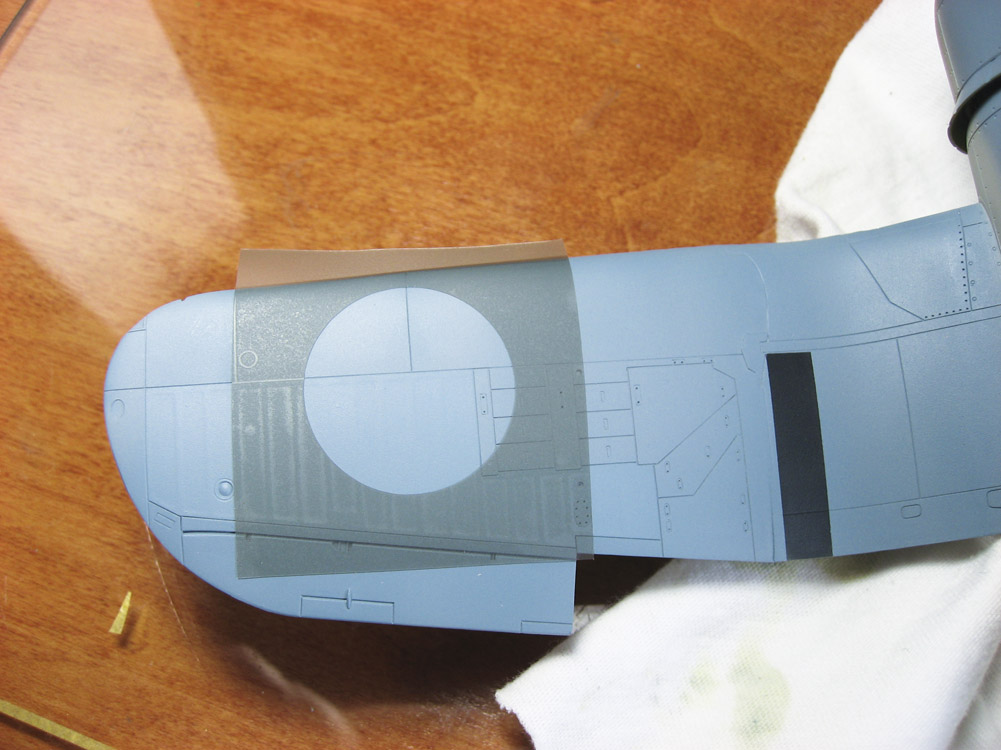
I’m at my favorite part of a build with the Corsair: the last minute touches and weathering that make everything come alive. I’ve been at it most of the day today, swapping between airbrushes — one set up to spray acrylic, the other to spray lacquer — and jumping back and forth between final items as they present themselves. For instance, I have photos below of masking and painting the lower colored ID lights. I finished those, only to remember that I also needed to do the wingtip formation lights in the same manner, so I went back to masking and shooting the base silver coat and then the clear red and green paint on top of that.
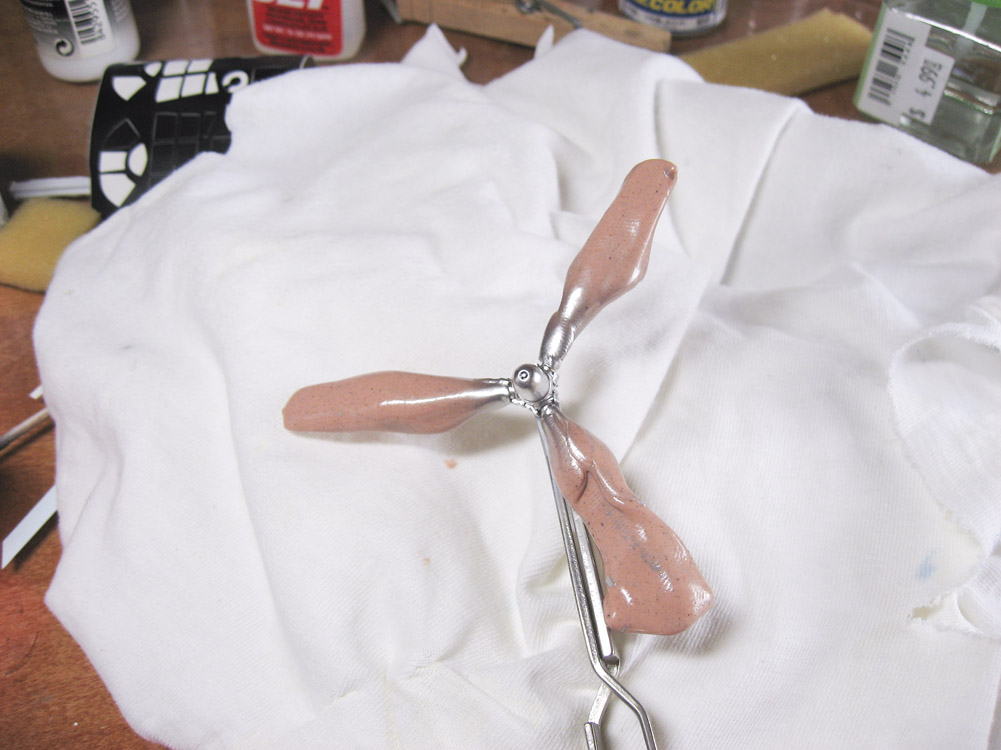
As I work on the propeller, I dug through my paint supplies and found out that I have absolutely no model paints in insignia yellow, for the blade tips. I have some artists acrylic tube paints that have a close match, so I guess I’ll try my luck at thinning that stuff and shooting it through an airbrush.
The next steps are to put on the landing gear and associated doors, do some dry brushing to bring out some details, any final clear coats, rig the radio antenna, and then call her done. This is the final build post, the next time I show this model she’ll be done and ready to go.

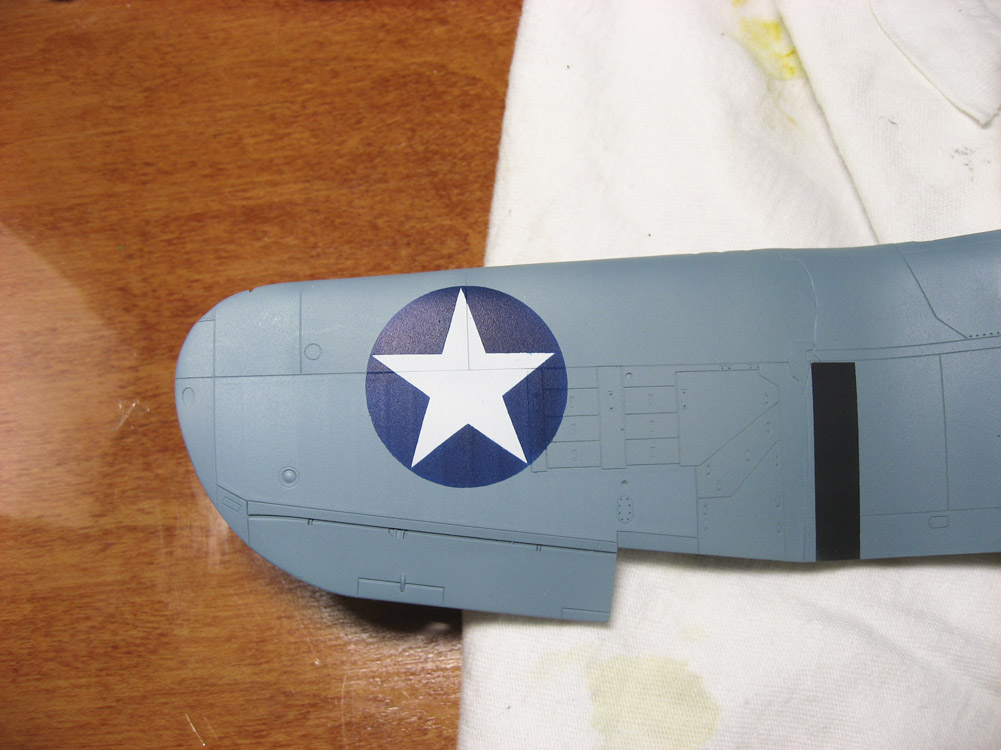
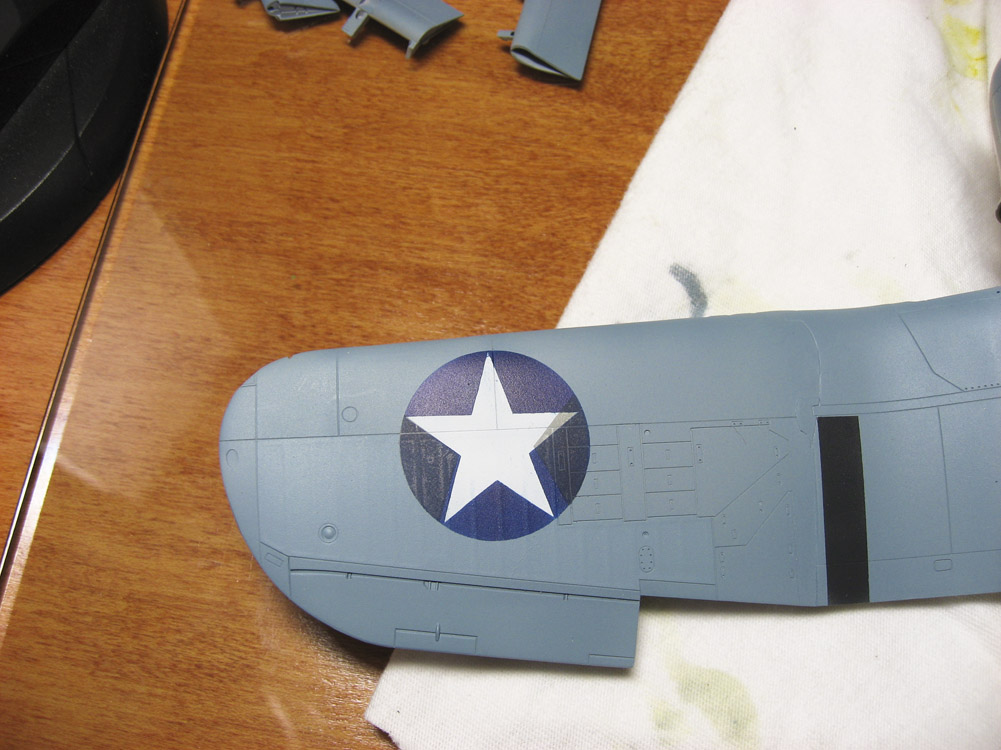

 I’m building this as a Marine Corps bird. Before, and during the early parts of, WWII, Marine squadrons would be made up of old aircraft that the Navy had already used to death, or aircraft that the Navy didn’t want. After the Corsair had difficulties with carrier qualifications — stiff landing gear, bad visibility over the nose, and it’s just a HUGE aircraft — they sent them on to the Jar Heads. The aircraft’s issues didn’t affect shore-based use at all, and the Marines proved them to be such an excellent plane that the Navy resolved the carrier handling issues and eventually began to ship Corsair squadrons on carriers.


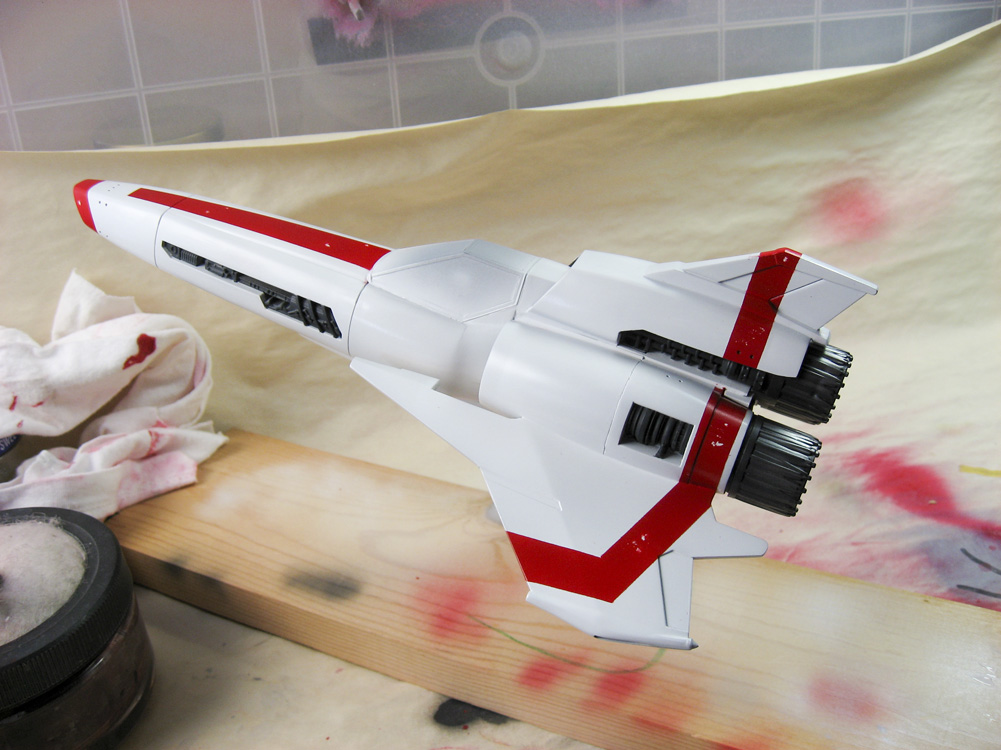
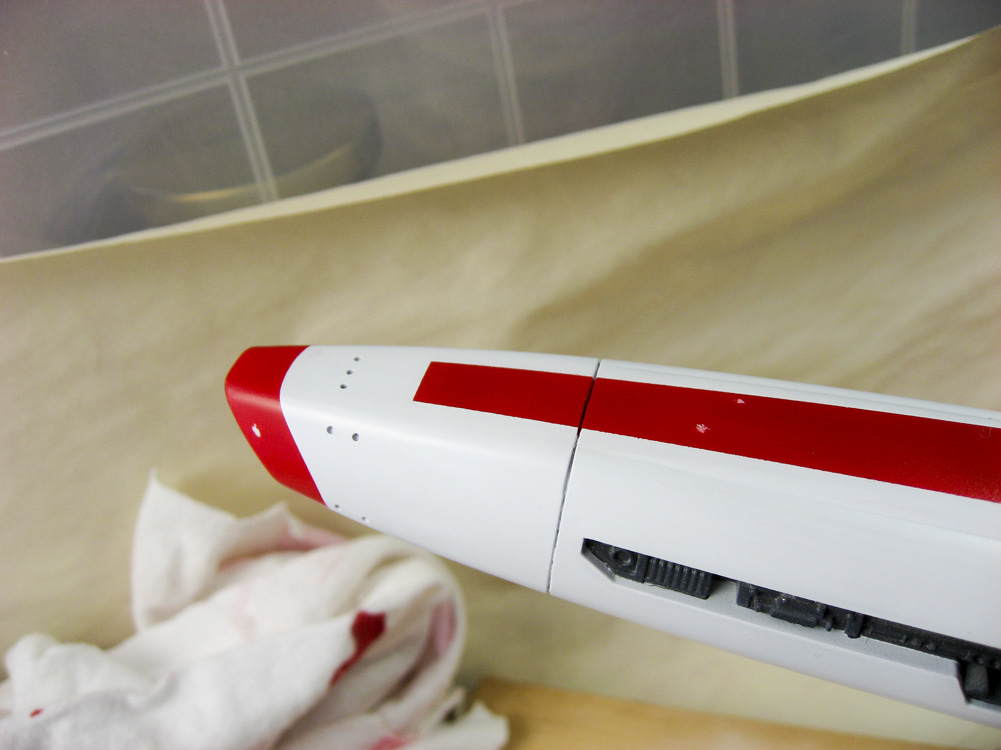
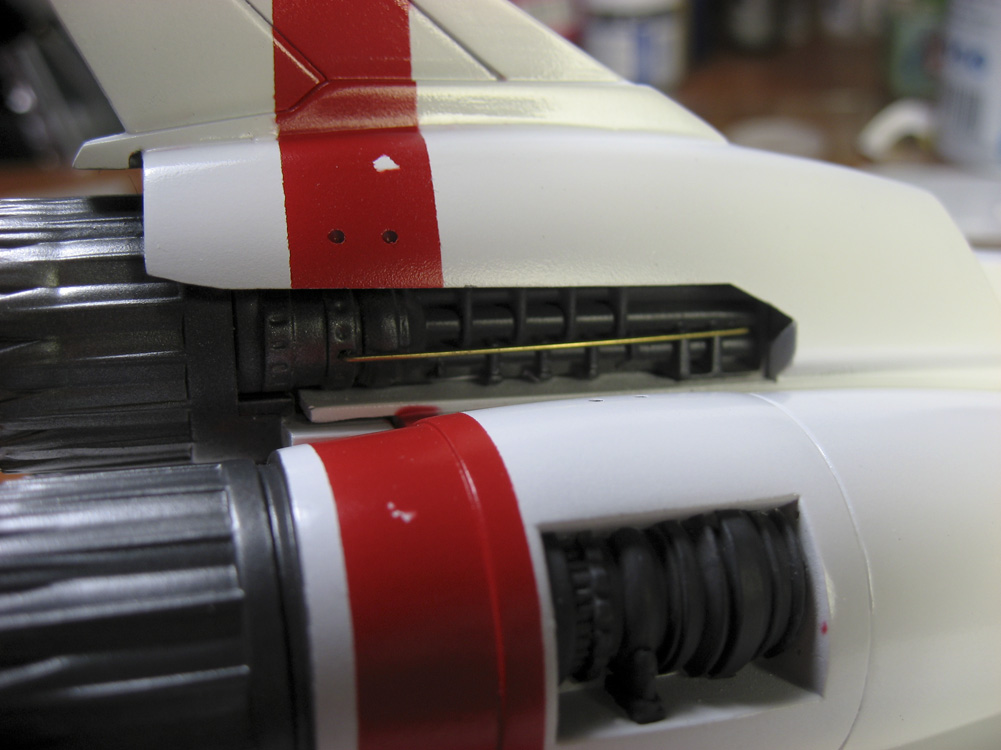
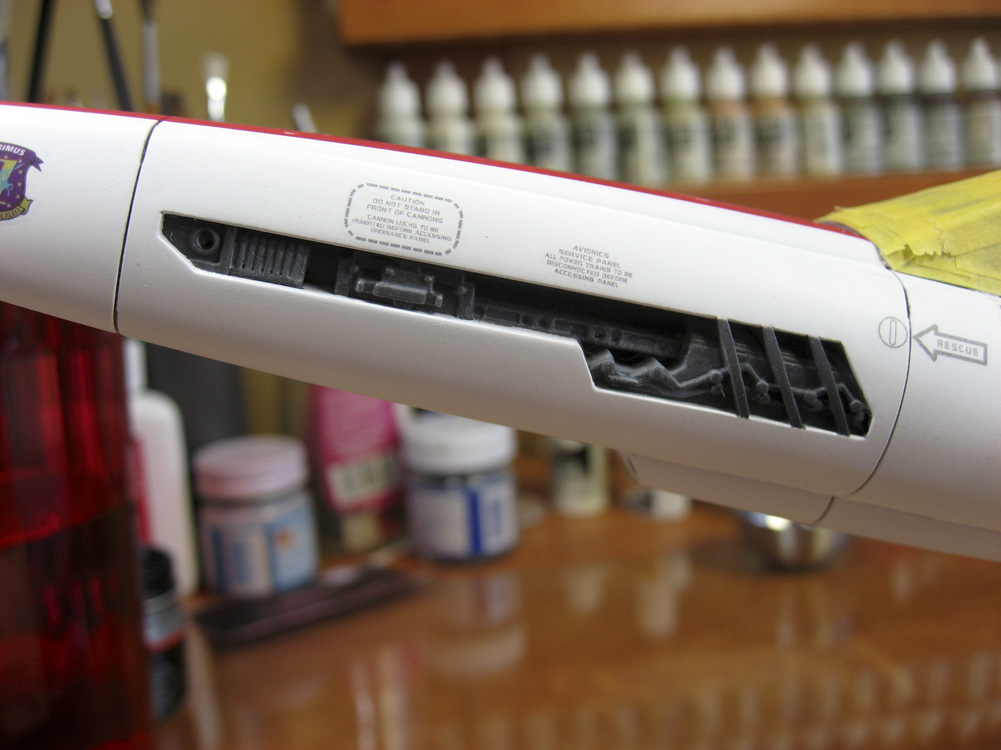
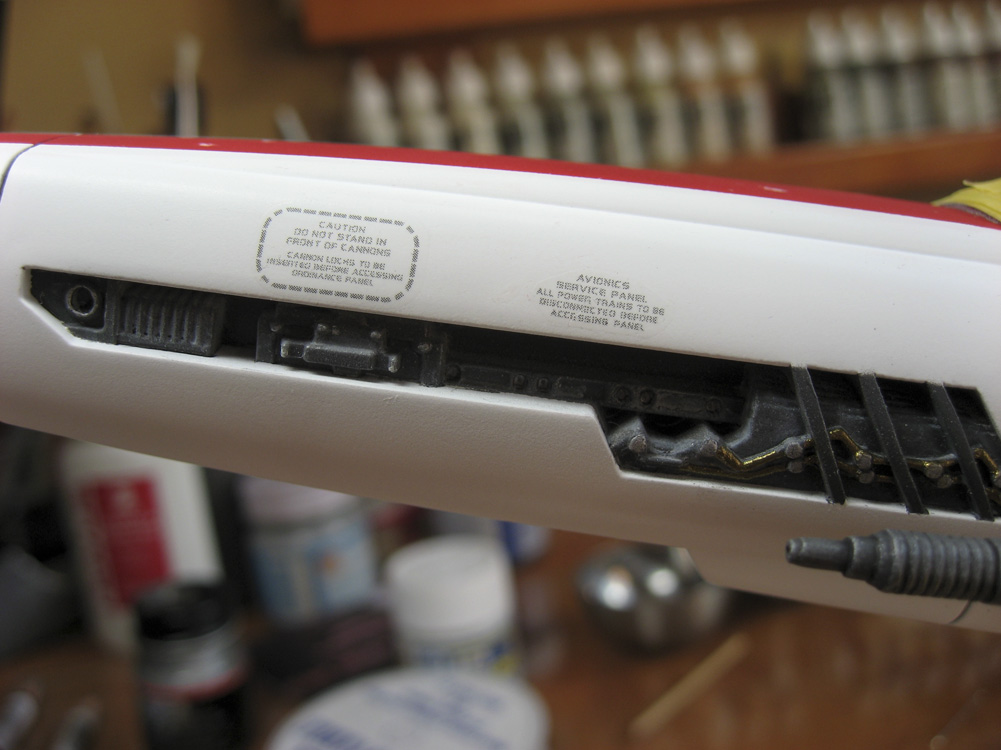
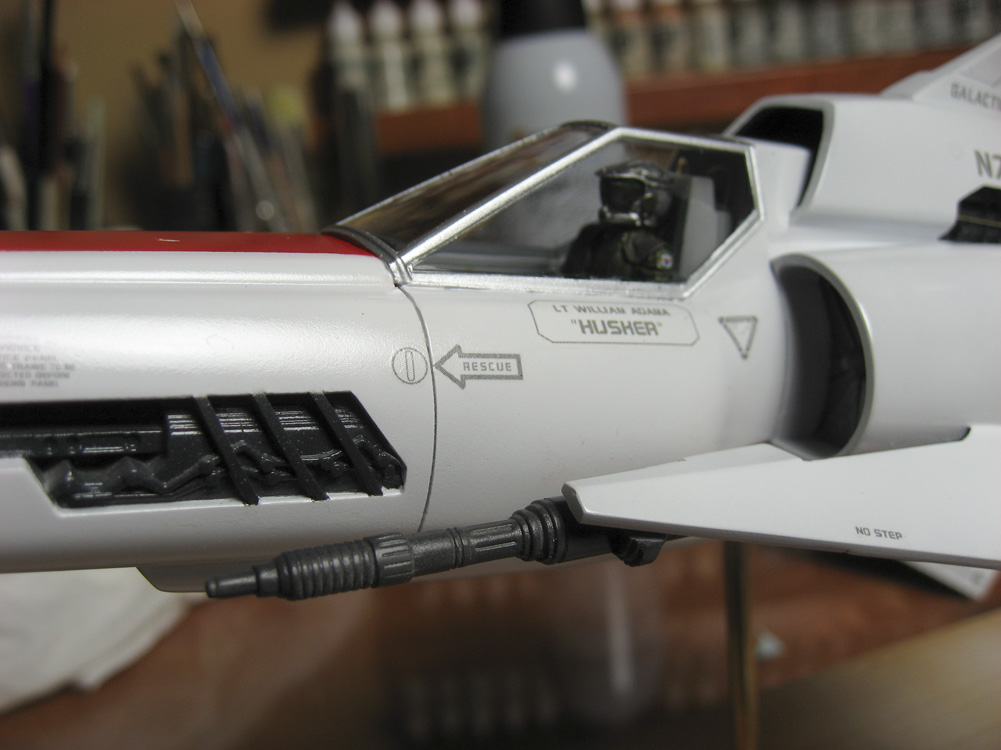
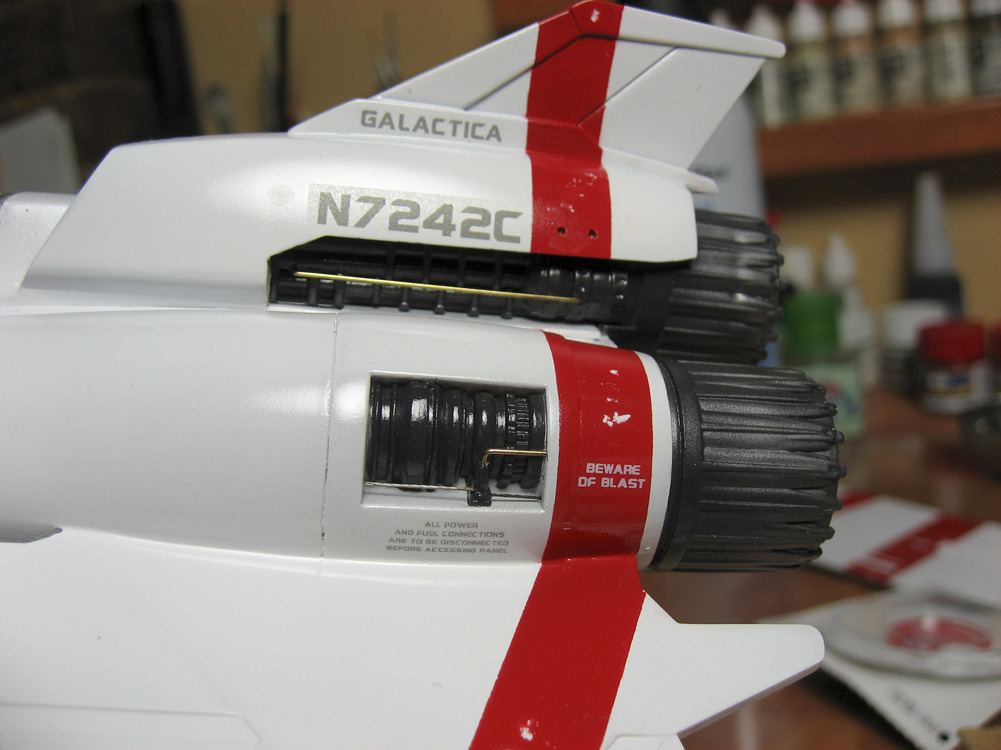
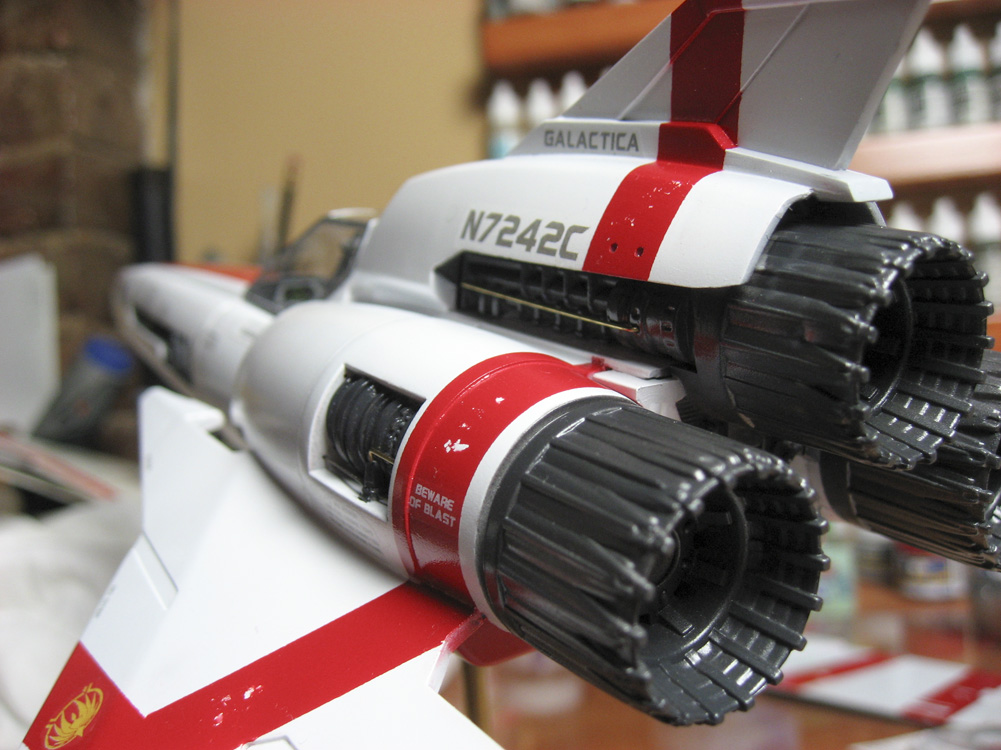
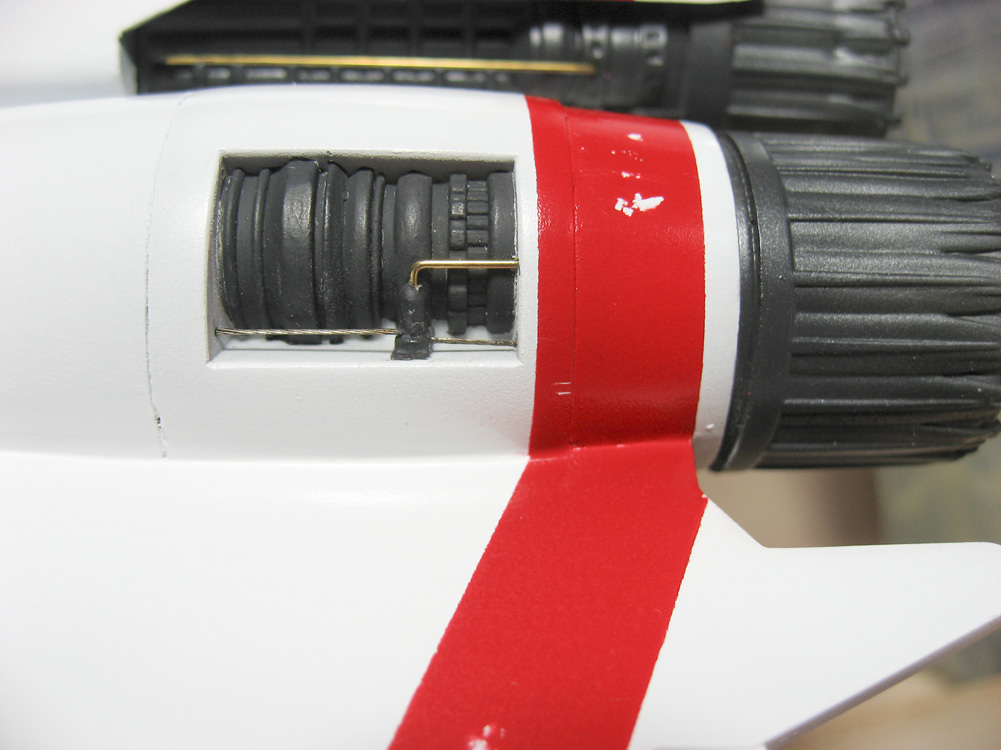
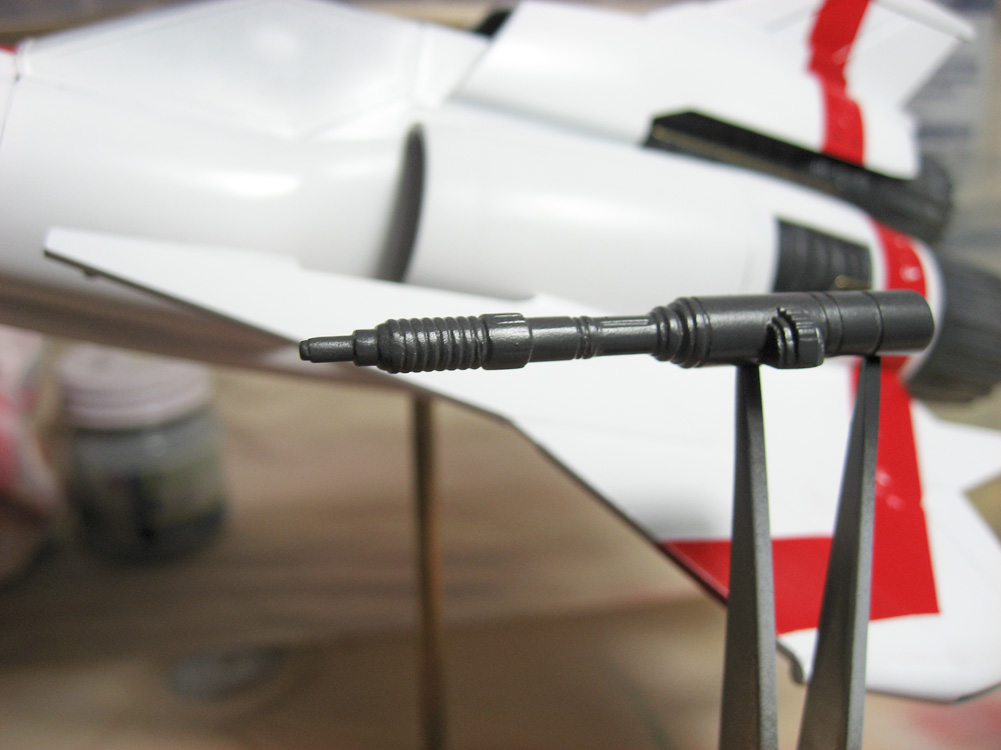
 This will be my final update post on the Colonial Viper MKII. The next photos will be of her completed. But for now, here are a few photos of the weathering process. I’m only going to show the forward avionics bays to illustrate this, as there’s more going on in that section, detail-wise, than in the engines, and because I’m close enough to the end that I don’t want to show overall shots of her until completely finished.
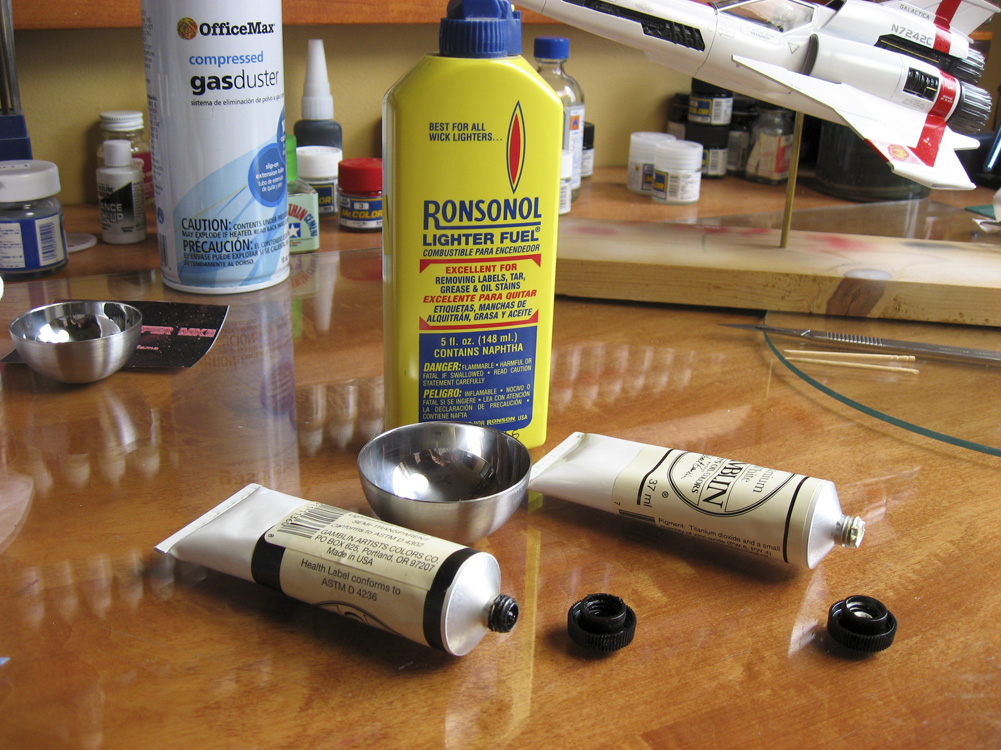


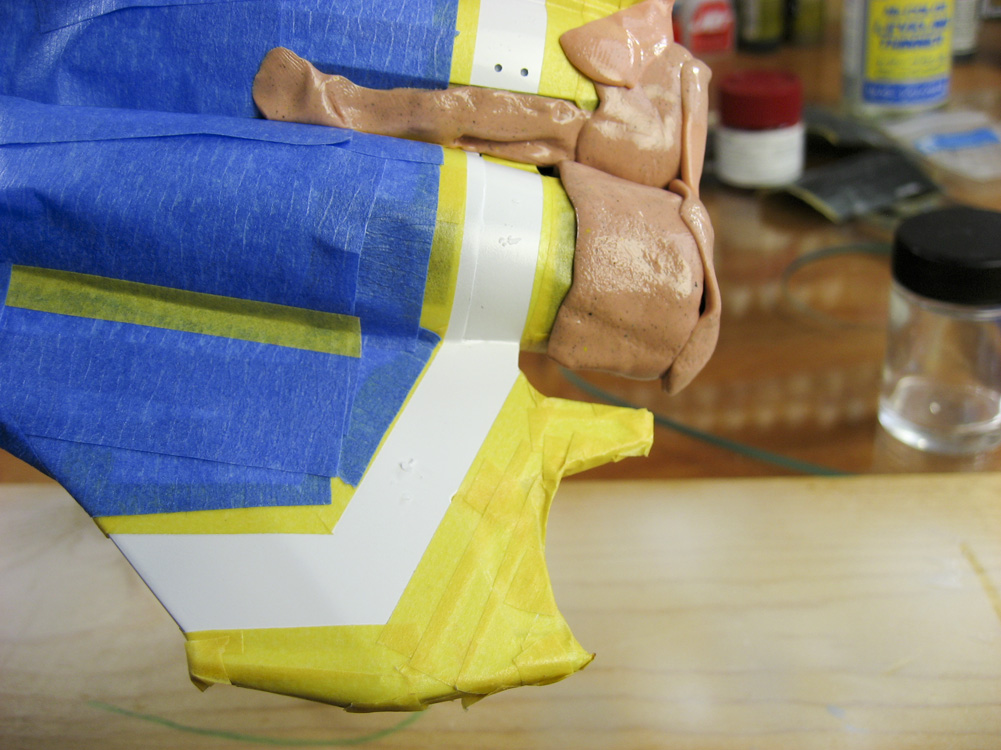
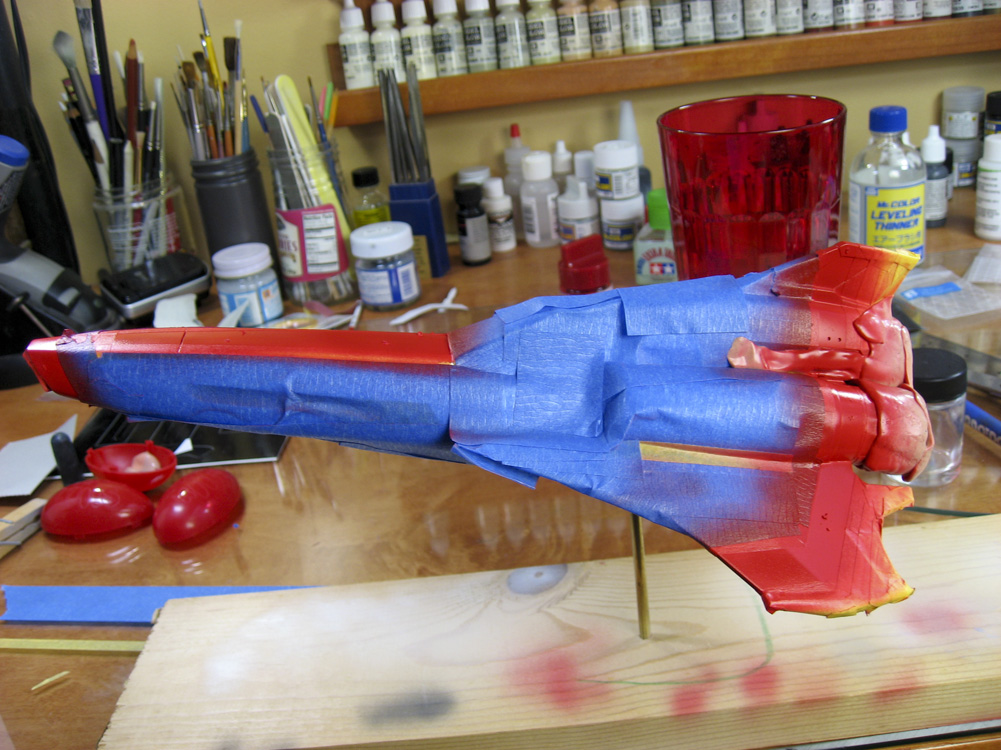
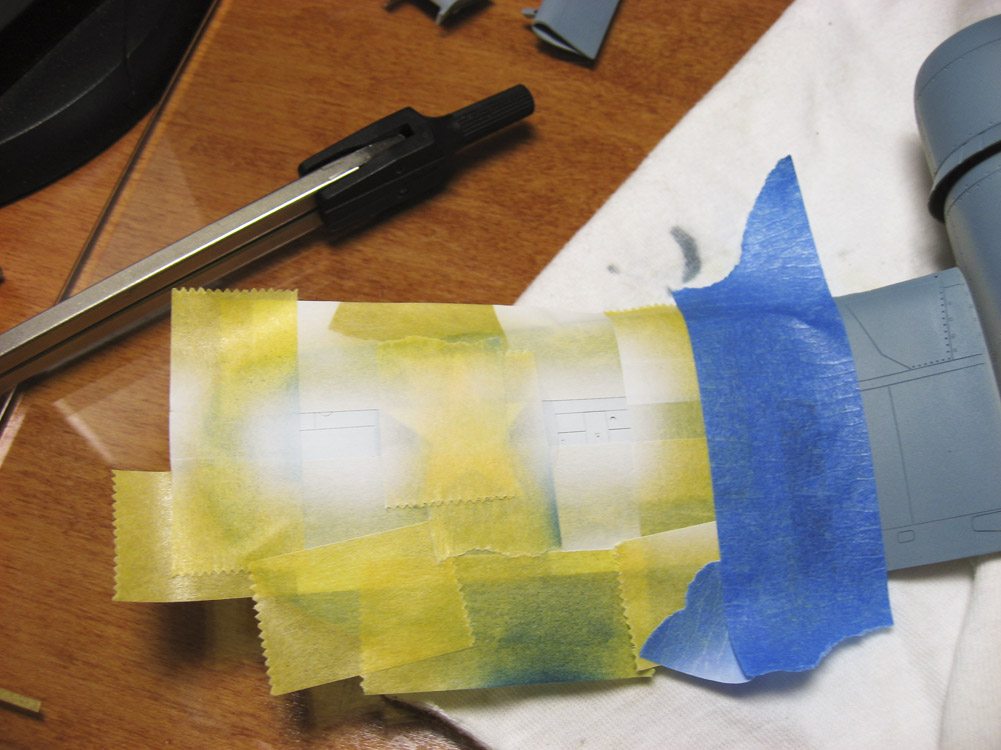
 I went through the process of masking everything again and shooting the new shade of red. A few photos of that masking and painting process. I did the masking with Tamiya tape completely this time, choosing to not use the vinyl masks due to the problems I had with them on the first pass.