“If you spend two weeks trying to convince yourself that something is correct, then it probably isn’t.” I’m not sure if anyone has ever said that (if not, then (C) Devin Poore, 2012!) but it’s appropriate for my recent experience with the Viper. I kept telling myself that the shade of red mentioned in the last post was fine, that I’d be able to tweak it with clear coats, glazes, and weathering, but the truth was that I just couldn’t take that next step to mask off and paint the rest of the stripes.
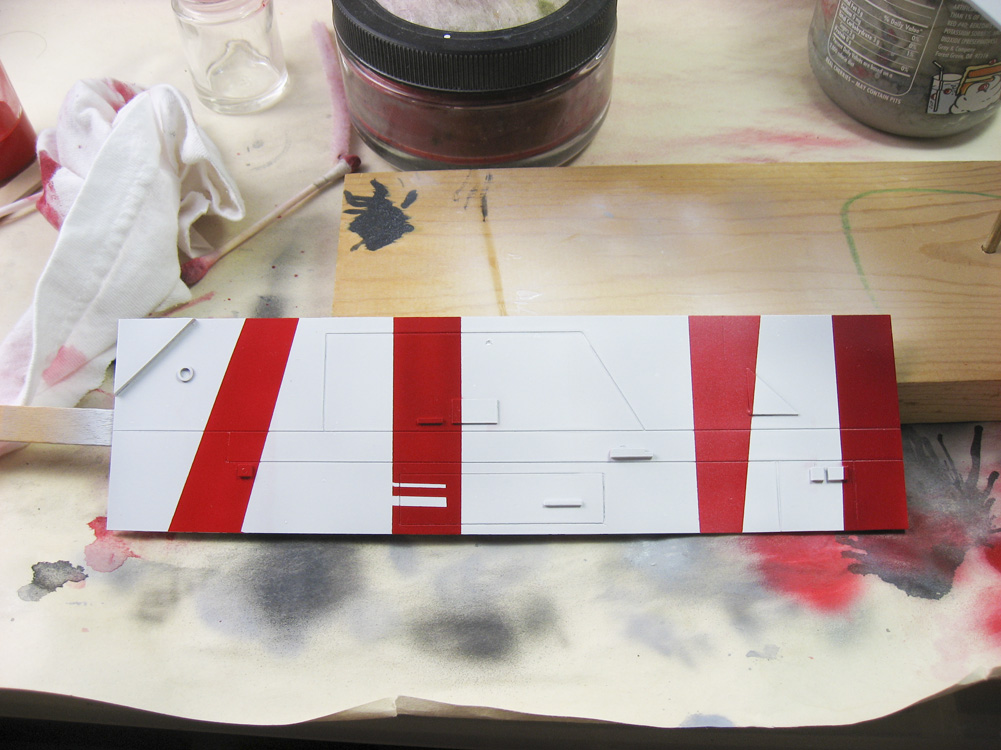
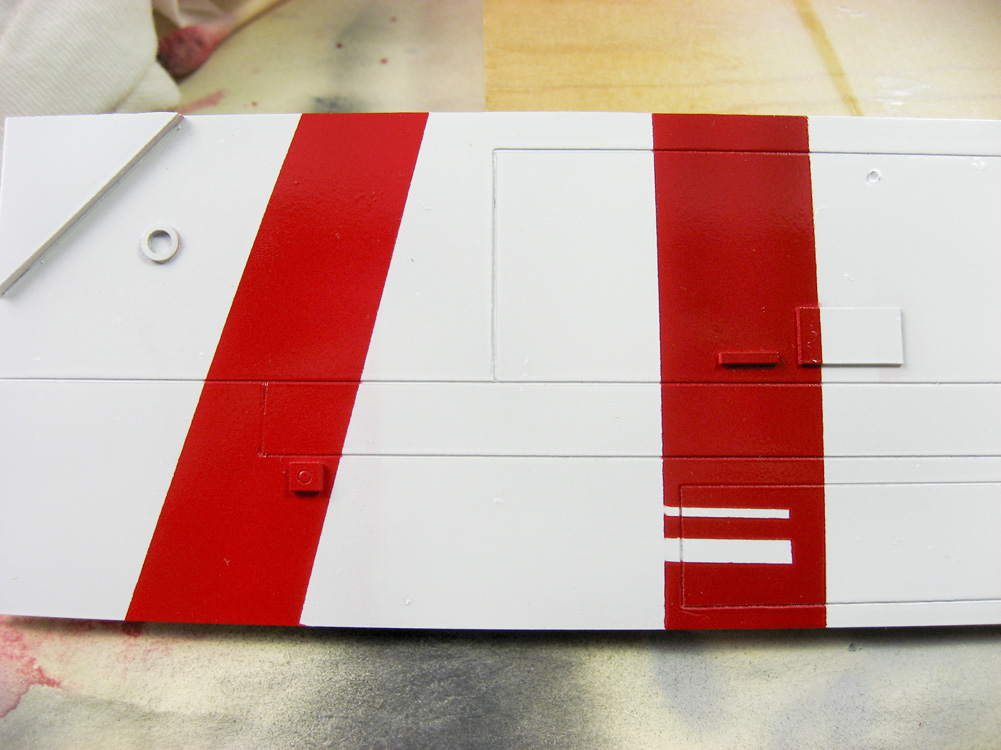
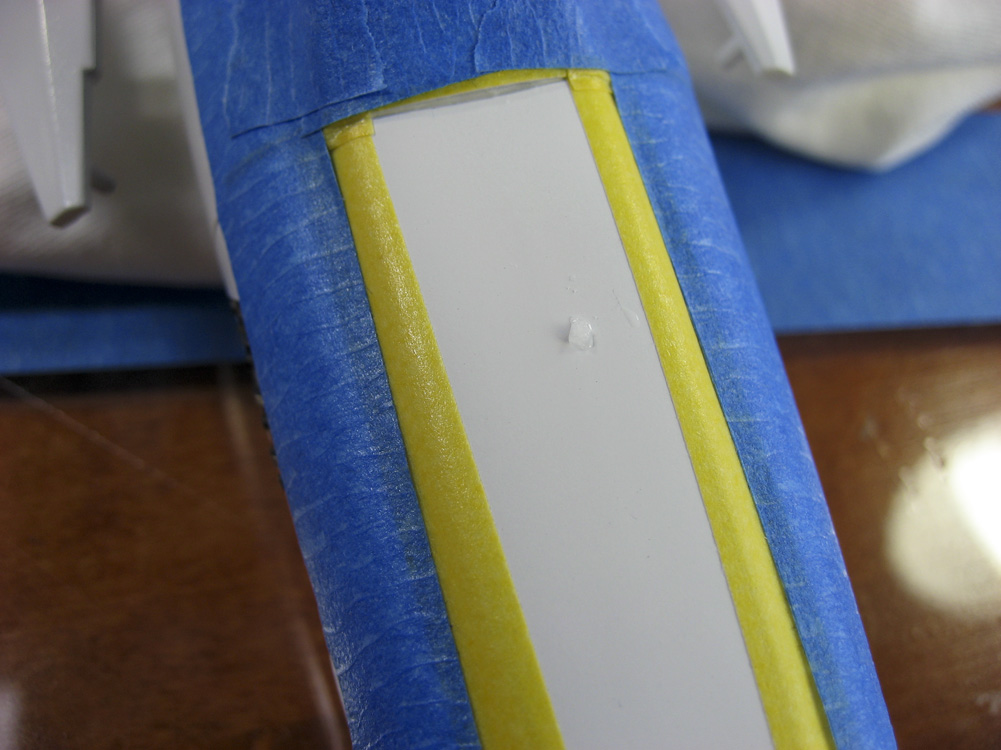
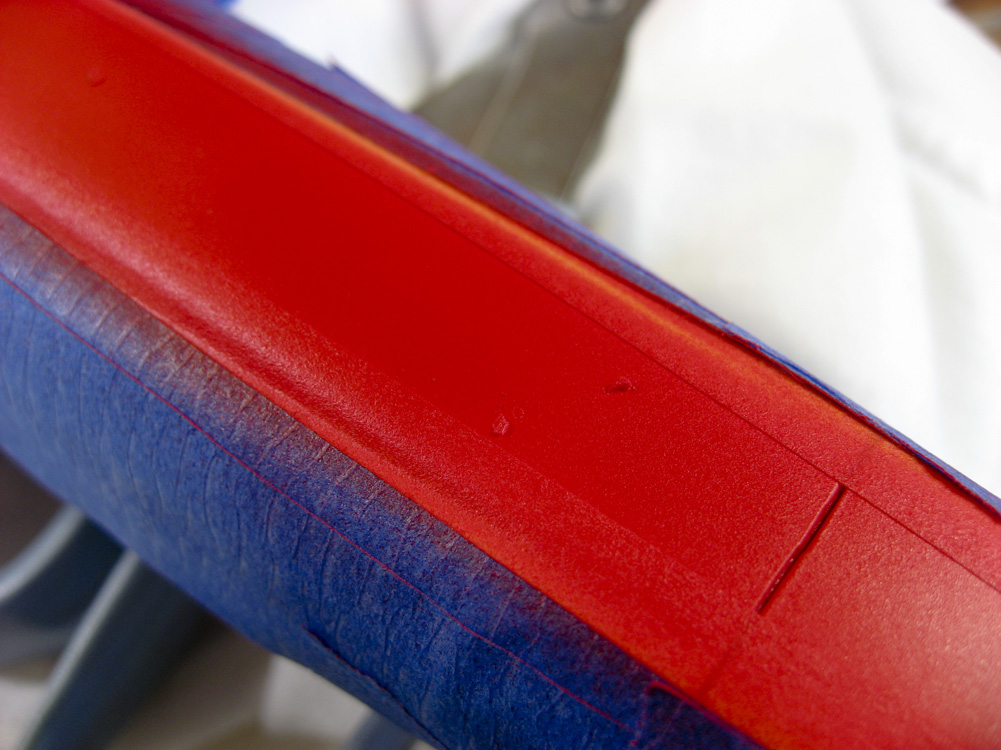
So I did some testing. The two photos below are of a sheet of styrene that I used for swatches. I made this up months ago to test paints for an X-Wing paint job (hence the scribing and added bits of styrene detail), but it worked well for this purpose. I painted four shades of red on the test sheet, and compared them to photos online, and to what I think looks right. The first photo is of all four stripes. The second photo has the current red that I used on the left, and the new Insignia Red stripe on the right. It’s not a huge difference, but it’s there: the Insignia Red is just a tad darker, and more importantly, it has more of a blue hue to it than the original color. This is what I’ve sought.
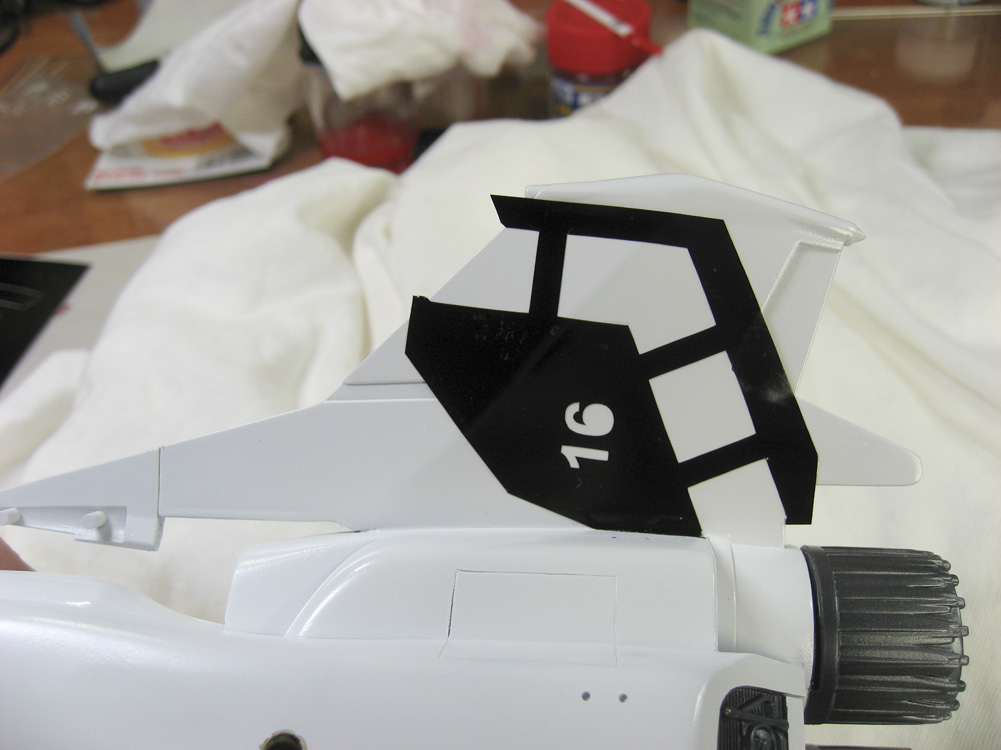
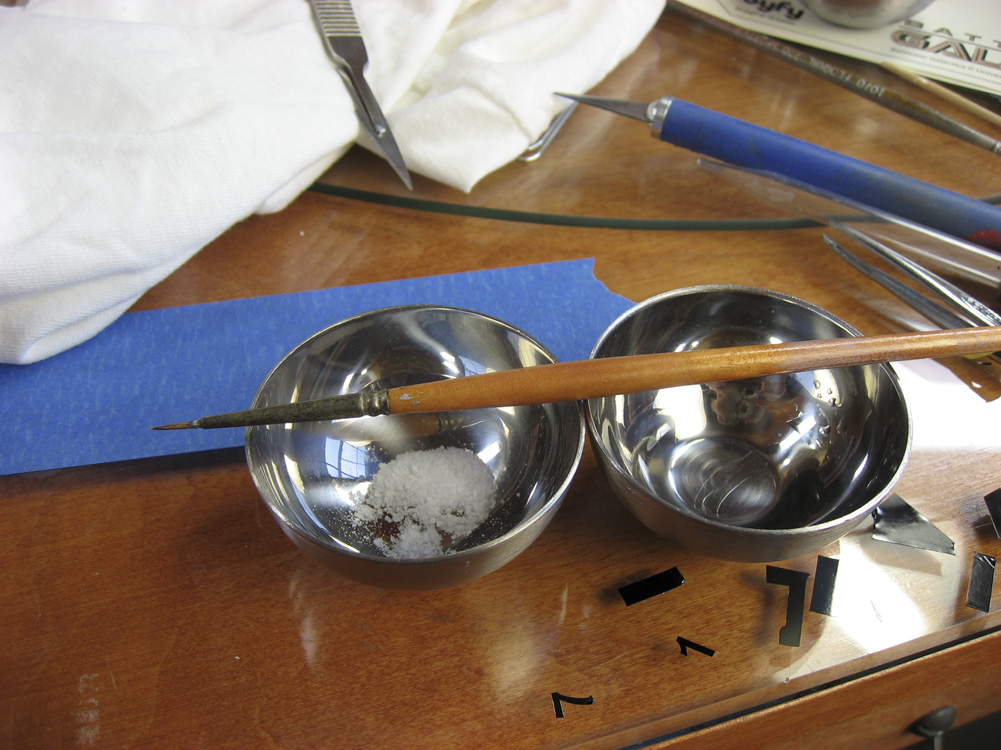
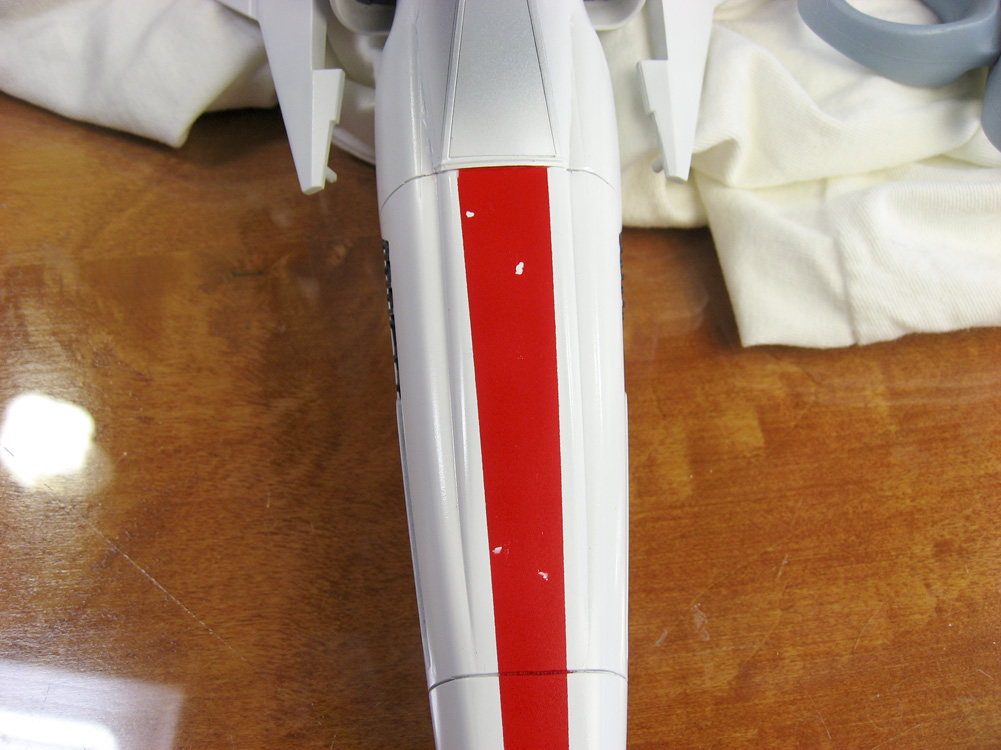
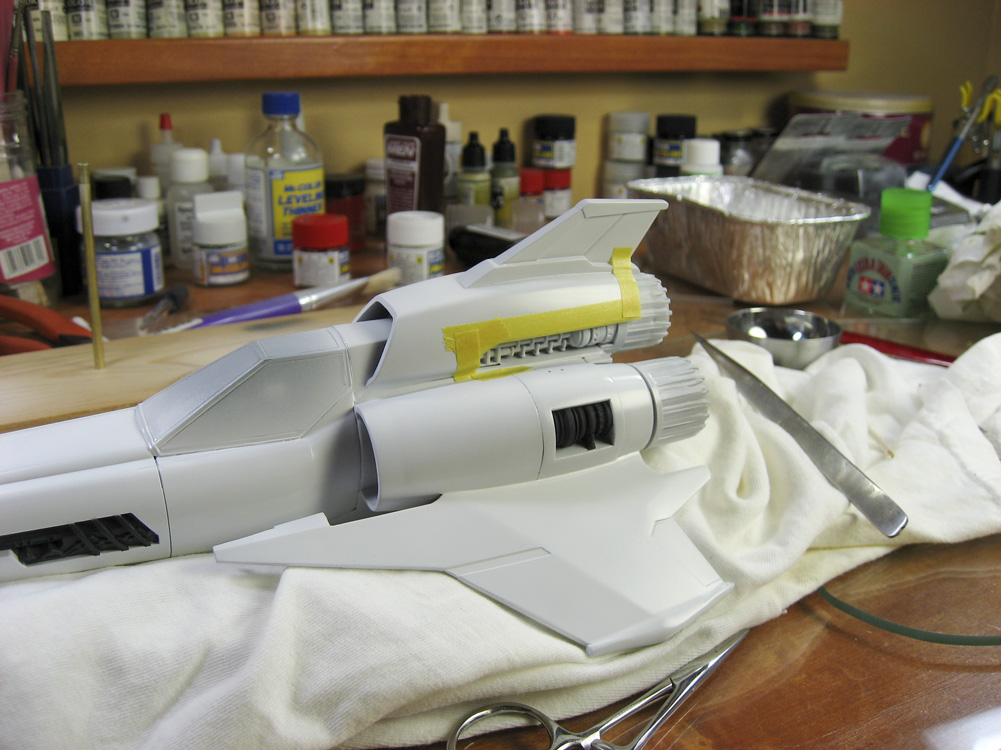
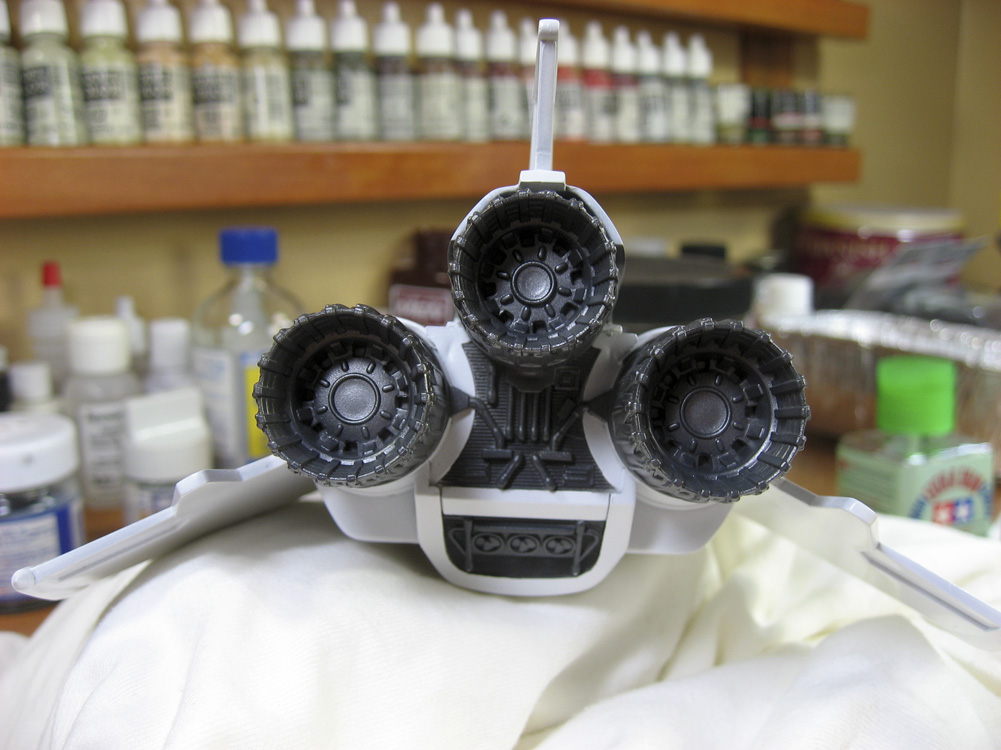
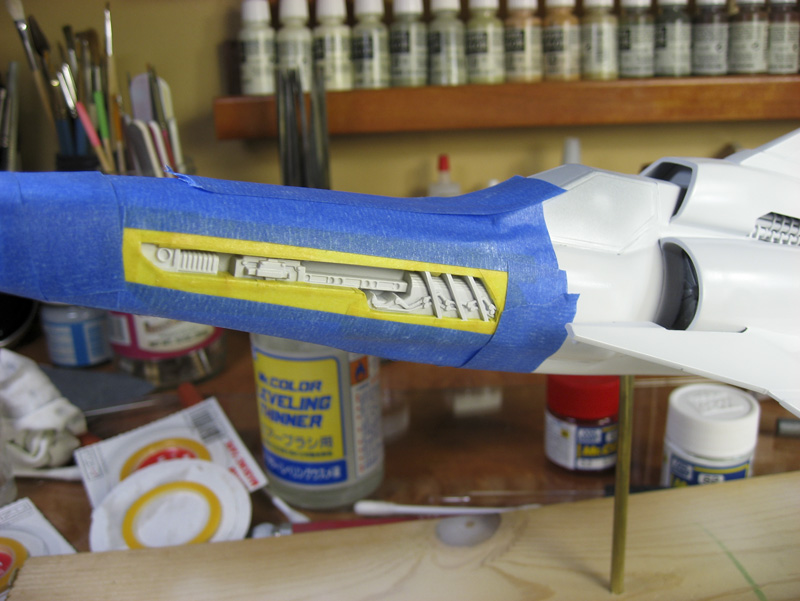
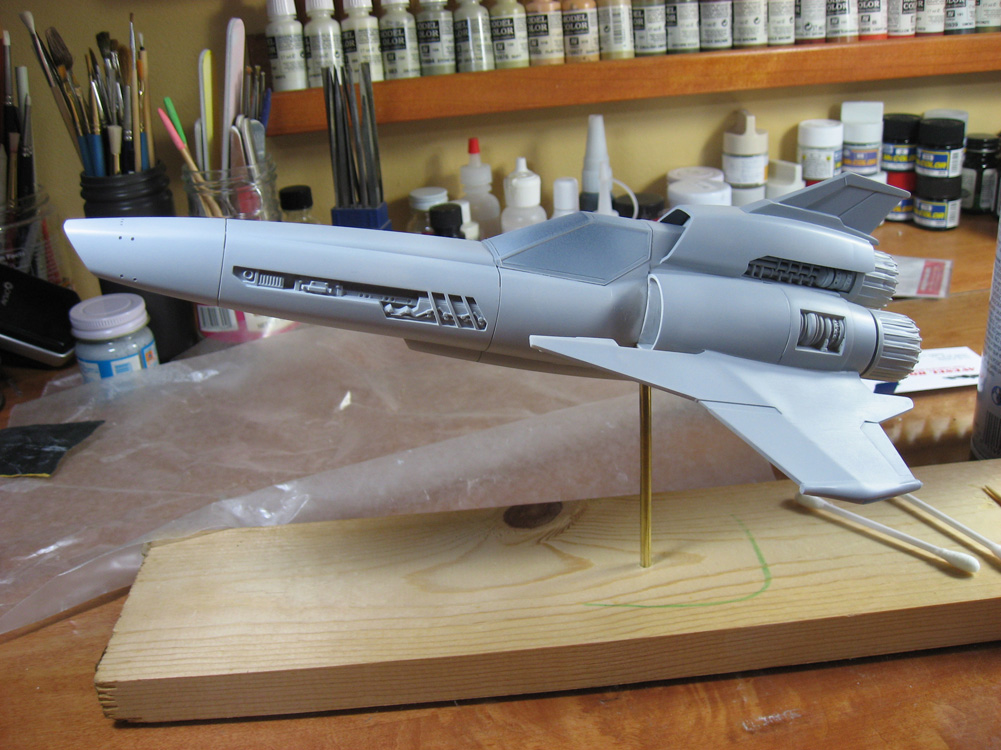
I’ve started prepping the Viper for repainting (first photo in this post). Fortunately this doesn’t require a stripping of any paint. I wet-sanded the borders of the existing stripes so there is no raised buildup that will show after the new red is laid in. I went over the chipped paint areas with more white, very thinned, very low airbrush pressure, to give me more wiggle-room when re-applying the salt chips. I’ll let the white dry for most of the day, and then start the masking again.

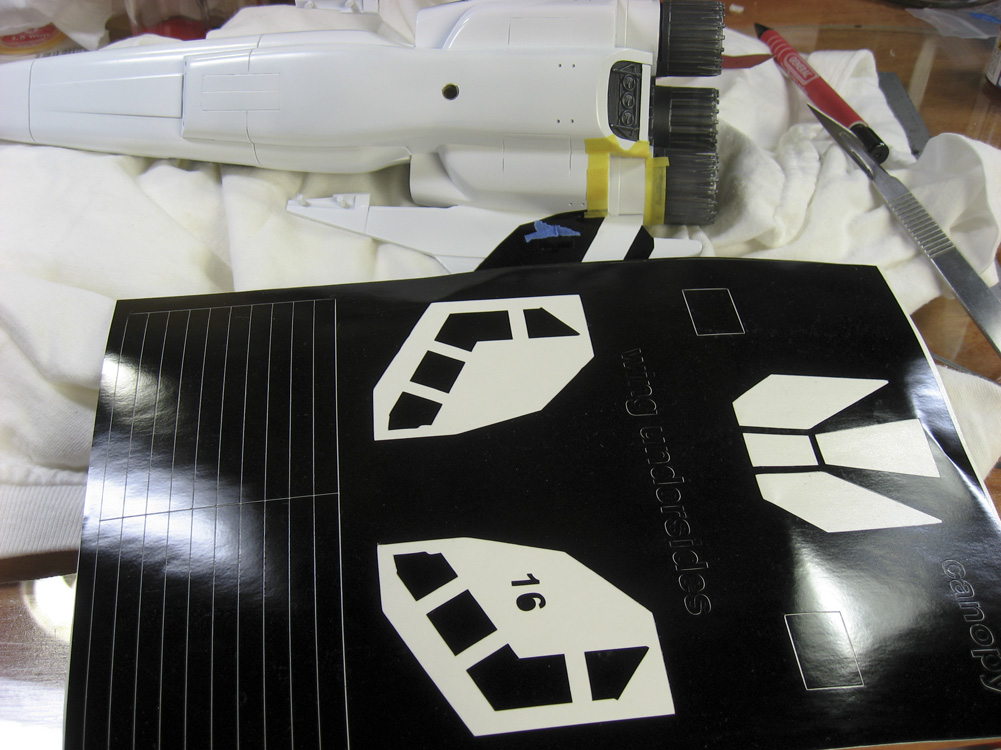


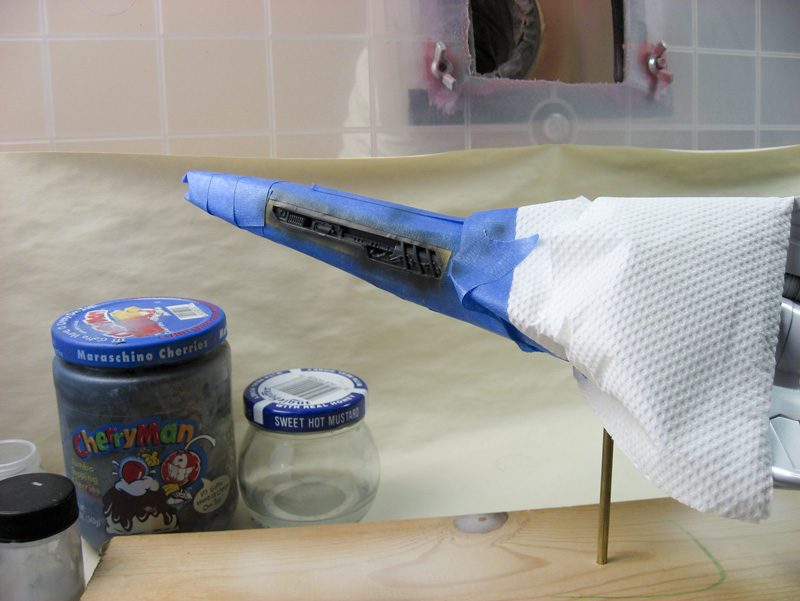


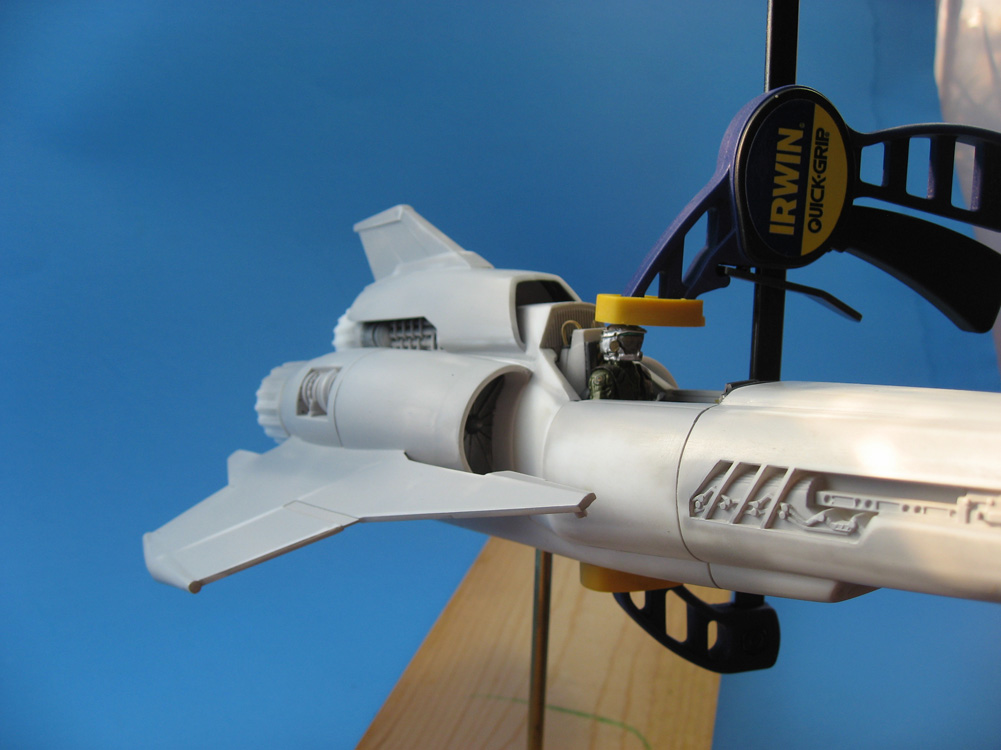
 Starting to get close to paint time! One of the last major components to go on was the canopy (the guns are all that are left to go on, but they will be the last thing done, after final painting and weathering are finished). The canopy had some fit issues. The instrument panel sat a bit proud of the cockpit sill in the front, keeping the canopy from sitting level. After several sessions with a super fine file and attention to the top of the panel, I was able to get the canopy flush. Just to make sure it was all snugged up, while the glue set up, I clamped it from the top, but very carefully. Clear styrene is much more brittle than the other varieties, and the last thing I wanted to do was crack this transparency.
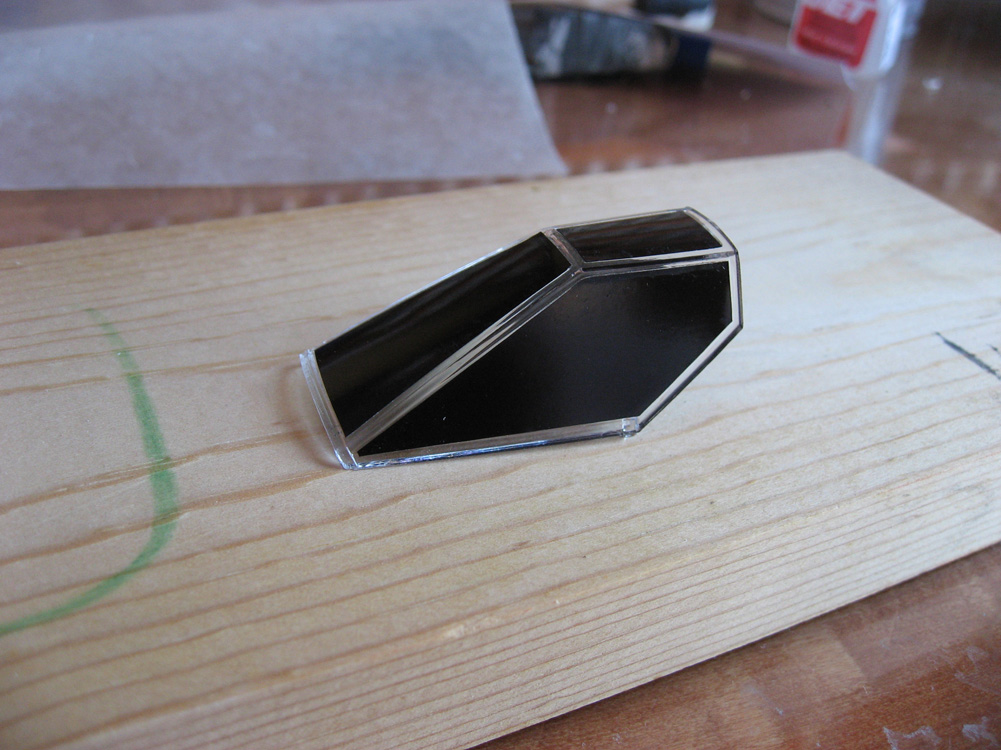
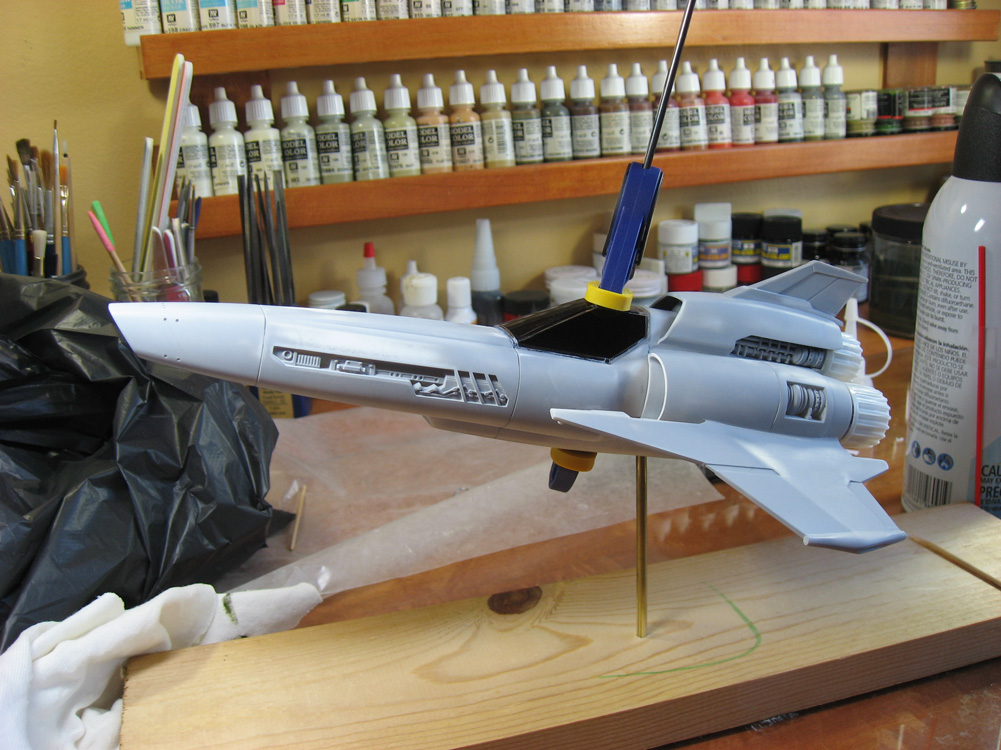
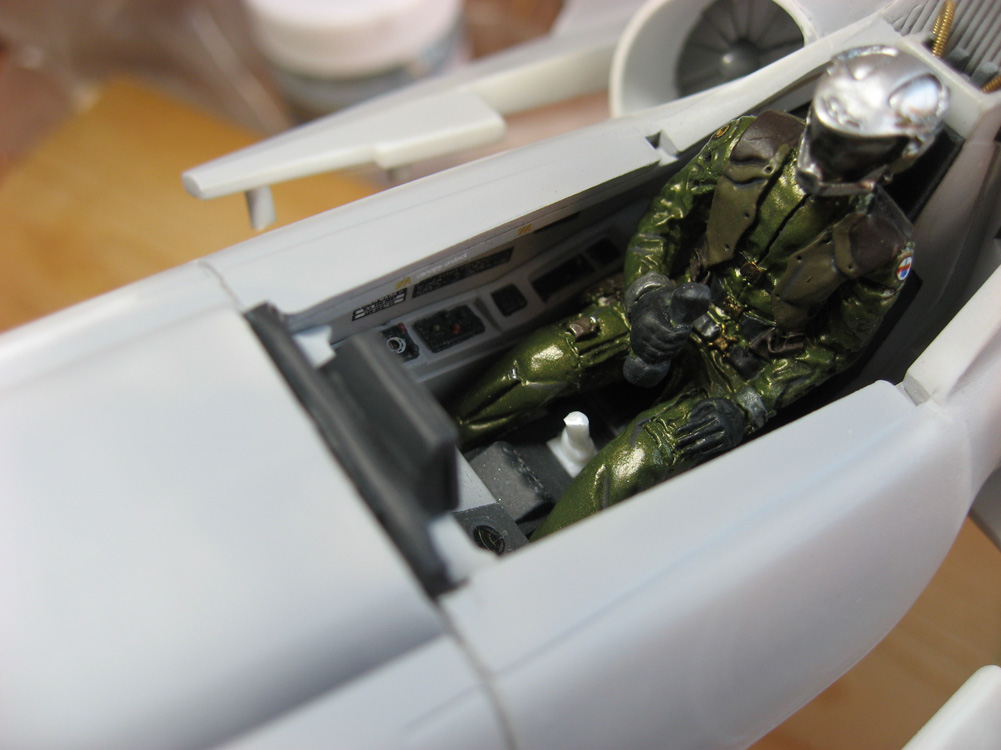
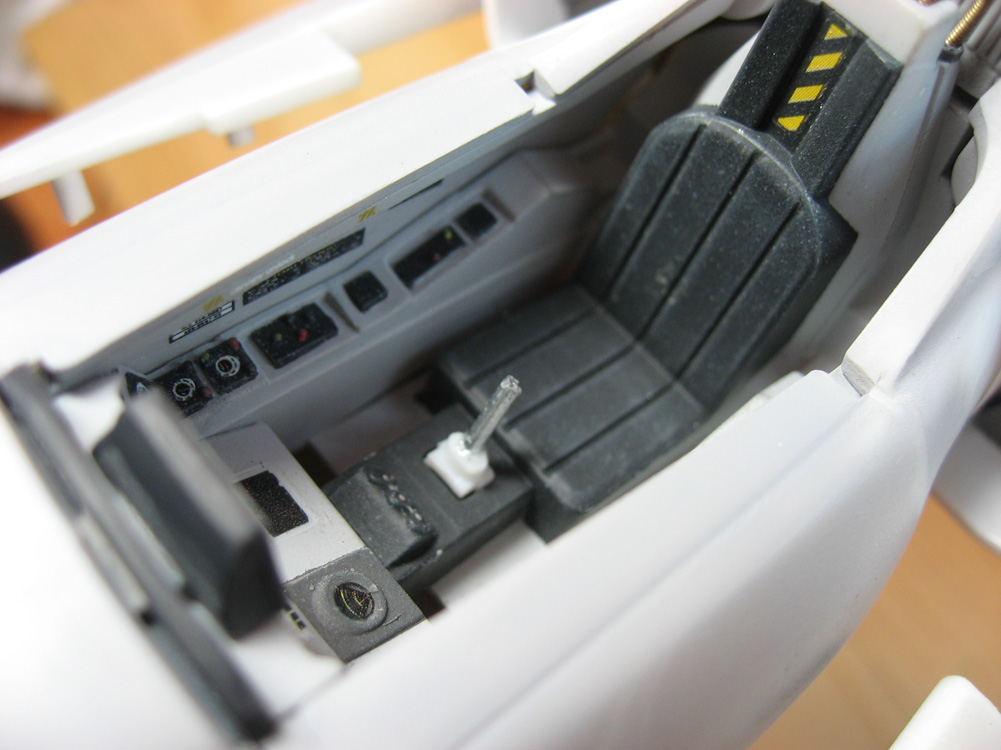
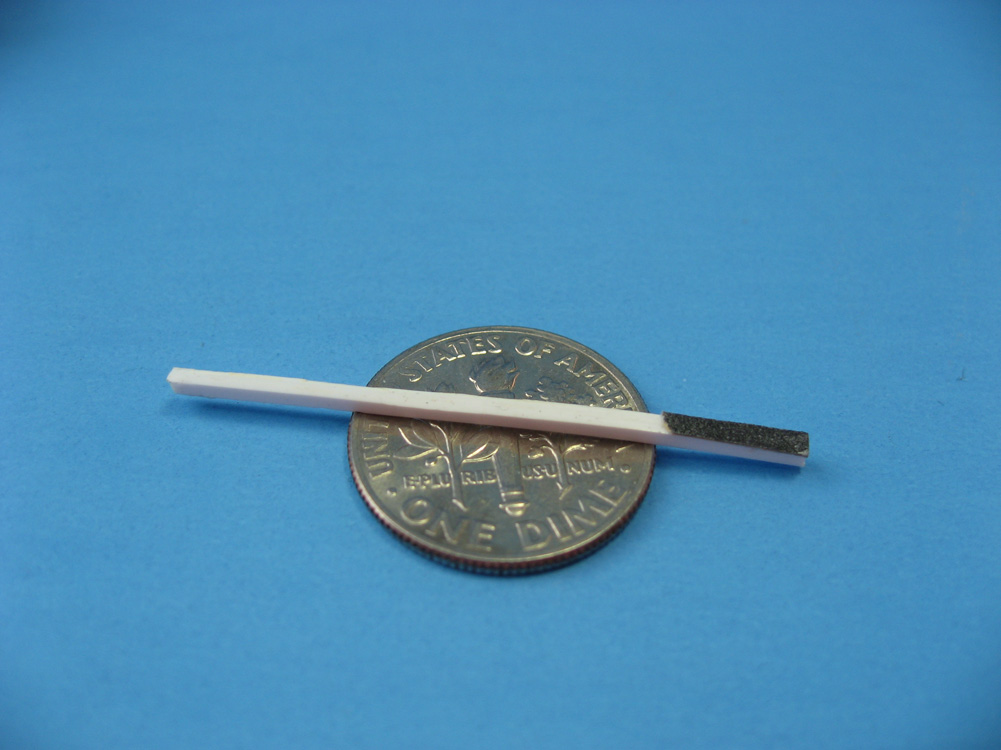
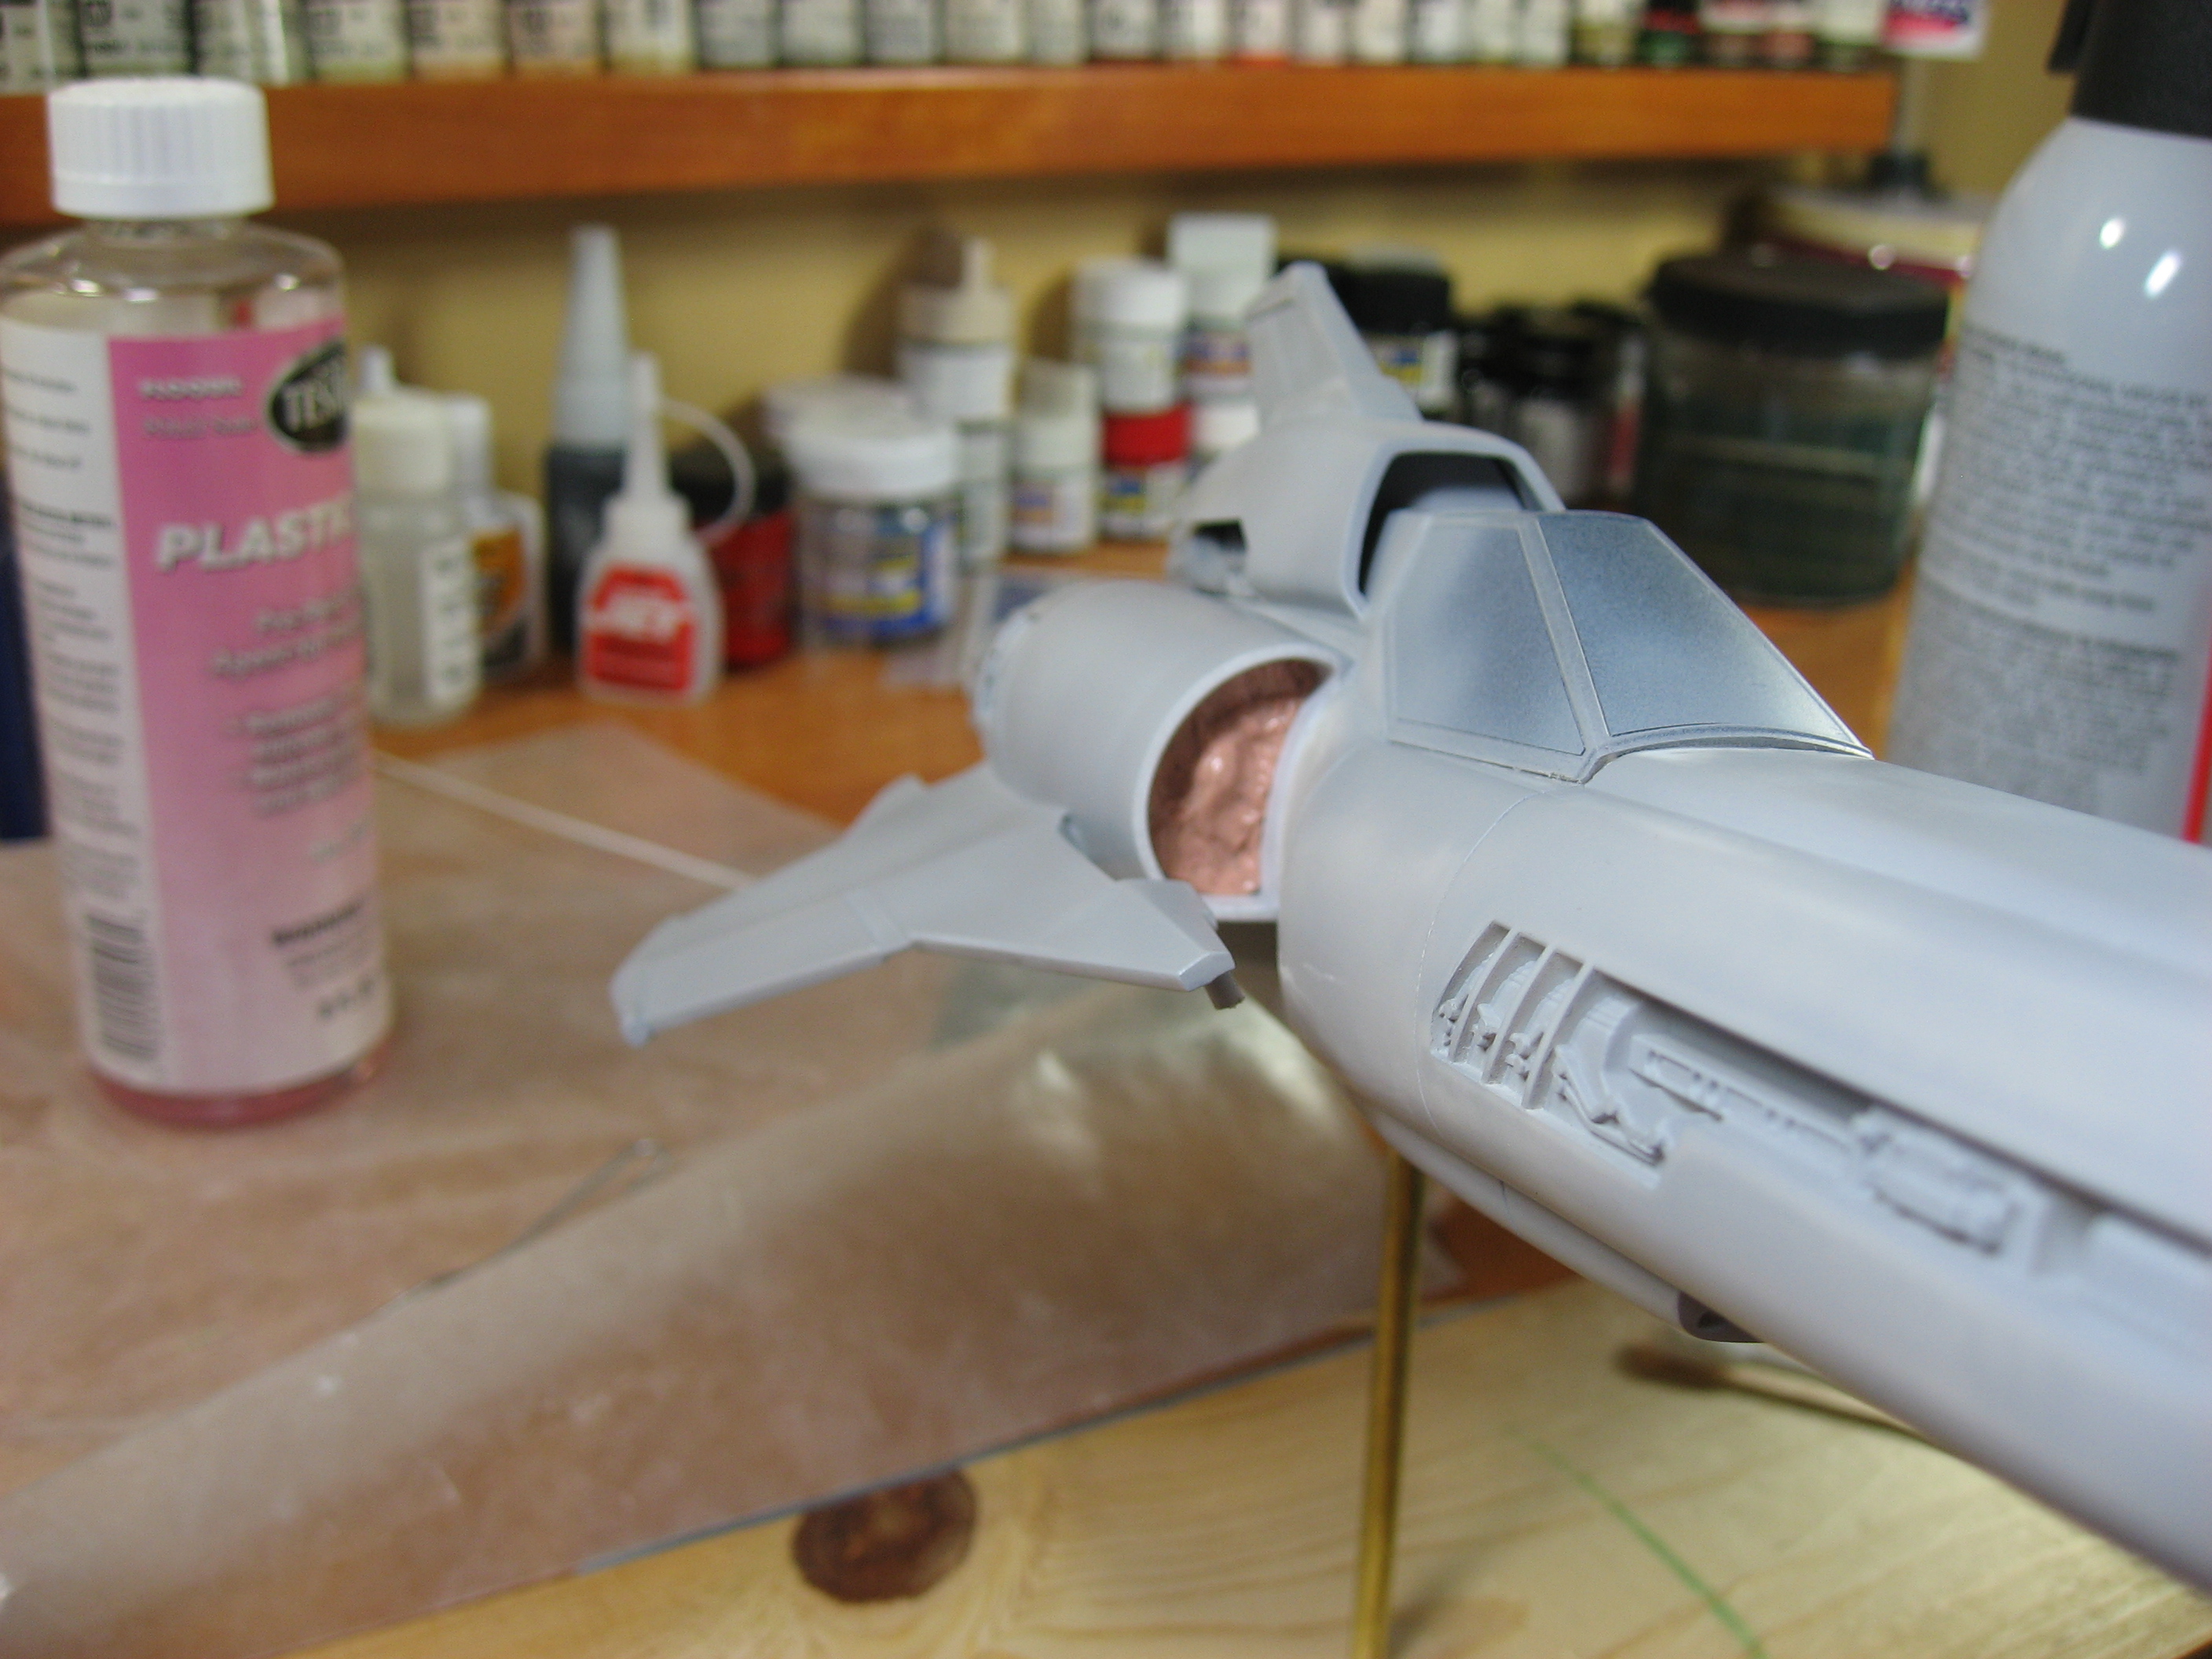
 I’m reasonably sure that the fuselage is now ready for final primer and paint. That means that I have to get the canopy on and smoothed into the fuselage (it has gaps, of course), and to do that our pilot has to go in first. The kit instructions say if using the pilot, you are to cut off the top of the control stick and glue that to the bottom of the control stick already molded into the pilot’s hand. As you can see from the first photo, they don’t even come close to meeting up. Had I known of this issue before putting the cockpit into the fuselage, I would have built up the center console so that it looked right, but at this stage all I could do was drill out the base of the stick and put in a piece of wire to make up the difference.