Viper: Drilling RCS Thrusters

Long time no post.  A trip out of town, a busy month at work, and the worst cold and subsequent respiratory virus I’ve had in years has kept me away from modeling.  This is the first weekend in over a month that I’ve actually sat down to do some building.  So, on with it…

The Vipers in the Battlestar Galactica universe have multiple RCS (reaction control system) thrusters throughout the airframe.  These are the same types of mini-rocket thruster nozzles that the Space Shuttle and indeed any other real-world spacecraft use to maneuver in the vacuum of space.  The kit comes with decals to depict these, but I want a little more 3-D realism, so I’m drilling them.  The first photo shows the tape that I’m using to lay out all of the lines that the RCS fall upon so that I can get everything nice and straight.  I have the first three drilled into the top of the nose, and I had to do them three times before I got them to my liking.

The next photo is of the lower part of the fuselage.  As with most models that give you an in-flight or landing gear option, if you close up the gear doors, they don’t fit too well.  Much filling and scribing has been done to get them to this point.  If I do another of these models with the gear up, I’ll simply block off the openings with sheet styrene and rescribe all of the joint lines freehand.

The final photo is the top engine.  It’s a separate piece, so it gets painted before assembly.  This is simply the gloss black primer, prepping for the application of some metallic paints and wiring details.

Viper: More sanding and some masking

After a week away at an awesome writing retreat, and then returning to a 9-5 gig last week, the modeling time has been limited, but I still have made some progress.

The engine intakes for the Viper are a separate assembly just behind the cockpit.  The kit instructions would have you install them before painting, but there is no way I’d be able to maintain my sanity and mask these things with the fuselage getting in the way.  Therefore, this assembly has been primed and shot with gloss white.  I used strips of tape cut to about an 1/8 to 1/4 of an inch in length to mask the interior, following the jagged edge of the louvers.  I’ll then shoot the metallic color on the intake louvers (they actually almost look like fan blades, but that doesn’t make any sense with the geometry of the housing; like Sci-Fi is supposed to make sense!), and then strip all of the masking and mask off this entire assembly and attach it to the fuselage.

Priming and sanding also continues on the main fuselage.  Holy cripes does this kit have a rough finish.  Every surface has a rough texture, the cut-outs along the fuselage side have craters running along them that shouldn’t be there, and there are just odd plastic protrusions and dips everywhere you look.  Clean-up is turning out to be as much of a chore as a resin kit would be.  But, it’s better than no kit at all, and it’ll clean up nicely in the end.

Viper: Pilot and Inital Assembly

A few photos before I take a break.  It’s time for the yearly Altered Fluid Writer’s Retreat, so I’ll be sequestered in a house in Connecticut for the next 5 days with nothing to do but write.

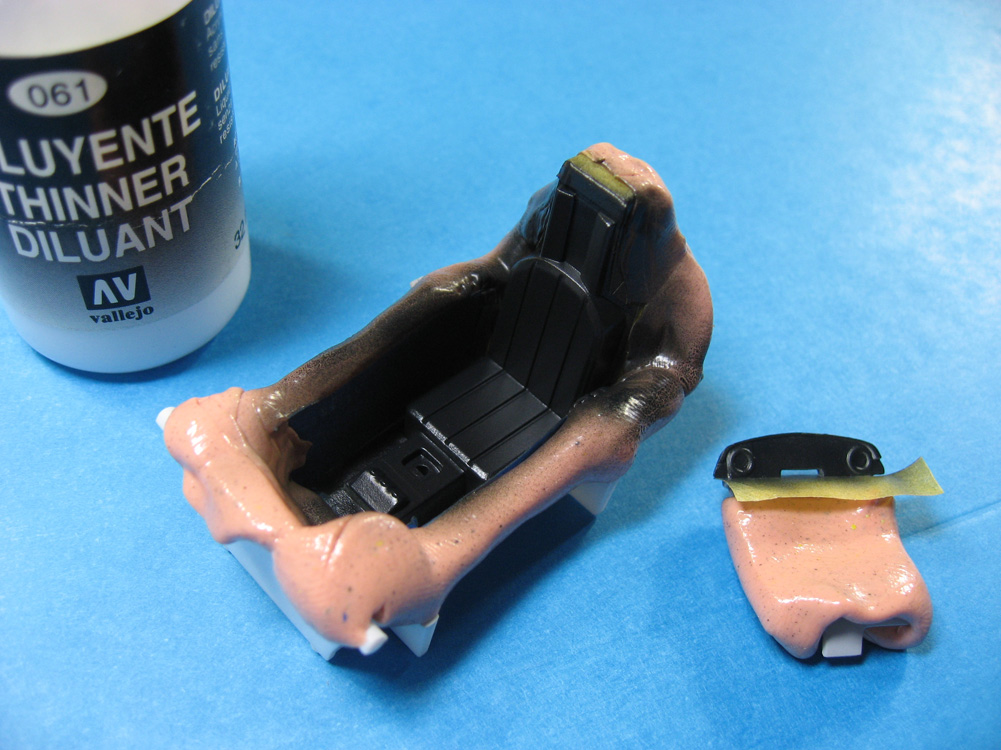
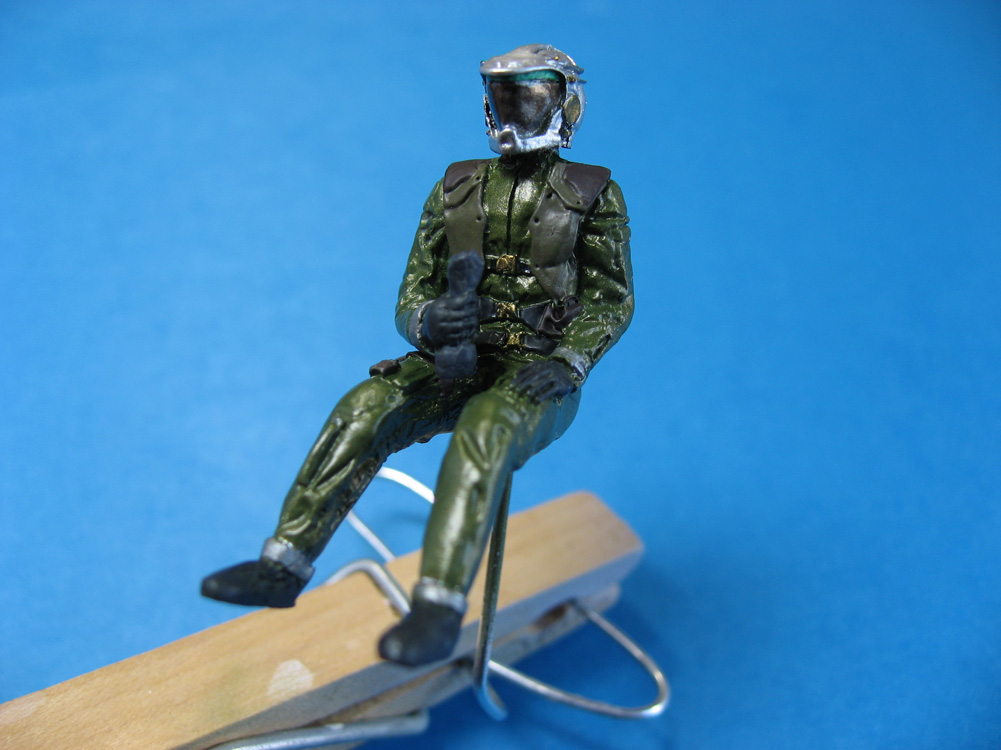
The pilot in the kit is a decently cast resin figure.  There’s a little clean-up needed, but no major mold lines, so it didn’t take long to prep the piece.  The flight suits in Battlestar are this funky metallic green color, for which there exists no store-bought match.  I pulled out a few bottles of Vallejo acrylic that I thought looked close, and started mixing on my test pallet.  Six tries later I had a good result (and only 5 failed attempts is pretty good).

The colors:
Russian Green (894), 3 parts
Medium Olive (850), 2 parts
Bronze (998), 2 parts

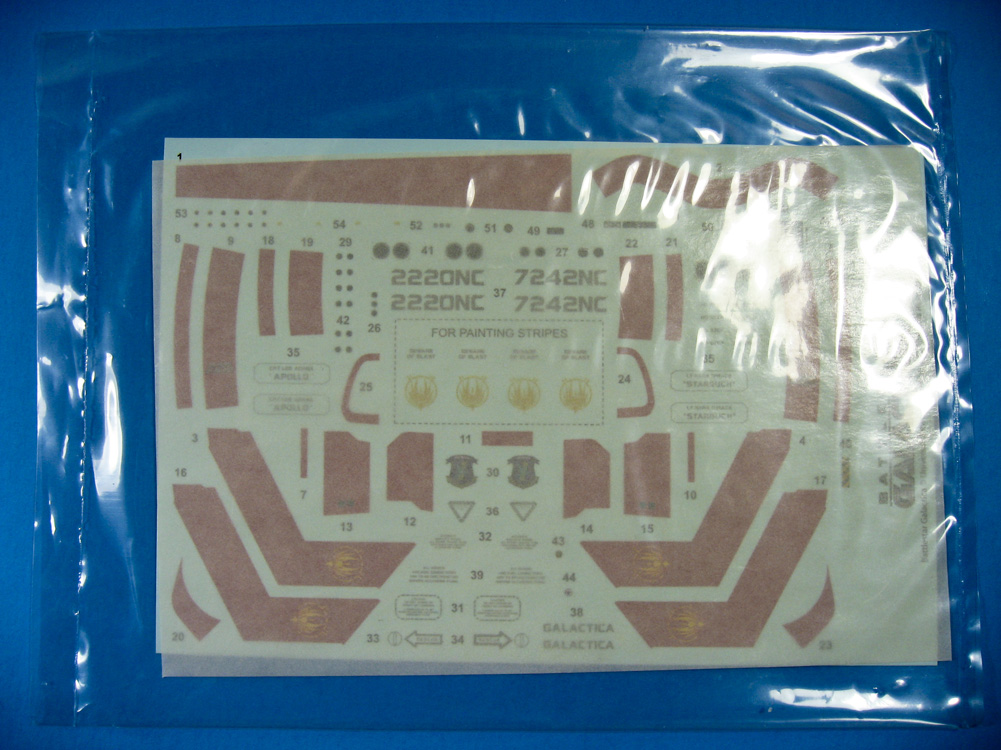
It looks great in person, very close to the on-screen appearance, but in the photos the metallic doesn’t show up very well.  Further work needs to be done on the figure, such as shading and highlighting, applying the flight patch decals, dullcoating, and hopefully I can find some way to replicate the insignia on the top of the helmet.

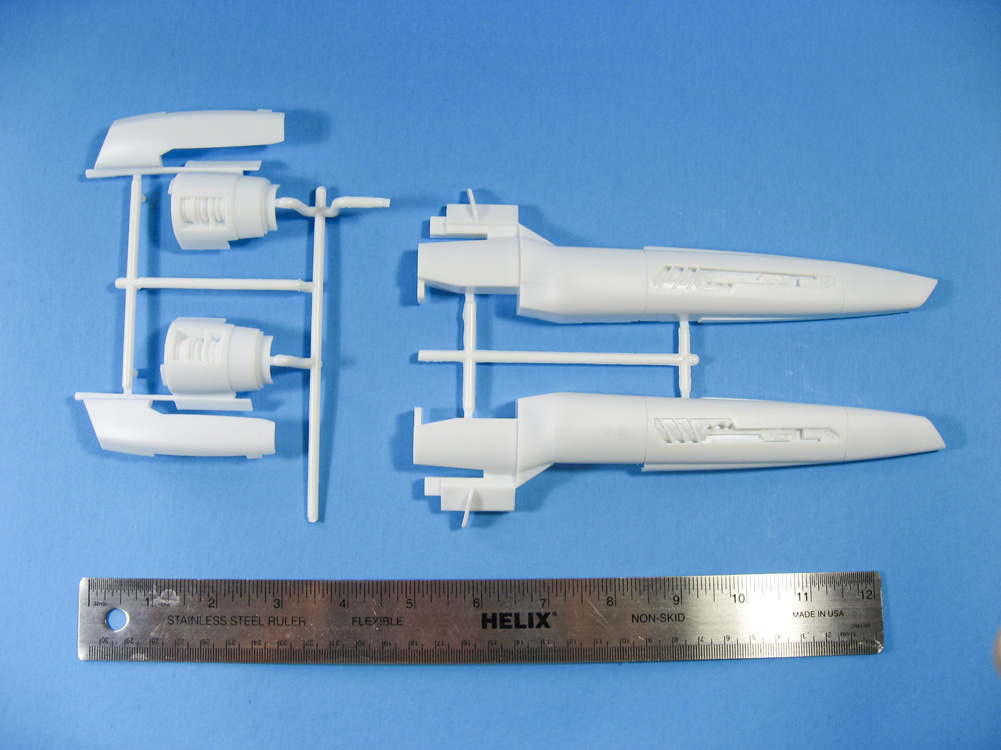
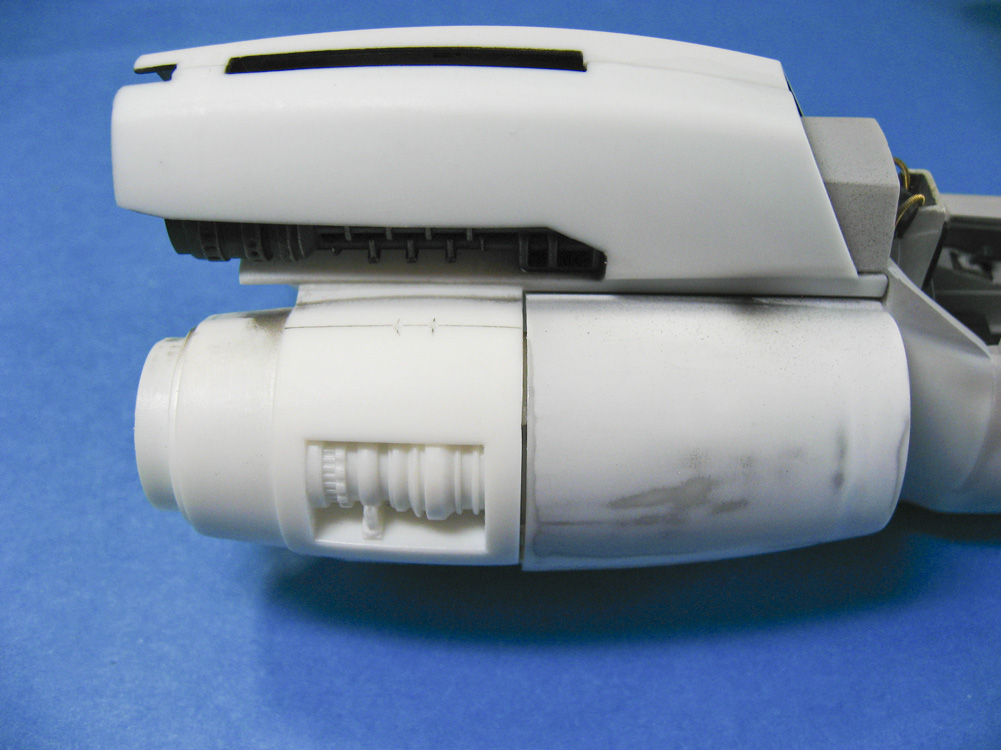
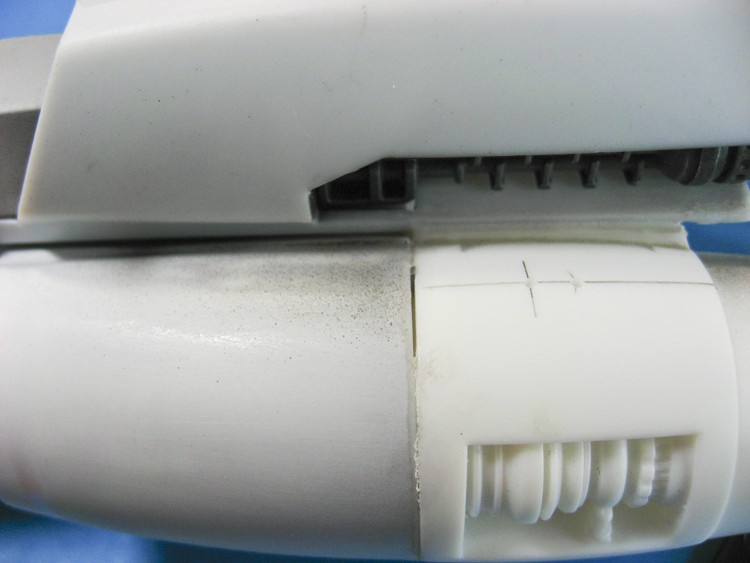
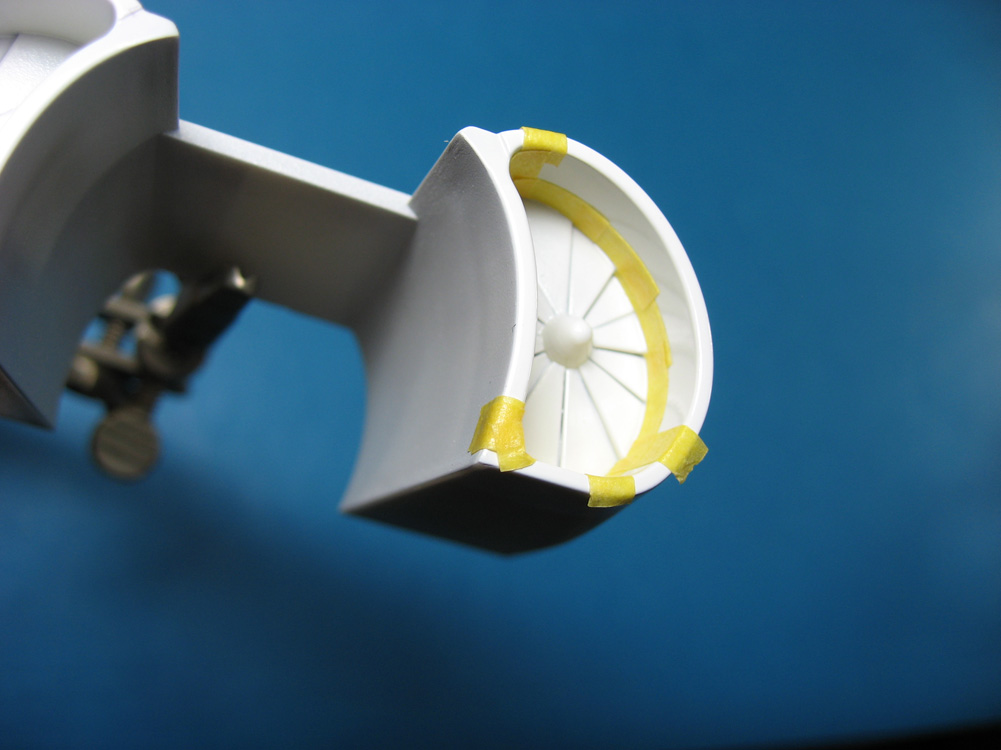
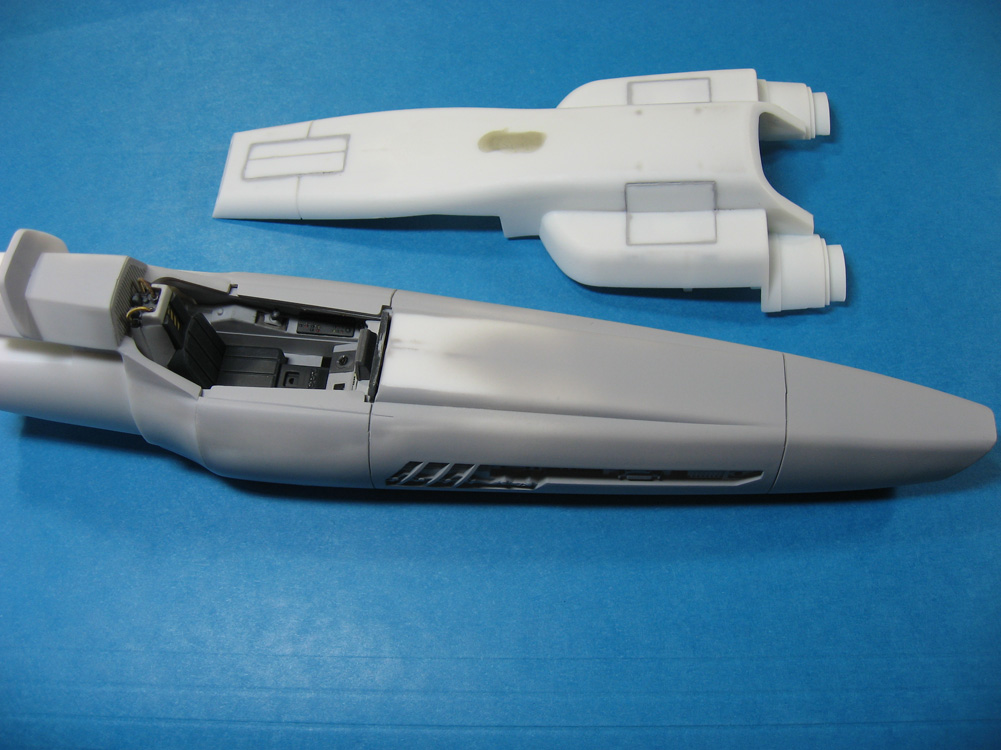
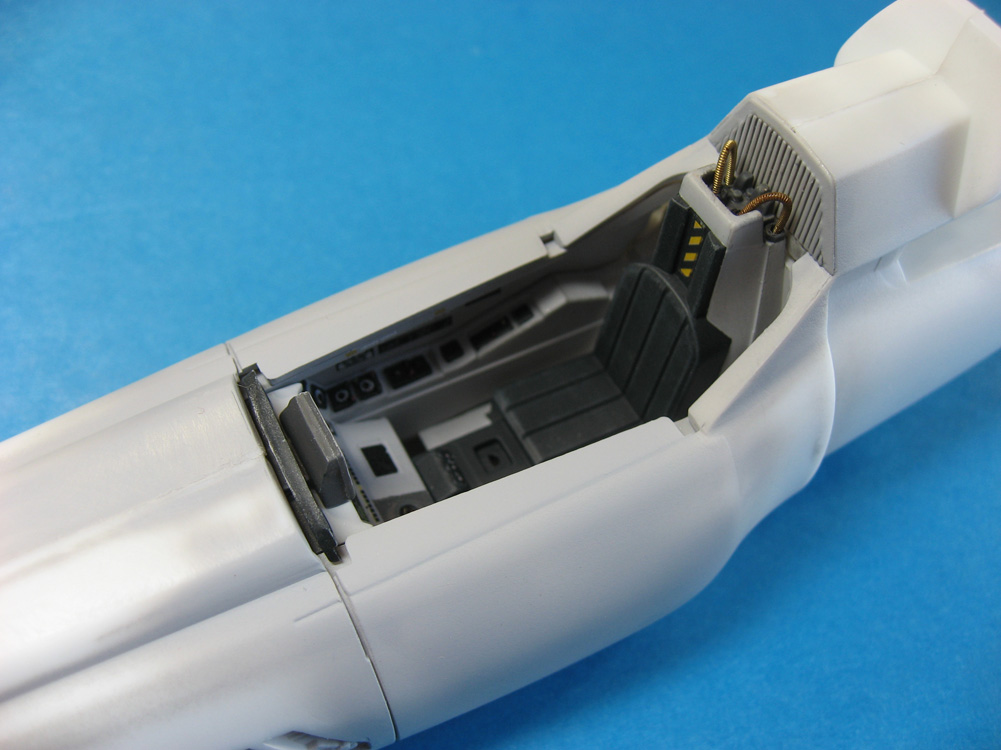
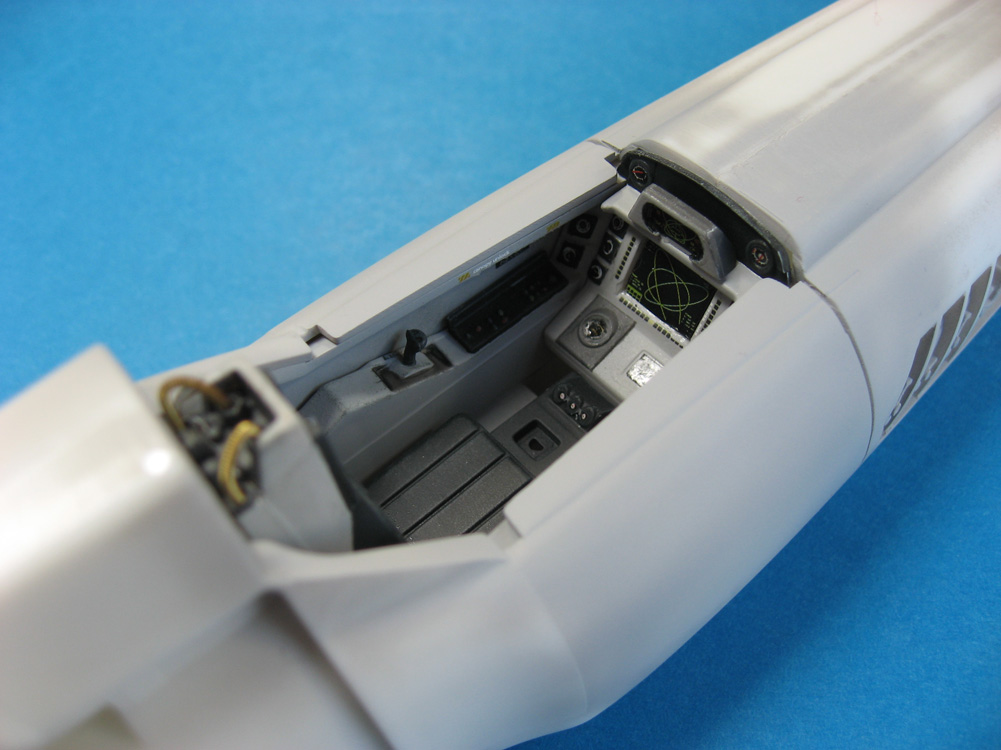
As I continue to work on the pilot, I started major assembly.  Fuselage halves are glued together, with the cockpit sandwiched inside.  In order to avoid problems with seams, I started at the nose and worked back, gluing and clamping, waiting, then moving further back.  The fuselage just forward of the cockpit was an odd angle that wouldn’t accept clamps, so I glued it and watched The Colbert Report while I held the pieces together.

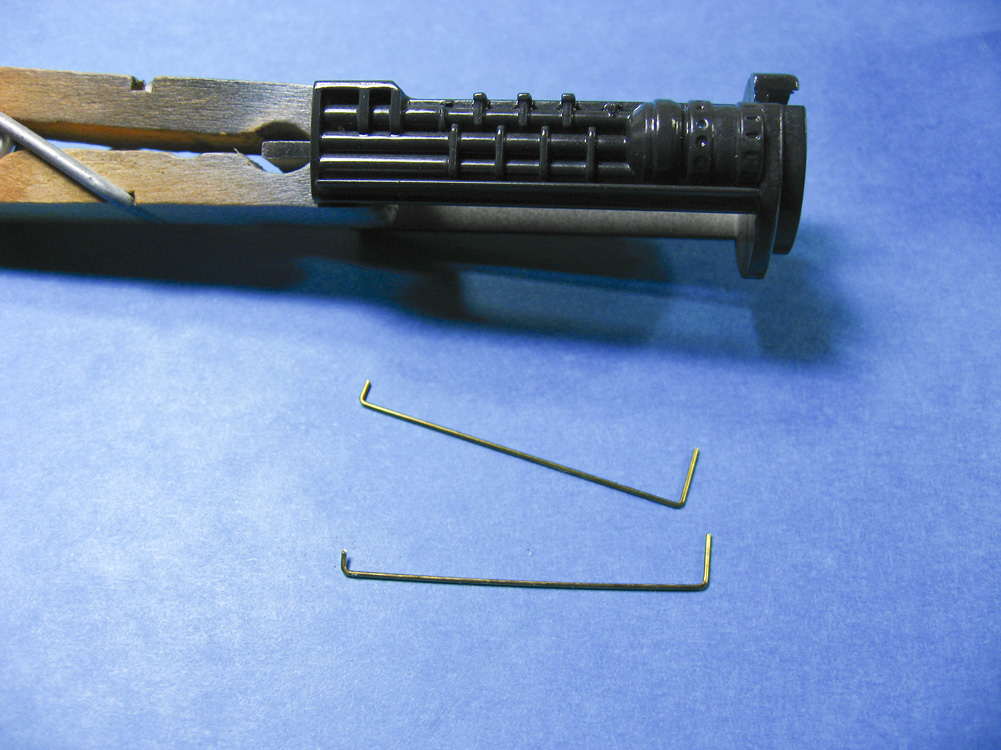
One new detail in the cockpit are the oxygen hoses at the rear of the seat.  Made from old guitar string.
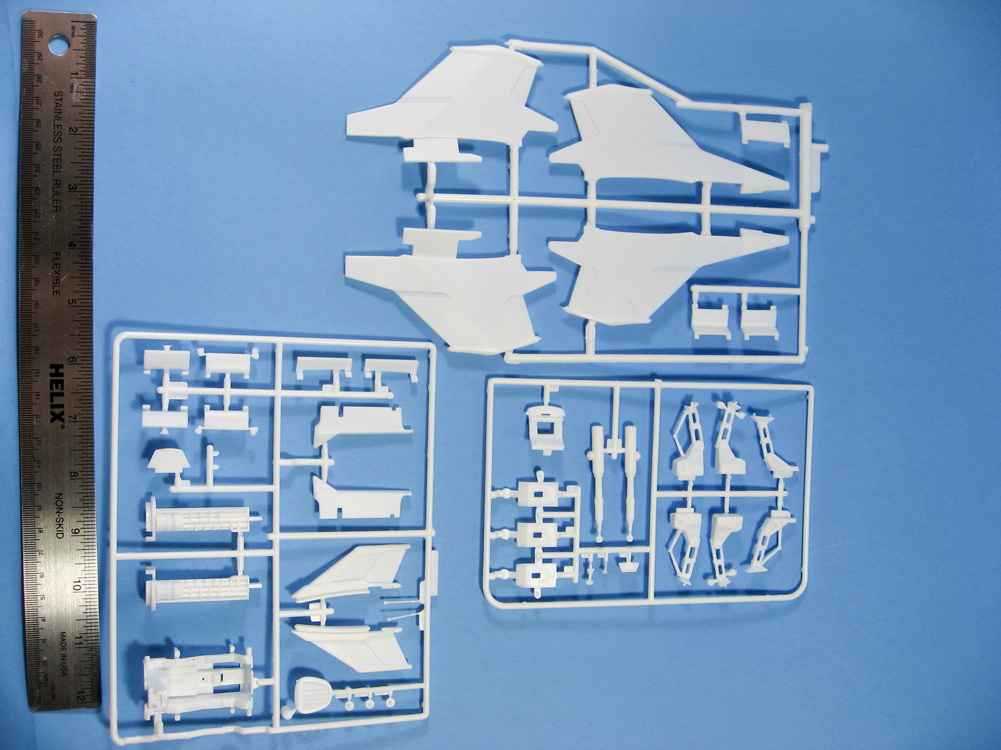
Viper: Cockpit, Pt. 2

With the wind ripping out of the west today so hard that I’m not sure how parts of our building haven’t sailed off into the Hudson, there was no way I could set up the airbrush booth to do any spray painting.  So, I’ll take the chance to update the blog.

The finishing touches of the cockpit are the decals.  The dials are tiny, minuscule, and any other word you can think of that means “Holy crap, how am I supposed to work with that?”  I used a micro punch set to punch out the round dial faces from the sheet.  Much easier to get them to sit where they should on the instrument panel without excess carrier film to worry about.  The finished cockpit shot shows everything decaled, flat-coated, weathered (minimal), and the instrument and display faces gloss-coated to give it that under-glass look.  I have not yet attached the cockpit sidewalls, as I want some wiggle and adjustment room when it comes time to put the assembly in the fuselage.

The other photo is of the fuselage, port side.  A coat of primer has been shot, and mostly sanded away.  Evident in the photo is the rough, sandy texture of the plastic, and heavy scratches under the cockpit.  I’ve spoken with others who have built this kit and they all report the texture all over, and those scratches in the exact same location.  It looks like polishing the molds wasn’t a high priority before the kit was put into production.

Up next: Pilot figure and starting fuselage assembly.

Viper: Cockpit

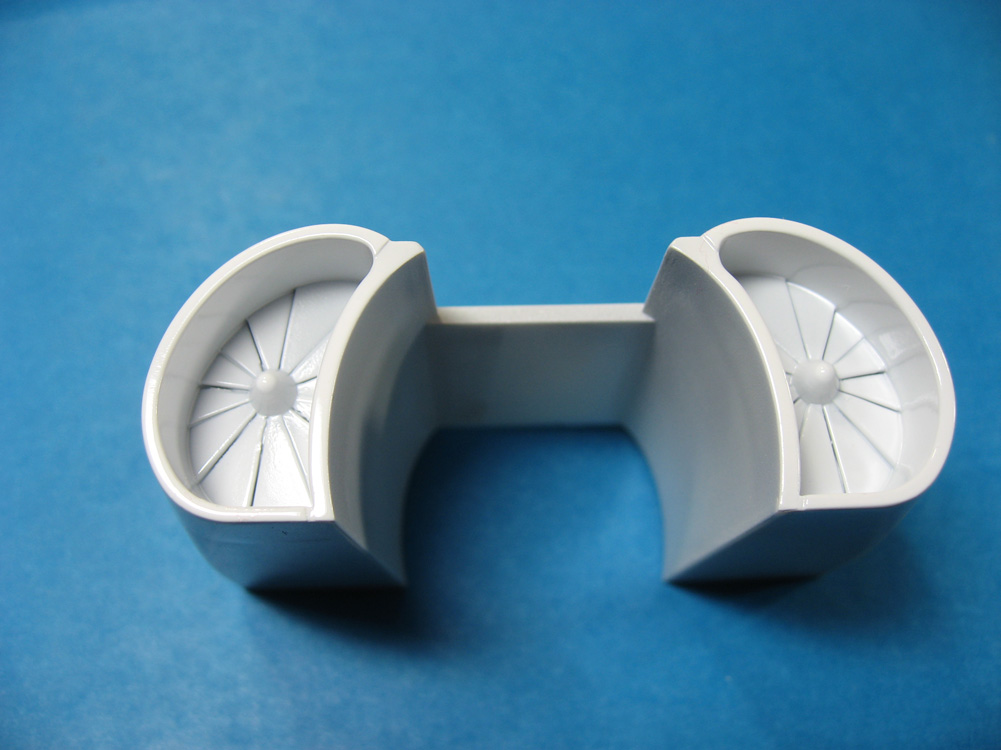
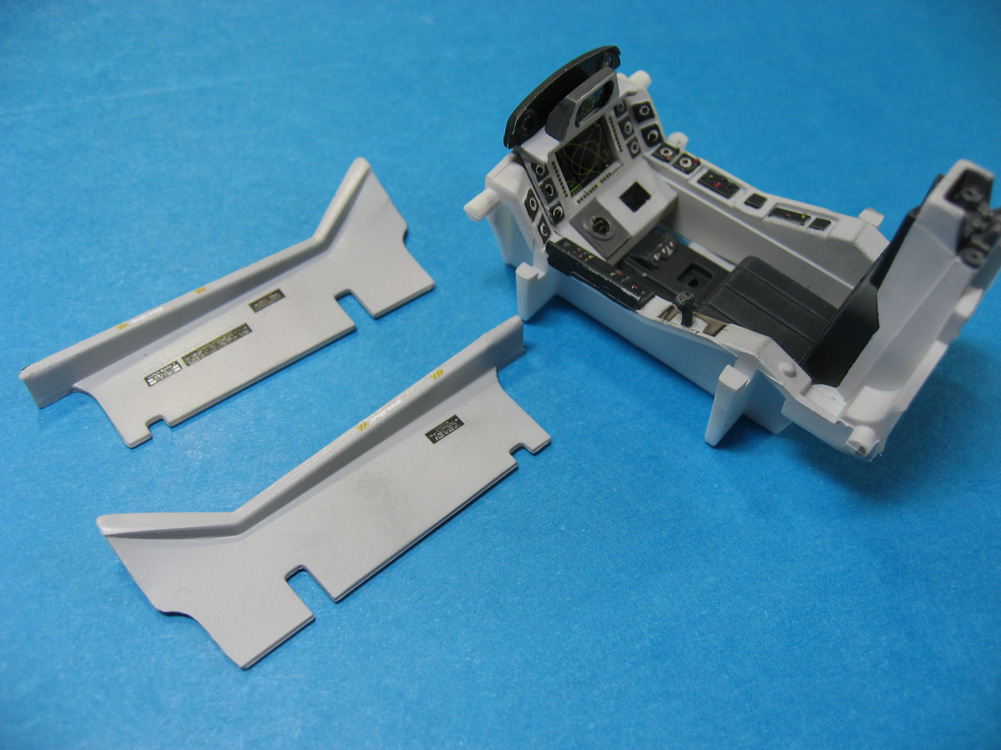
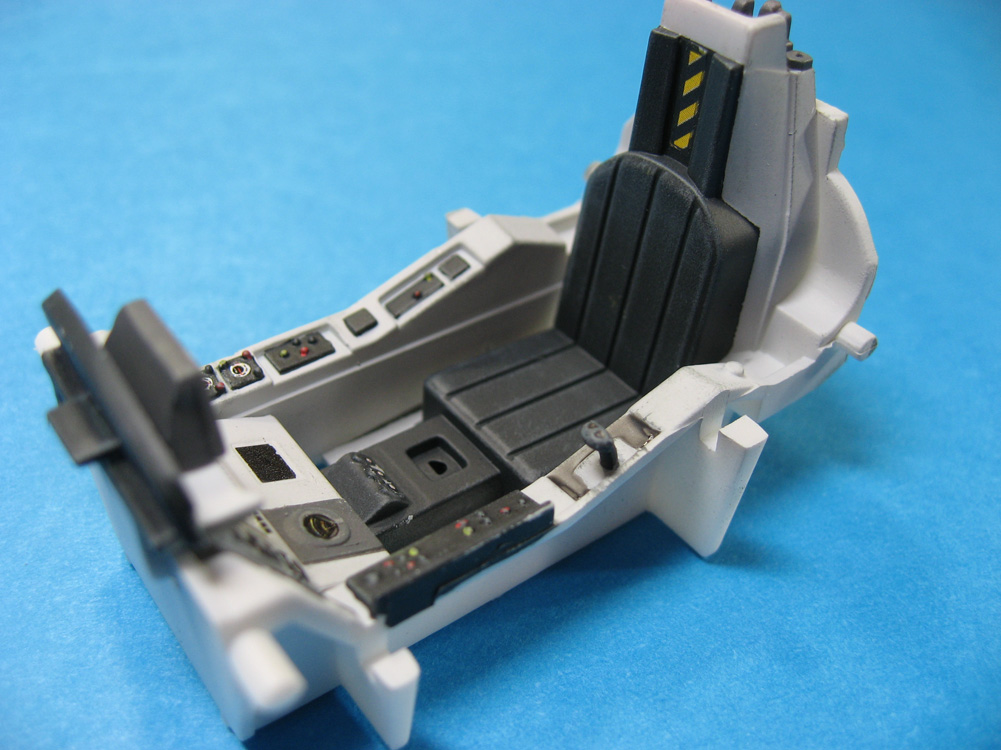
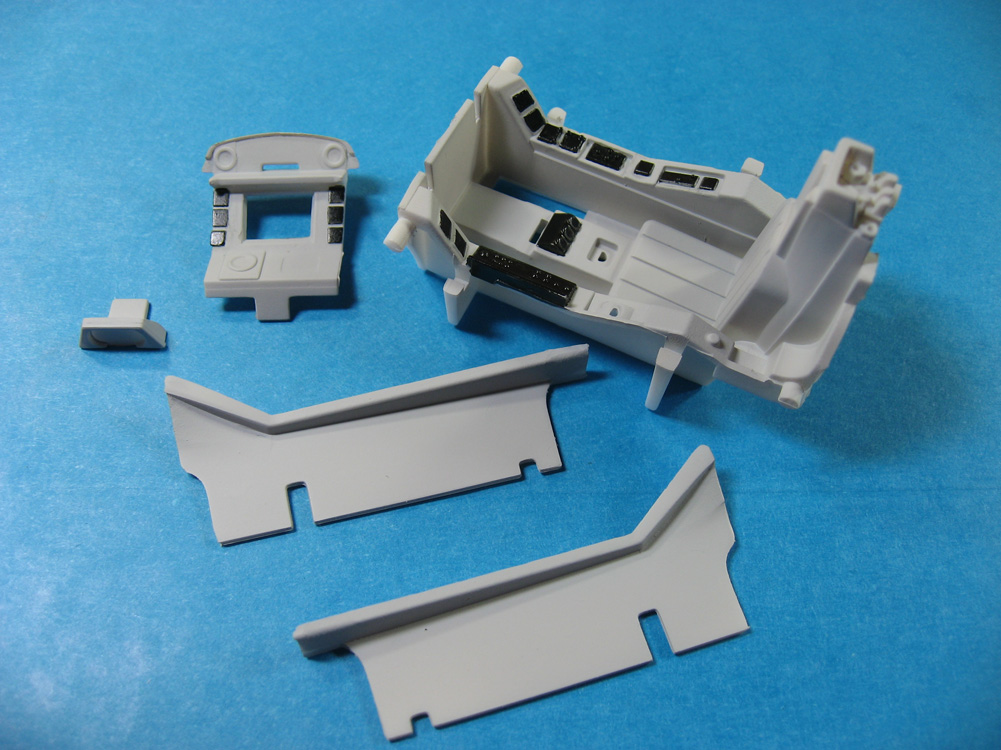
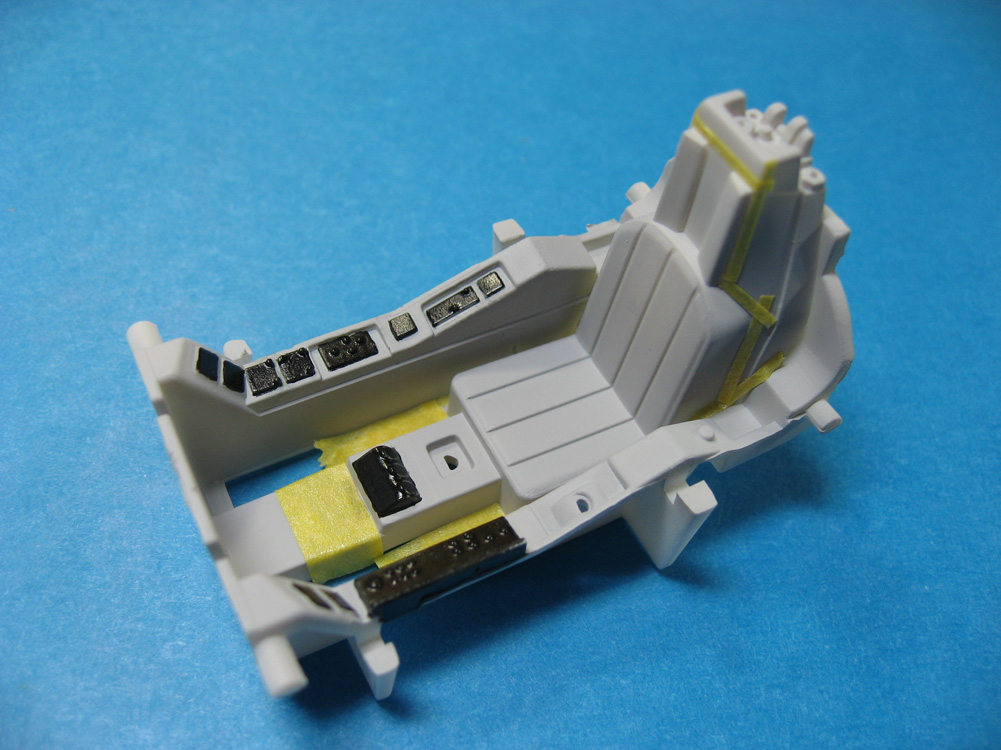
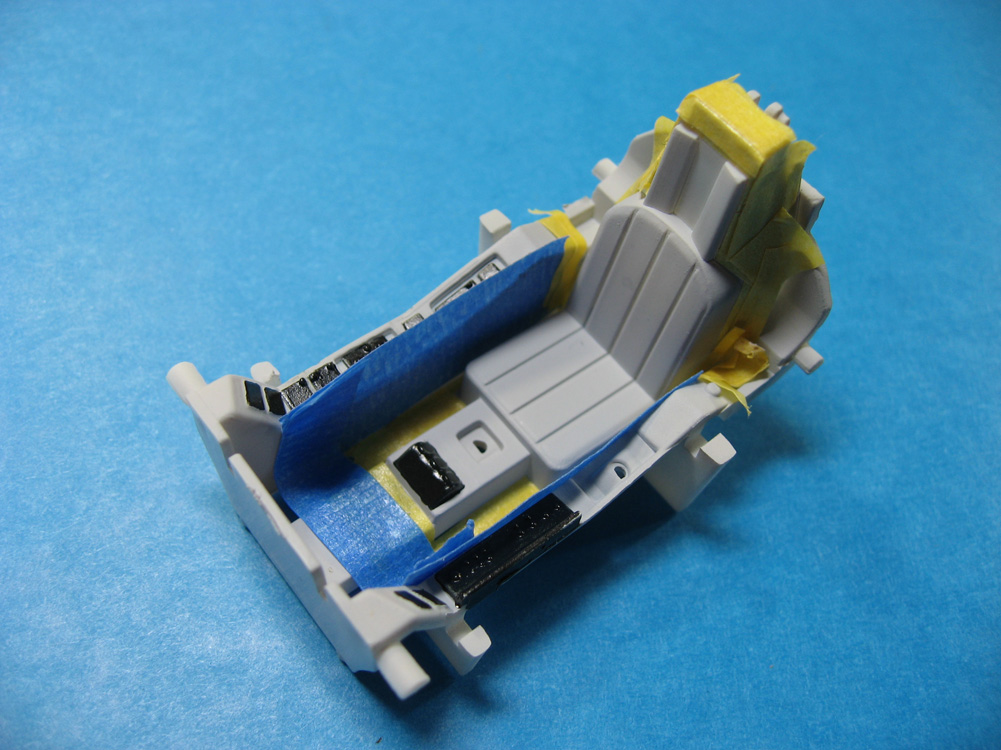
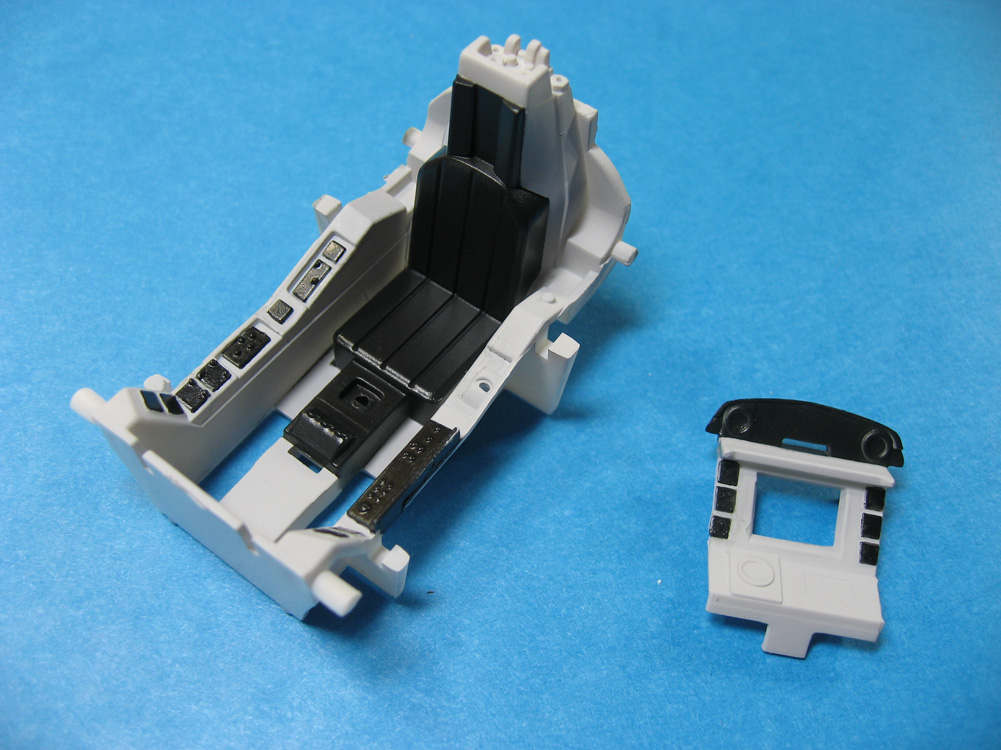
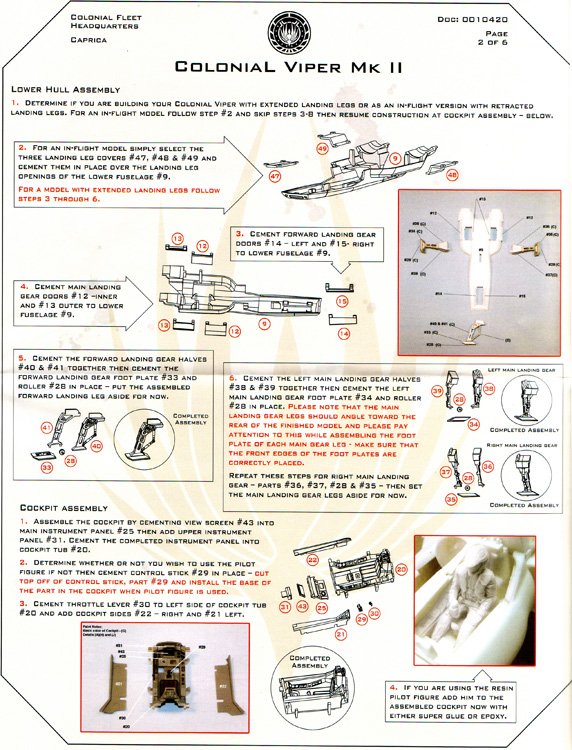
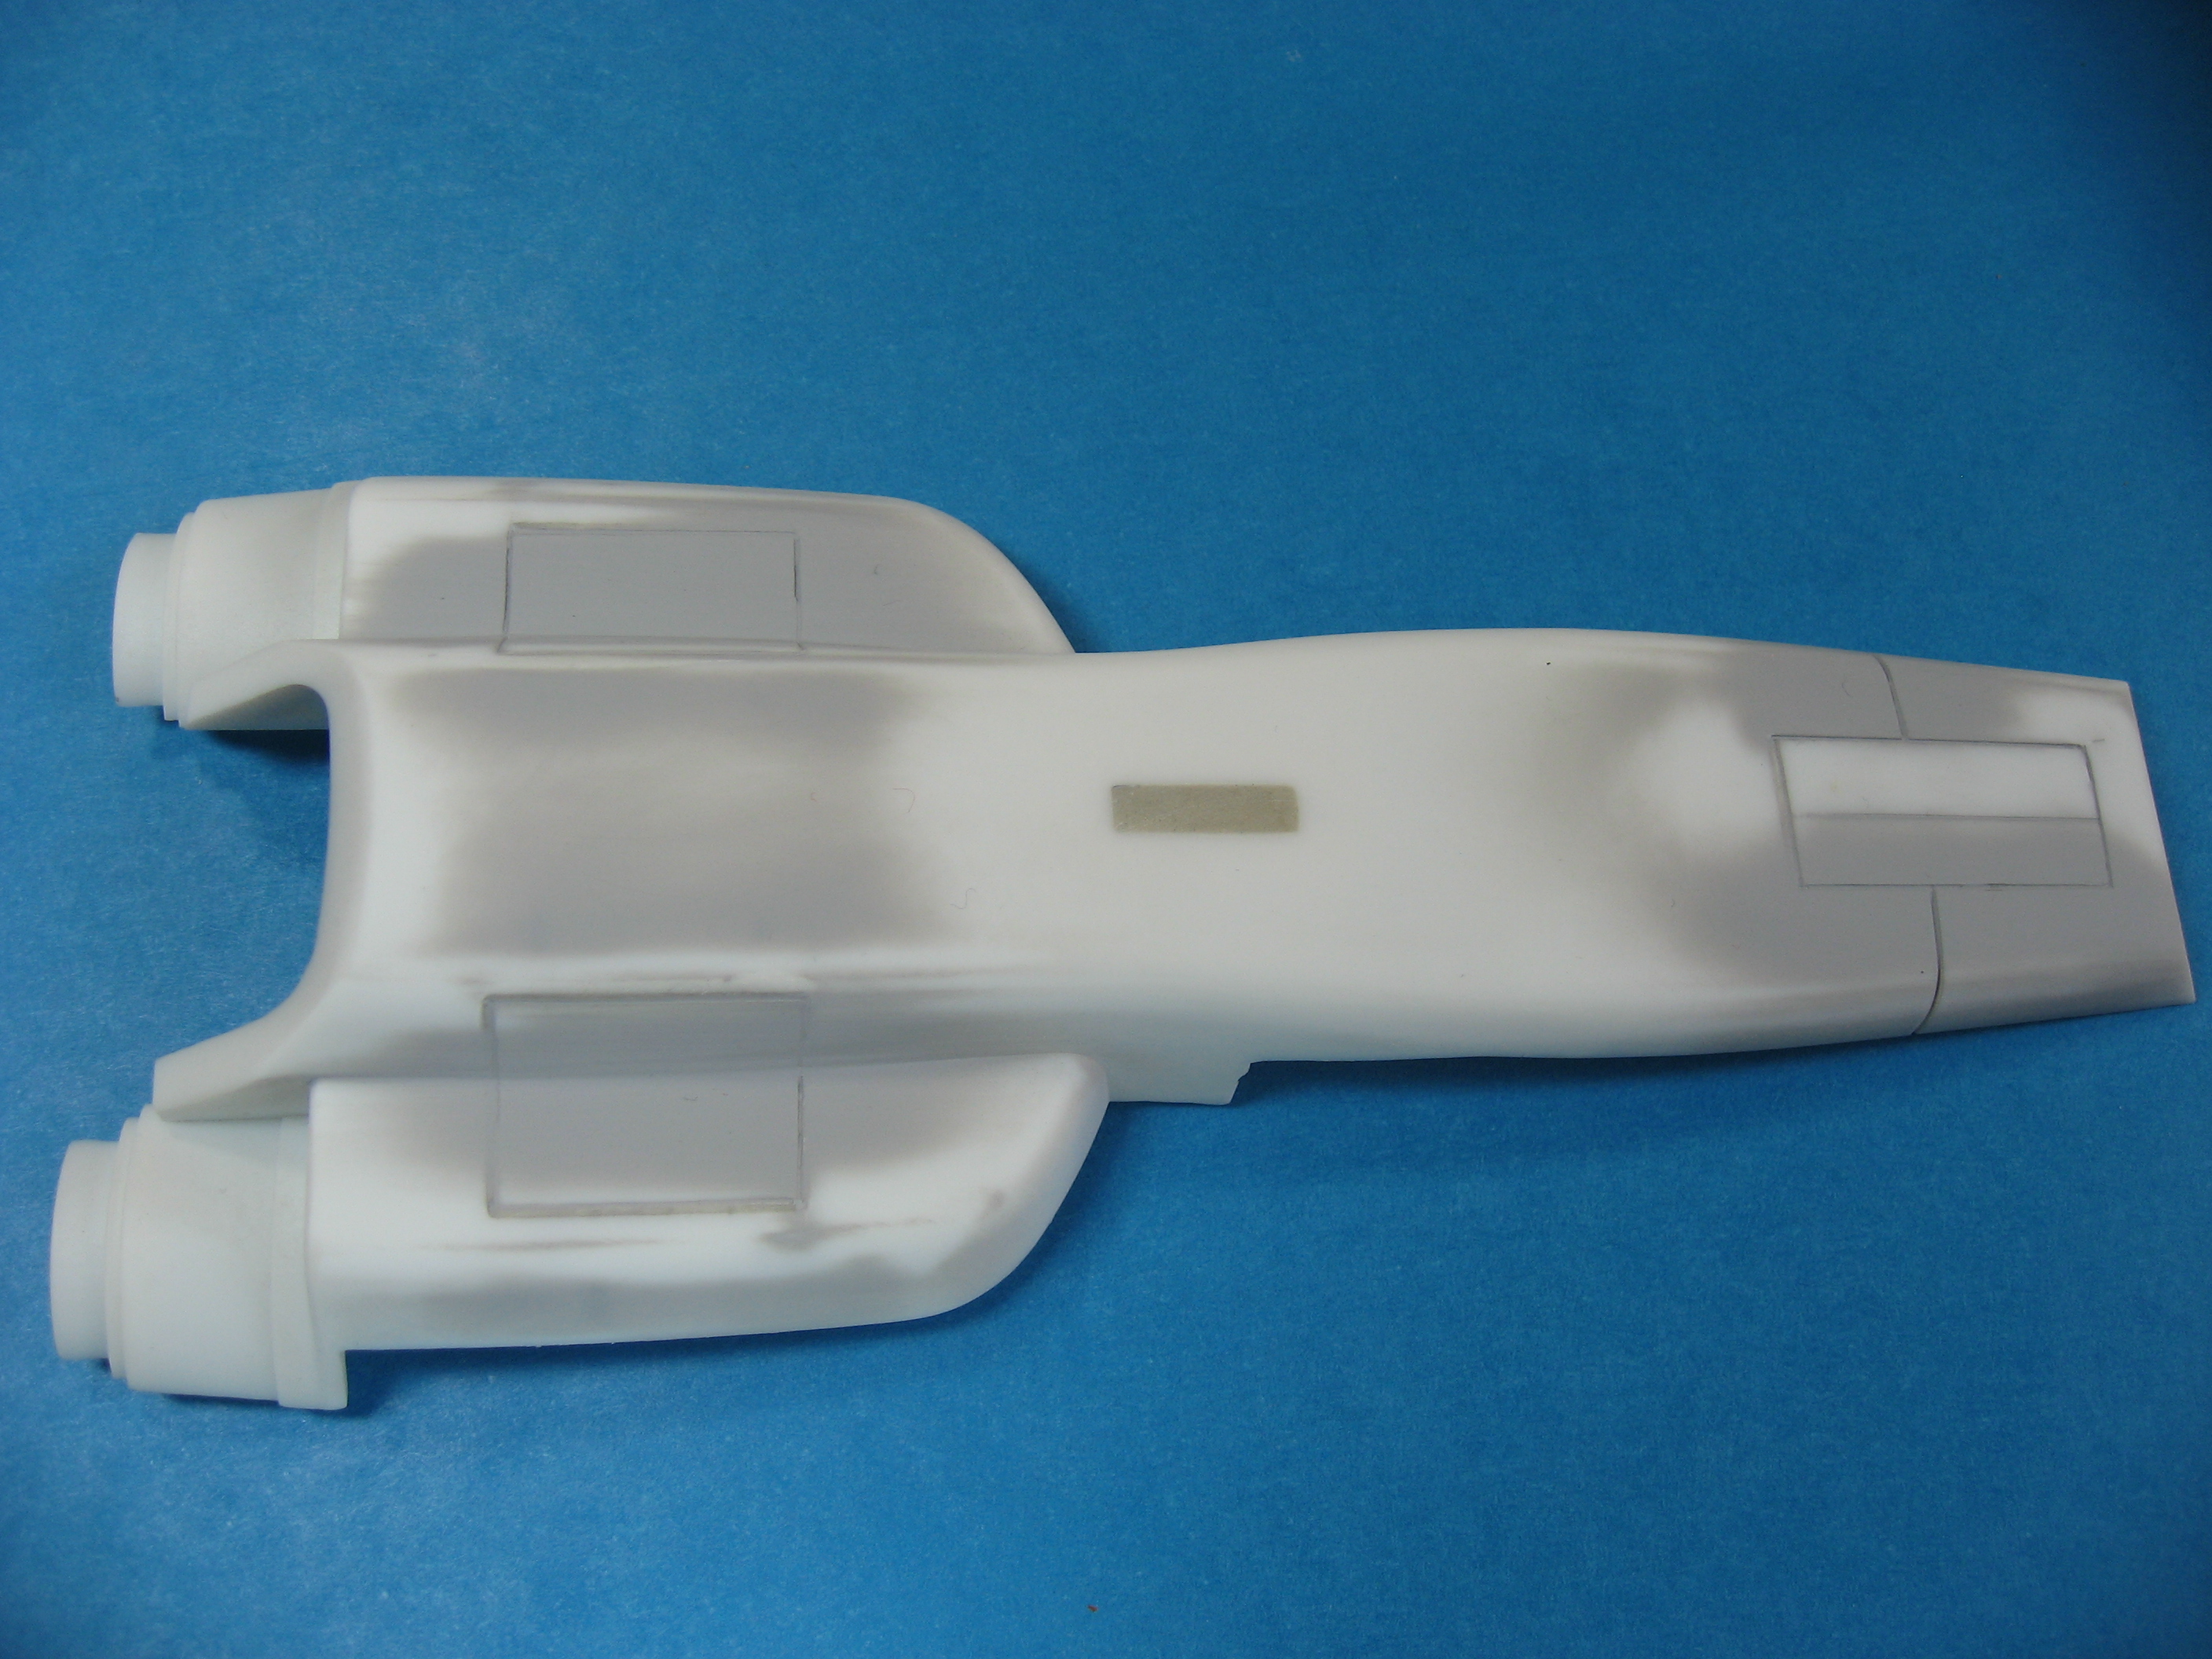
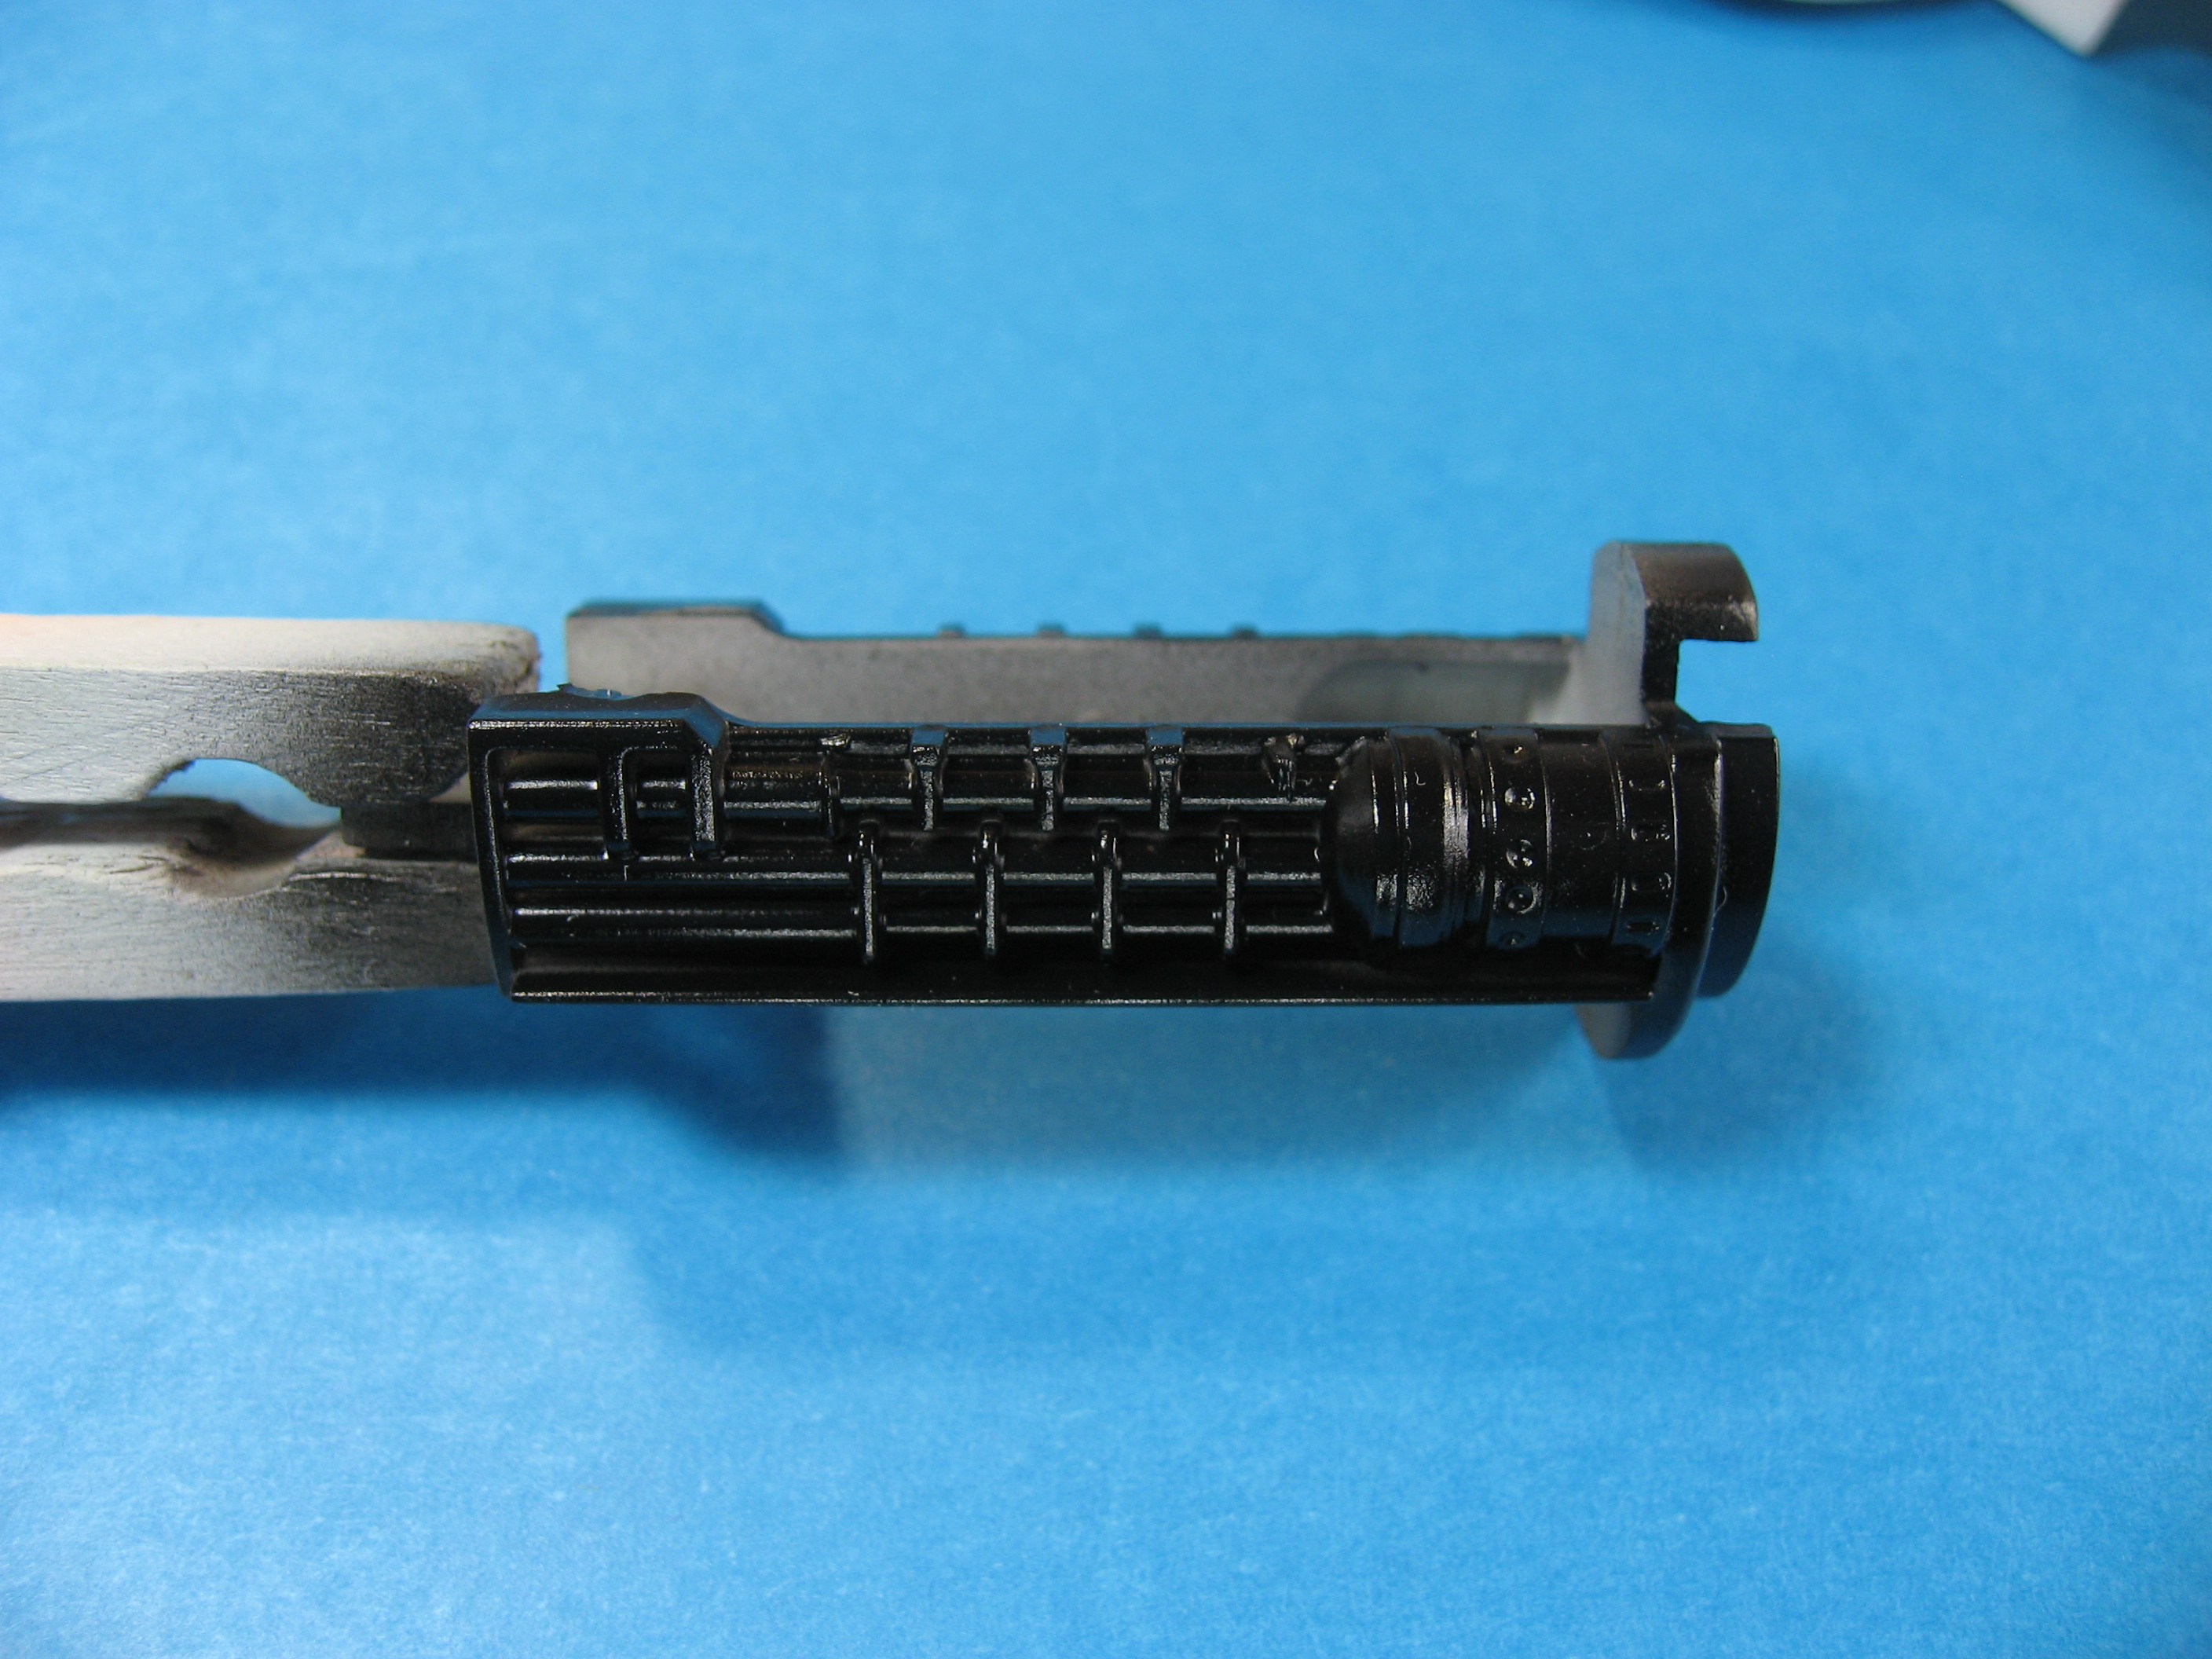
Since the cockpit gets sealed up inside the fuselage, I have to deal with it first.  The photos below show the process.  The five major components (2 sidewalls, tub with seat, instrument panel, and display) were cut out, cleaned up, and primed.  The sidewalls had HUGE ejector pin marks in prominent positions, so I filled and sanded, primed, repeated as necessary.  I then cut in and painted the black panels by hand, something I don’t normally do, but they were just too tiny to mask.

After that, I began to mask off the seat and the top of the instrument panel, both also to be in black.  The seat was tricky, and I wish it had been a separate assembly to ease the process, but you work with what you have. I started by “cutting in” the seat with extremely small 1mm tape.  Once that was completed I went around again using 5mm wide Tamiya masking tape and blue painters tape.  Once that was all set and the lines were clean where I needed them, everything else was covered with Silly Putty, and the paint sprayed.  The last two photos show the paint and masks after spraying, and then after all masking removed.

Time to mask the seat: 1 hours, 20 minutes.
Time to paint the seat: 2 minutes.
Time to remove all the masking: less than 2 minutes.

Colonial Viper MKII

I’ve been contracted to build a model of the Colonial Viper MKII, from the new Battlestar Galactica series.  I’m using the recent release of the Moebius  Models kit, 1/32nd scale in plastic.

Below are some photos of the kit parts, decals, a sample page from the instructions, etc.

My goal is to have this build completed by the first weekend in April, so that I can enter it in our yearly MosquitoCon contest, and then ship it to the client the following week.  Quite a goal, considering how slowly I generally build, but my lack of employment at the moment should allow me to meet my deadline.  I’ve already started construction on the cockpit, photos will be in the next post.

Old School Subway

This past weekend Kristen and I joined some of the usual suspects from Altered Fluid and headed to the tunnels of Manhattan for story ideas and just general coolness. The yearly Nostalgia Train run happens every Sunday this month, running on the M line.  Old trains, old advertisements, and lots of people who really go all out in period costumes made for an enjoyable afternoon.


Updates

Just a little housekeeping today as I added a link to my recent publication of “Before the Wind” to the Writing page.  I added a PDF copy of my short story “In the Great City” as well.  “In the Great City” was published in the first edition of Sybil’s Garage; what a long way the magazine has come since then.

All changes made to the Writing page.

USS Weehawken… again…

The website Model Warships — a sight I spend WAY too much time reading — has uploaded some photos of my USS Weehawken build.  Nothing much different than what is already here on my Model Making page, but it’s good to get some extra press.

For the Modelwarships.com article, click HERE.