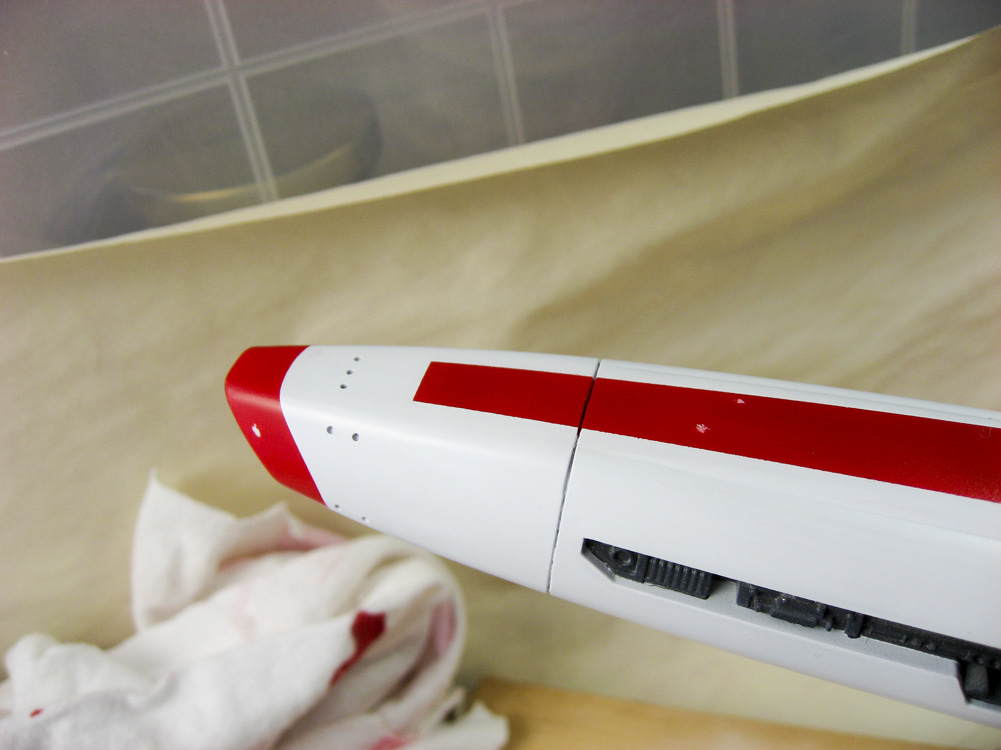
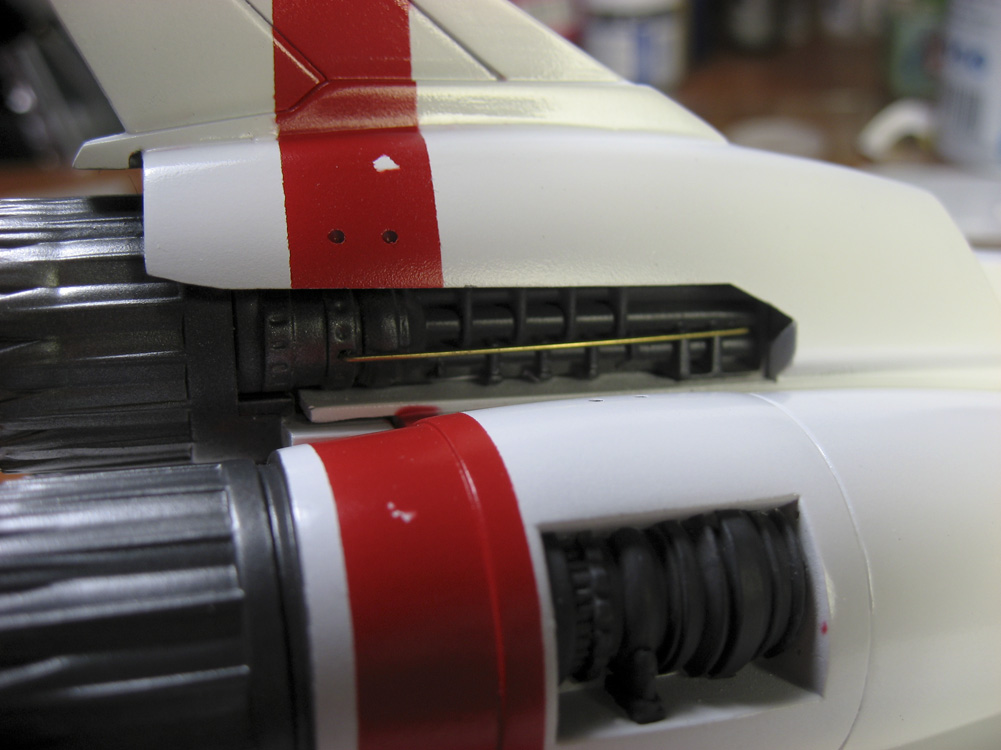
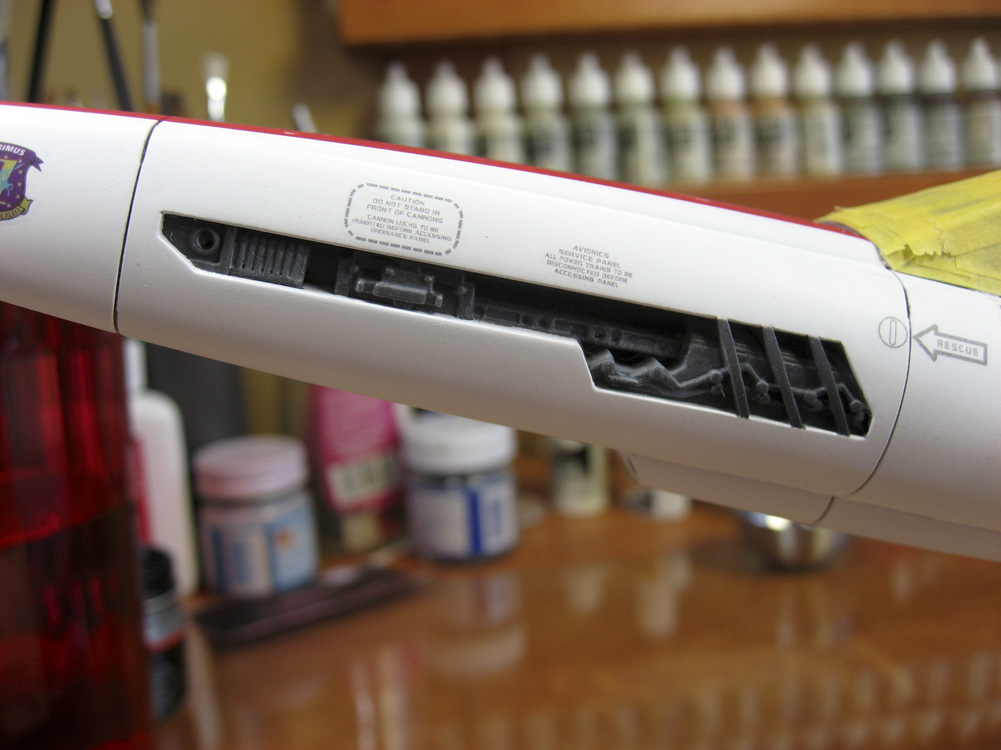
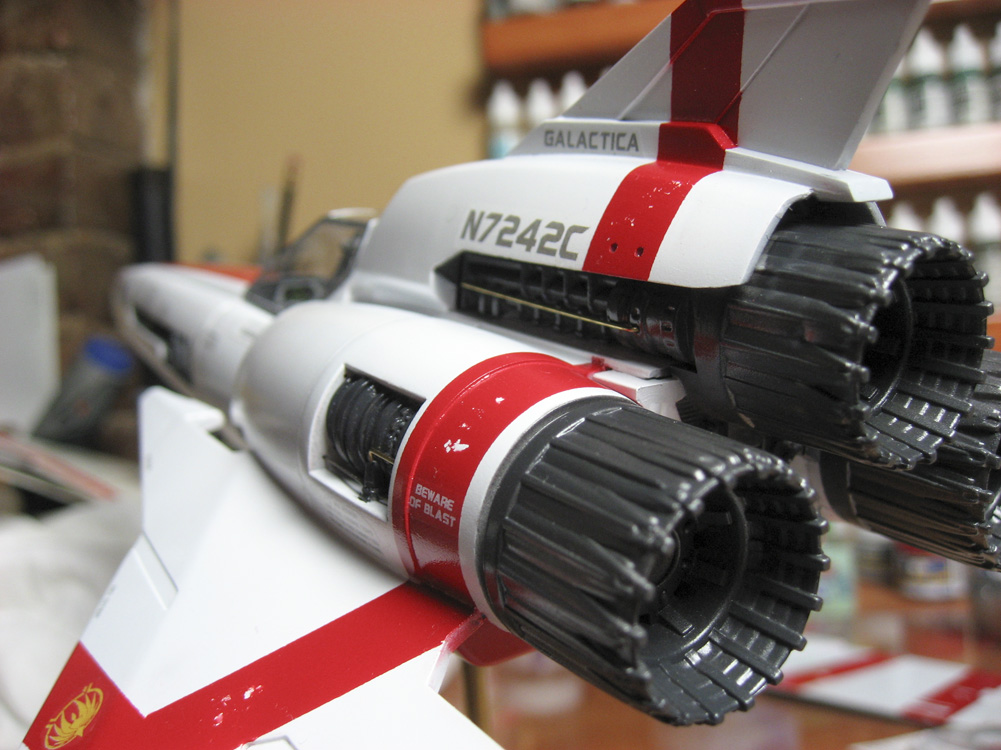
This will be my final update post on the Colonial Viper MKII. The next photos will be of her completed. But for now, here are a few photos of the weathering process. I’m only going to show the forward avionics bays to illustrate this, as there’s more going on in that section, detail-wise, than in the engines, and because I’m close enough to the end that I don’t want to show overall shots of her until completely finished.
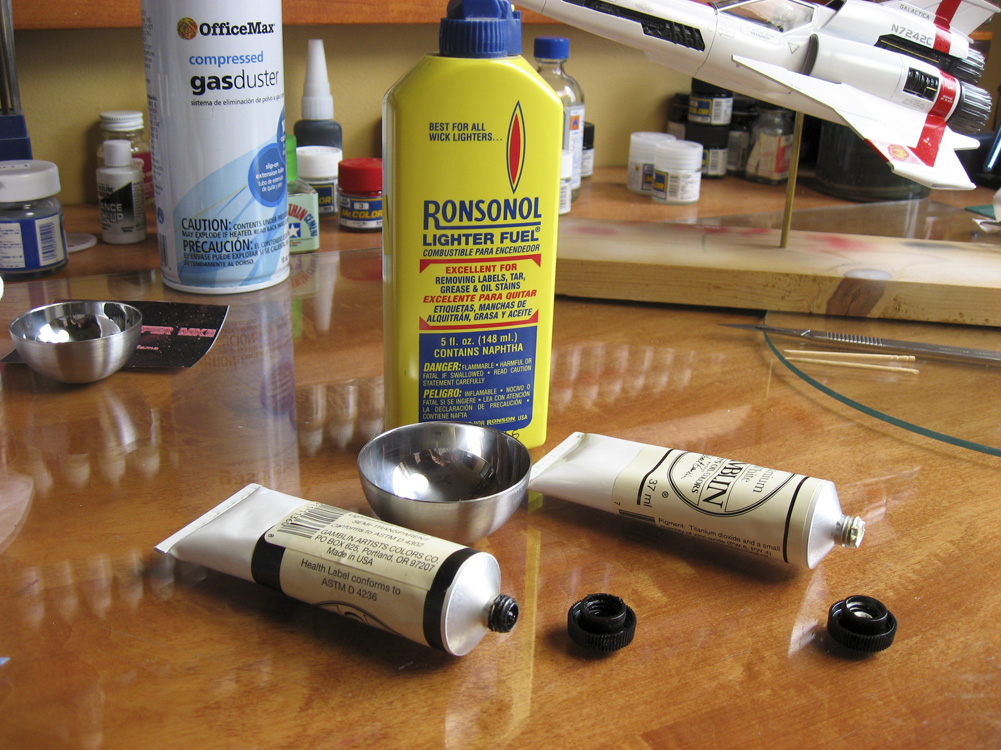
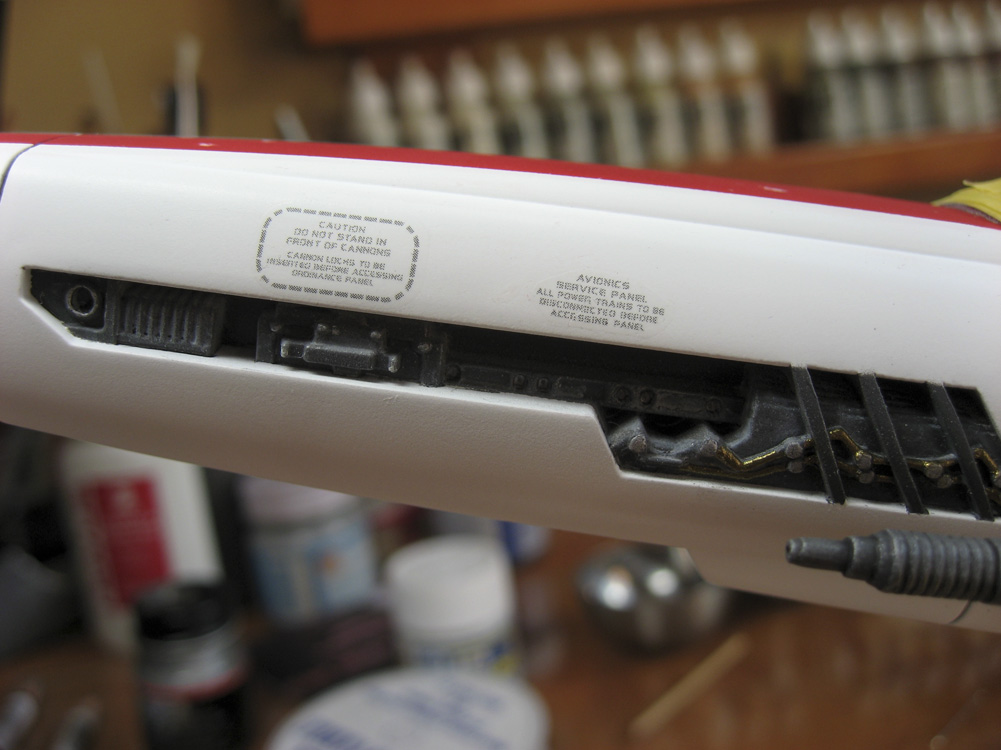
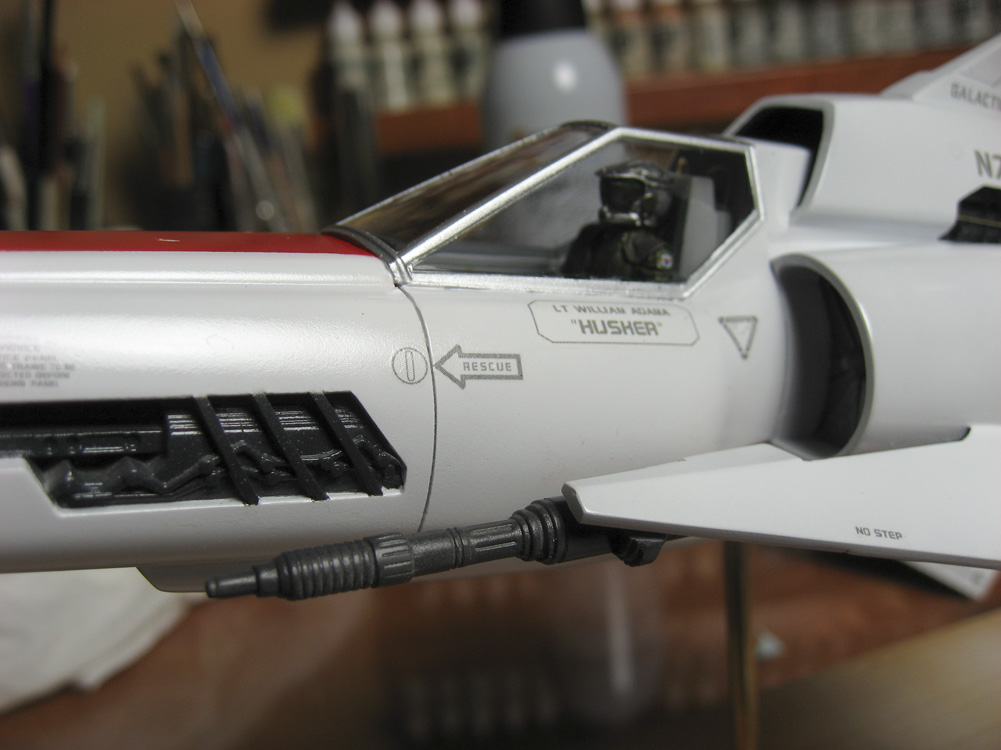
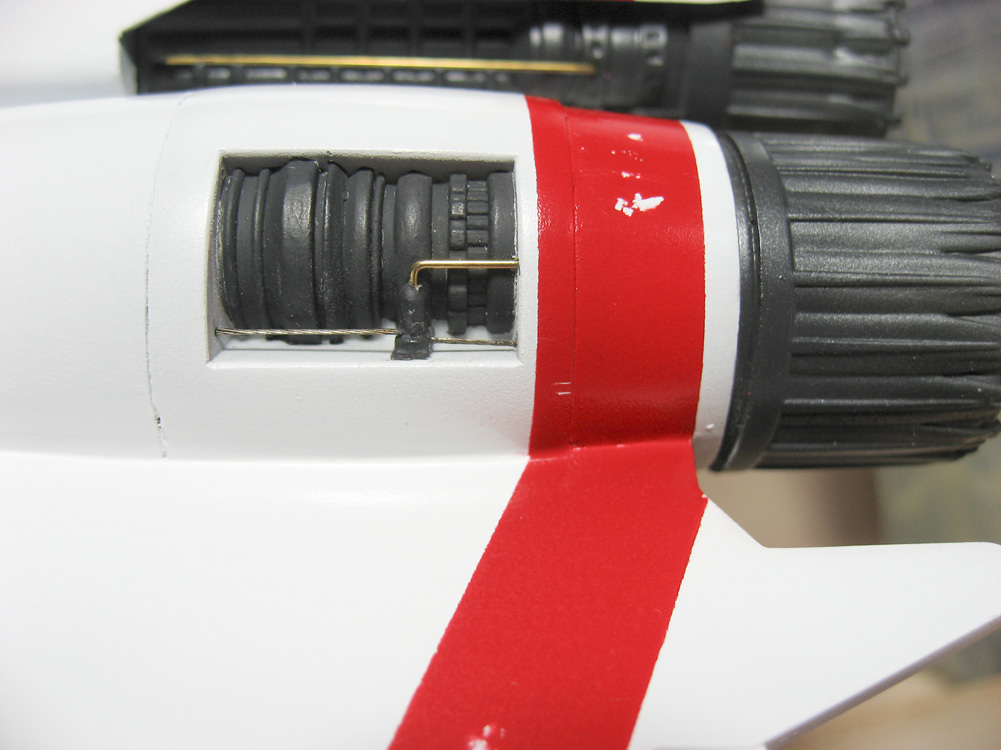
For washes I still like to use artists oils. I have, however, gotten away from using mineral spirits for thinner, and instead I use lighter fluid. It works just as well, but dries much faster. Using lighter fluid (naptha) allows the oils to dry in just a couple of days, instead of taking nearly a week. I did a general wash of the avionics bays, let that dry, and dullcoated everything. I then used acrylic bronze paint for some details, and once that dried I picked out further points of interest using a silver pencil.
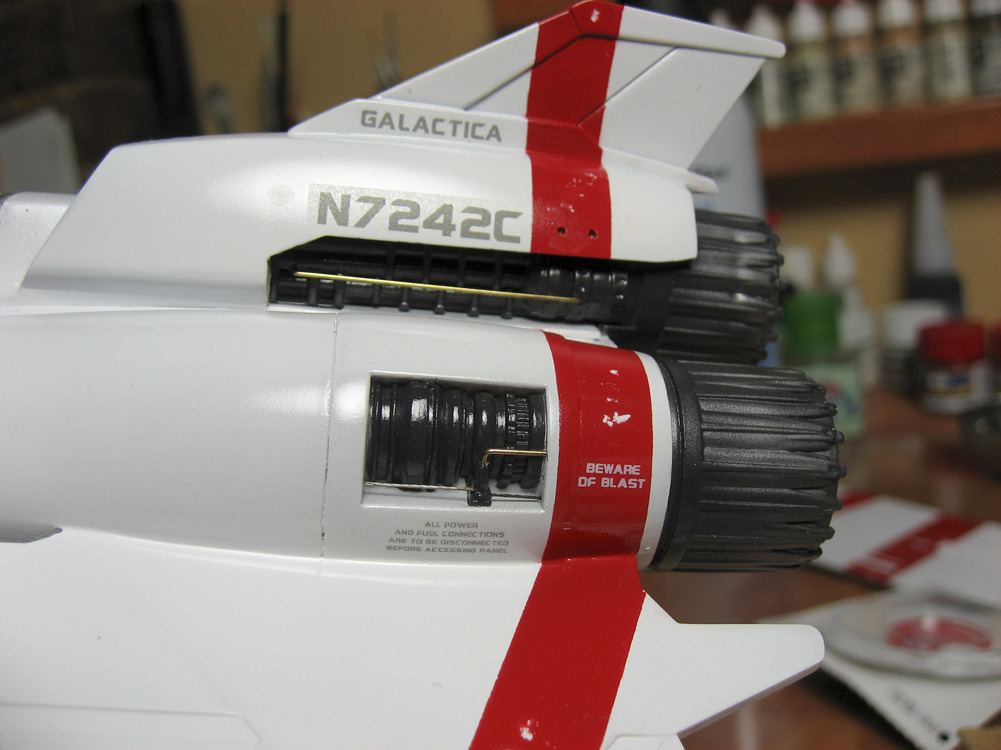
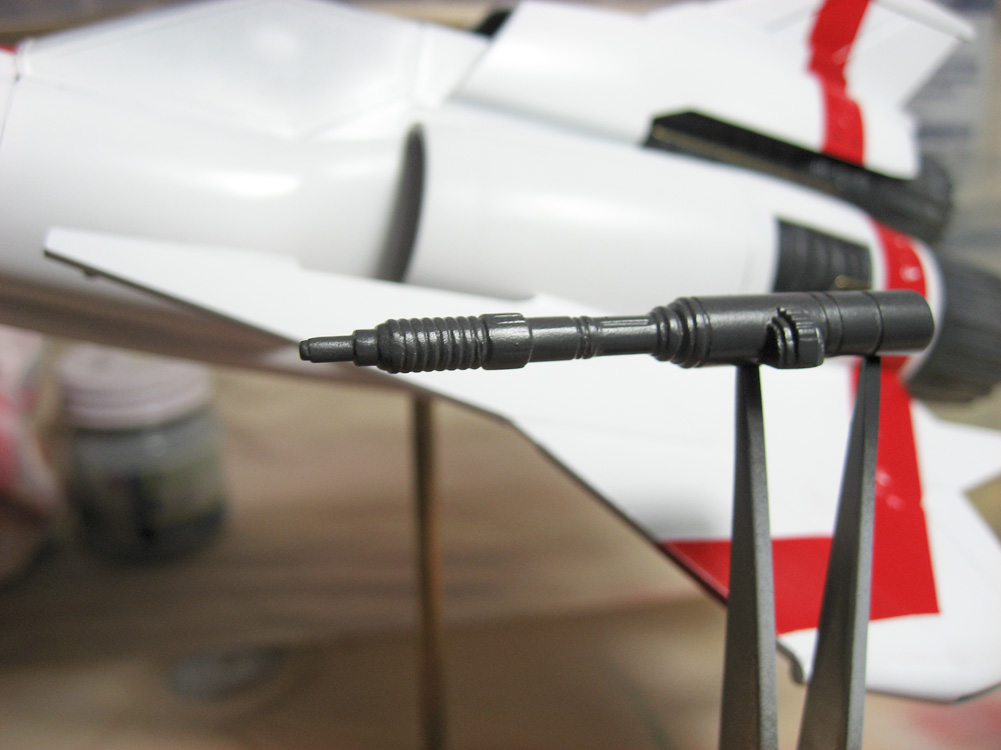
The next step is pastel chalk and weathering powders to dirty her up a bit, and some airbrushing of pure flat black for blast marks, engine residue, and gun smoke.
That’s it. The journey is nearly over. Our yearly club show, MosquitoCon, is next Saturday, and the Viper will be on the contest table. After that, she gets packed up and shipped to her new owner.
")


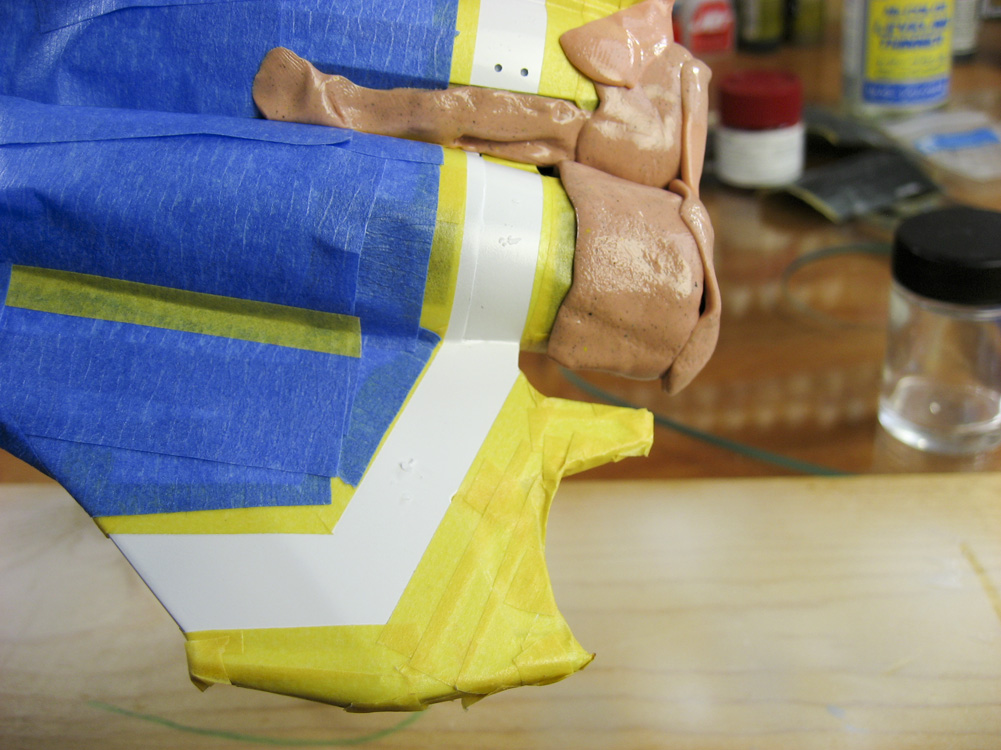
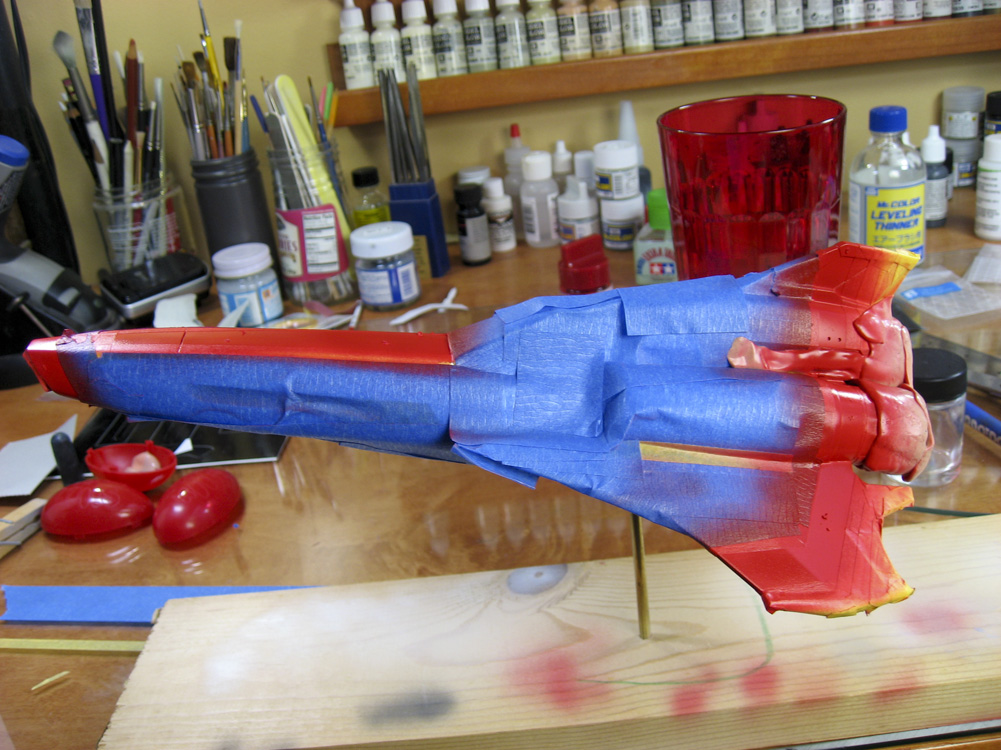
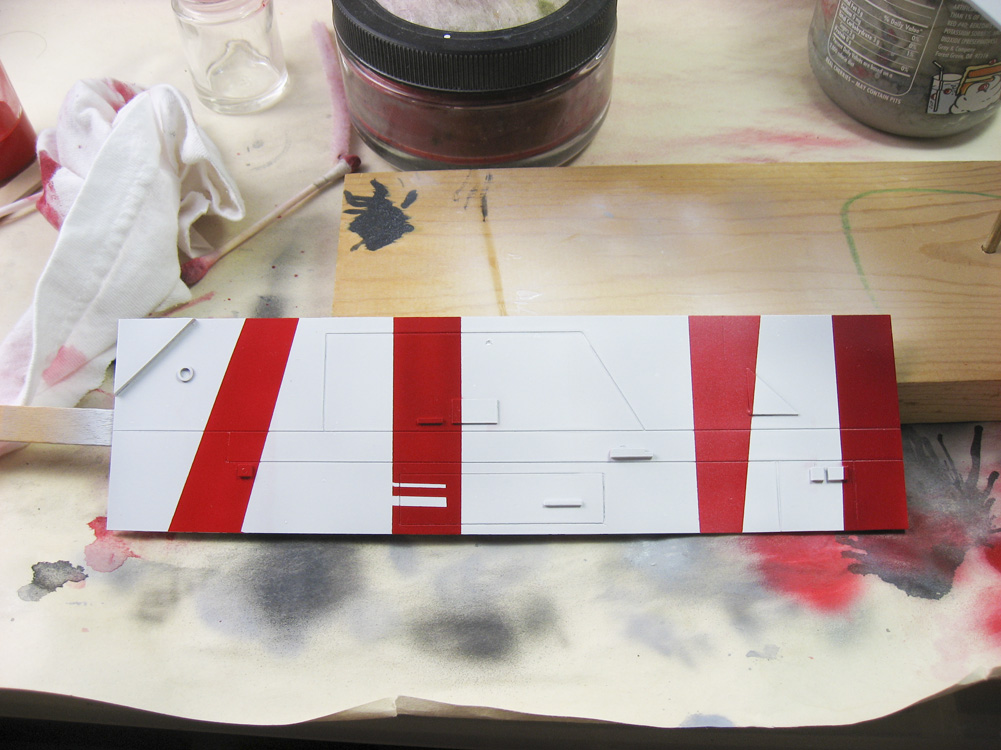
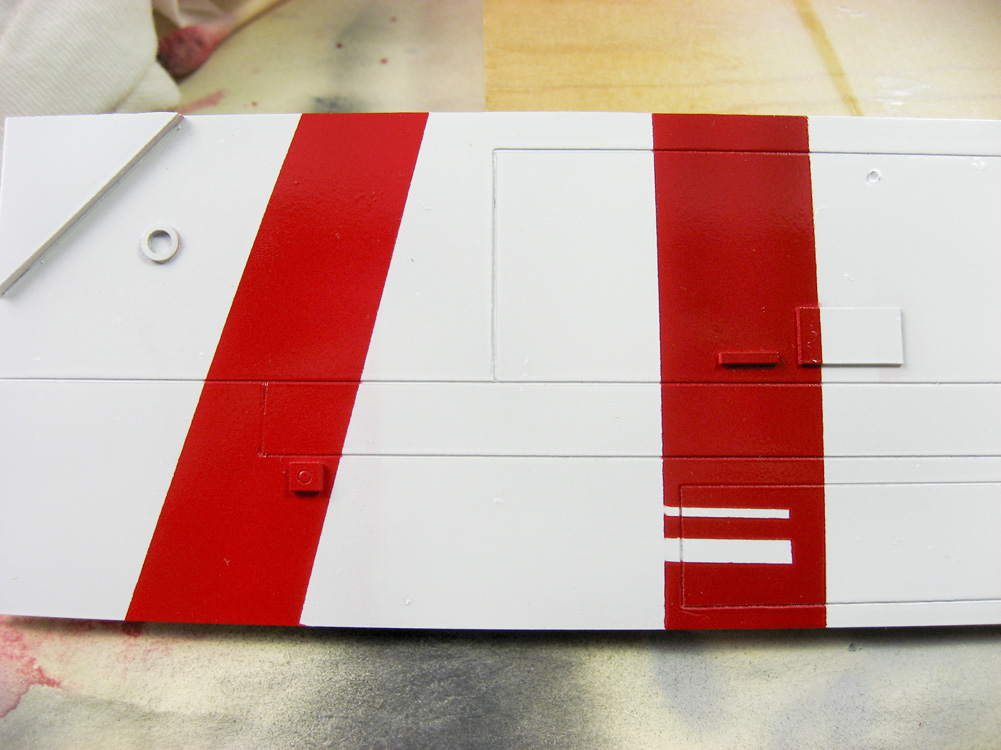
 I went through the process of masking everything again and shooting the new shade of red. A few photos of that masking and painting process. I did the masking with Tamiya tape completely this time, choosing to not use the vinyl masks due to the problems I had with them on the first pass.