 Wars are about attrition. They start out with patriotic slogans, promises to protect those who can’t protect themselves, or the notion of righting horrific wrongs, but the series of battles themselves come down to attrition: each side kills as many of the other side until one has lost too many lives or they’ve expended all of their resources in the contest, and they then surrender. That’s it, and it’s rarely more evident than in the Civil War (although World War I has my vote for the most effective campaign to thin humanity’s population), and there’s no greater monument to the loss of life in the Civil War than the Battle of Antietam.
Following the Battle of South Mountain, Union General McClellan had the Confederate armies on the run. Continue reading


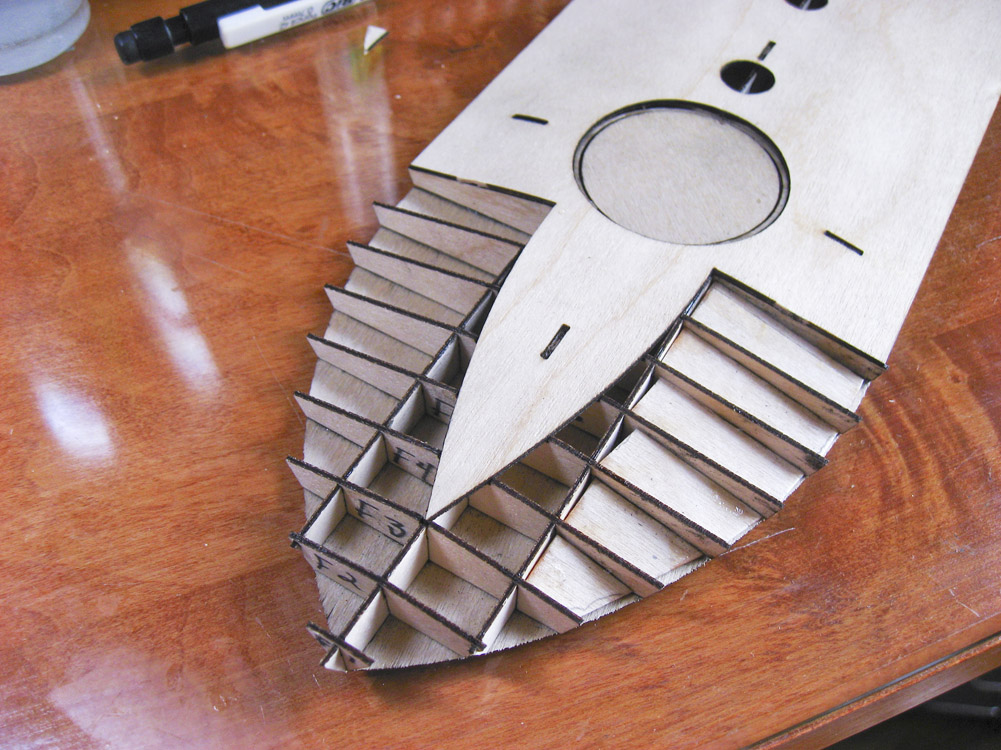
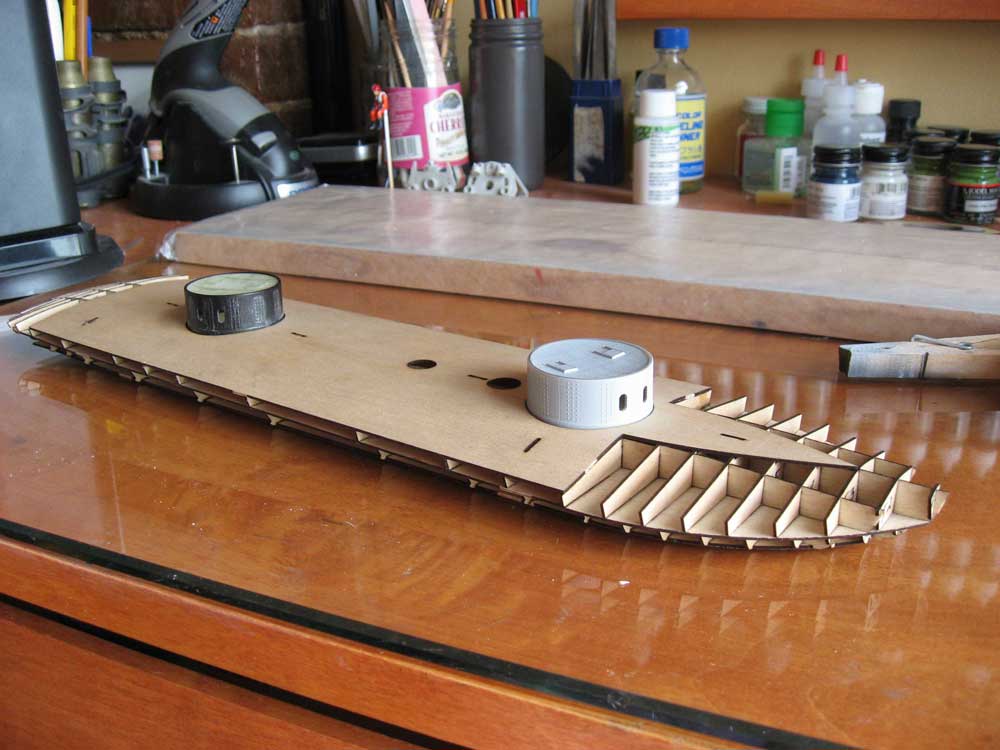


 from the 3D model render, and what the finished ship will look like. I'll most likely use the same color scheme.")